The User Self Service Tools allow individuals to manage their identity in the system. This includes registering and confirming their identity via mechanisms such as email, SMS or other MFA tools and establishing and managing preferences. The service is a combination of the Cloudentity UI tools and underlying APIs allowing enterprises to customize the user experience as necessary.
User Self-Service Flows
This guide describes common user self-service use-cases and their solutions within the Cloudentity stack.
|
Note
|
Each flow may be handled using the appropriate Cloudentity UI, or through direct API calls. These distinctions are made clear throughout this guide. |
|
Warning
|
The following user flows are out-of-scope for this guide. More details about these flows can be found under links below.
|
General
This section discusses several core concepts needed for understanding user self-service flows.
Administrative vs. Self-Service Actions
User actions within the Cloudentity stack can be roughly divided into two categories, depending on the target of the action:
-
Administrative: Actions a privileged user (admin) can perform on another user, like granting an entitlement or updating the user’s address on behalf of the user
-
Self-Service: Actions a user can perform on him/herself, like changing the password or verifying an email address
|
Note
|
Many actions may be performed by an admin (on a user), OR a user (on him/herself), but often with slight differences. For example, an admin may add a new unverified email address to a user’s account, or a user may add an unverified email address to his/her own account. However, only an admin can mark the unverified email as an identifier for the user. |
This guide focuses on the Self-Service category of user actions.
Authenticated vs. Anonymous Actions
User self-service actions may be further divided into categories based on whether authentication is required:
-
Authenticated: An action which requires the user to provide proof of identity (e.g. an SSO token). For example, to perform the action "Get User (Self-Service)", identity must be established to determine which user account to retrieve and return, and to avoid compromising another user’s account information.
-
Anonymous: An action which does not require proof of identity. Examples include:
-
The user account does not yet exist ("Create/Register User (Self-Service)")
-
The user has forgotten his/her password ("Request Password Reset (Self-Service)")
-
The user is performing an out-of-band action using an encrypted verification code as a one-time credential ("Activate User by Email (Self-Service)")
-
One-Time Codes
Many user self-service processes involve validating a one-time code sent to a user’s email address or mobile device. These codes come in two flavors:
-
Encrypted Verification Code: Very long encrypted string (on the order of 500 characters)
-
One-Time Password (OTP): A short (6-10 digit) numerical code
Both codes have a configurable expiration time, and are only valid for one use. However, several differences exist:
-
Encrypted verification codes embed a user identifier. When the system decrypts the code, the user is automatically identified. Identification must be done independently when OTPs are verified.
-
Due to their length, encrypted verification codes are only suitable for email destinations. They are often embedded into a hyperlink which the user may click to submit the code. OTPs, on the other hand, are short enough to be sent via email, SMS or voice message.
|
Warning
|
Only one code is valid per user per action type. For example, if a user has a pending activation code and performs the "resend activation" action, the original code will be invalidated. However, a user may have pending codes for "password reset" and "verify address" concurrently. |
|
Note
|
APIs which accept the request parameter codeType allow value "E" for encrypted verification code, and "P" for plaintext OTP (given the restriction that encrypted verification codes may not be sent over SMS or voice messages). APIs which return the response parameter codeType provide value "ENCRYPTED" for encrypted verification code, and "PLAINTEXT" for plaintext OTP.
|
The following API may be used to return information contained within an encrypted verification code (note that this API does not consume the code):
Verified Addresses and Identifiers
An identifier is a string which uniquely identifies a particular entity. User identifiers must be unique throughout the identity system.
Identifiers which may be used for user login are called authentication identifiers. Most identifiers are valid for authentication; however, internal system identifiers such as UUID are not permitted for authentication in some contexts.
User identifiers include:
-
Universally Unique Identifier (UUID): Globally unique, system-generated string used as the primary key for a user account. Example:
"ee886cb7-cae9-42c6-9572-68618546b390" -
User Identifier (UID): Optional, human-readable username string. Example:
"johndoe" -
Identifier emails: Email addresses which have been marked as identifiers. Example:
"johndoe@test.cloudentity.com" -
Identifier mobiles: Mobile numbers which have been marked as identifiers. Example:
"5555553567" -
Other custom identifiers as needed
An address is an email address or a mobile number which may be used as a destination for communications. Encrypted verification codes and OTPs may be sent to these addresses.
Several classifications of address exist:
-
Verified/Unverified: If an address has been confirmed to belong to a user, the address is called verified; otherwise, the address is unverified. Verification occurs by sending an encrypted verification code or OTP to the address, and having the user submit it back to the identity system successfully (through an activation or address verification flow).
-
Default/Non-default: Whether the address is the primary destination for communications, if the user has multiple email addresses or mobile numbers. The user may select any verified or identifier address as his/her default email or mobile.
-
Identifier/Non-identifier: Whether the address is an identifier, as defined above.
|
Important
|
One of the most significant configurations in the system surrounds the treatment of email addresses and mobile numbers as identifiers. The areVerifiedAddressesIdentifiers configuration must be carefully considered and set correctly, depending on use-case requirements surrounding the relationship between verified addresses and user identifiers. See Are Verified Addresses Identifiers?.
|
Logic Configuration
To handle a variety of use-cases, many features have configurable elements. Some configurations, like otp.<api_identifier_key>.expirationTimeInMinutes, affect a minor property (in this case, the duration for which a one-time password is valid). Others, like areVerifiedAddressIdentifiers, play a major role in modifying the logic of many APIs.
The primary configuration file for User Service logic is application.conf. Unless otherwise stated, configurations referenced in this document are found within that file.
This document only describes logic configurations as they are relevant to user self-service flows. For a more detailed description of the available configurations in the User Service, see the user service’s microservice guide.
Several configurations relevant to multiple APIs are described in this section.
One-Time Code Expiration
The otp configuration section contains a configurable expirationTimeInMinutes for each type of one-time code which may be issued by the system. Note that this configuration also controls the expiration time for encrypted verification codes.
For example, if the configuration otp.selfSendActivationCode.expirationTimeInMinutes is set to 15, then one-time codes generated from the self-service Send Activation Code API will be valid for 15 minutes before expiring.
Include Send Info in Response
For each message-sending API, a system configuration exists to enable or disable the inclusion of details about the delivery in the response body.
sendInfo {
  <api_identifier_key> {
    returnSendInfo = true|false
    maskDestinationInResponse = true|false
  }
  ...
}
If returnSendInfo is true, the delivery details will be included in the response. If maskDestinationInResponse is true, the destination will be masked (obfuscated) according to the system configuration for email and mobile address masking.
Example response body when returnSendInfo = true and maskDestinationInResponse = true:
{
  "destination": "*******3567",
  "destinationType": "MOBILE",
  "deliveryMode": "SMS",
  "codeType": "PLAINTEXT"
}
Create SSO Session upon Code Verification
Actions which validate a one-time code are often performed anonymously, through an out-of-band process (like clicking on a link in an email). Some of these code-validating actions may be configured to automatically generate a new SSO session for the user and return the SSO token in the API response.
For example, when a user completes activation:
-
if session creation is enabled, the user will be automatically logged in.
-
if session creation is disabled, the user must re-enter his/her credentials in order to log in.
For compatible APIs, automatic session creation is configured in the attribute otp.<api_identifier_key>.withSession.
Are Verified Addresses Identifiers?
Some identity systems treat all verified addresses as identifiers. Others treat these independently. The Cloudentity identity stack exposes this through the following configuration:
areVerifiedAddressesIdentifiers = true|false
Many behaviors within the identity stack depend on the value of the areVerifiedAddressesIdentifiers configuration, and are summarized below.
If verified addresses are identifiers:
-
A user’s
identifierEmailsandidentifierMobilesare maintained by the system to match the user’sverifiedEmailsandverifiedMobiles, respectively, at all times. -
verifiedEmailsandverifiedMobilesmust be unique among all users in the system. -
Because of the potential for unverified addresses to encounter a uniqueness conflict upon verification, new email and mobile addresses may not be added to a user account if they are already among another user’s identifiers.
-
unverifiedEmailsandunverifiedMobilesmay never be used as identifiers (including authentication identifiers) until verified.
If verified addresses are not (necessarily) identifiers:
-
A user’s
identifierEmailsandidentifierMobilesare maintained independently of the user’sverifiedEmailsandverifiedMobiles. -
verifiedEmailsandverifiedMobilesneed not be unique between users. Therefore, multiple users can share the same verified addresses. -
Addresses must be explicitly marked as identifiers when they are added to the user account. This is only possible through the administrative "Add Email or Mobile" action, and not available to users through any self-service means.
-
unverifiedEmailsandunverifiedMobilesmay be used as identifiers (including authentication identifiers), if they were marked as identifiers upon addition to the user account.
Registration / Activation
Background
Before a user can authenticate, several steps must be completed:
-
The user must be registered/created
-
The user must be activated, often by sending a one-time code to an email or mobile owned by the user, and confirming the code
-
The user must set a valid password for the account, if password is to be a required authentication credential
-
The user must setup any required multi-factor authentication (MFA) credentials, if MFA will be required for this user.
In general, there are multiple ways to complete each of these steps. Some actions may be performed by the user directly, while others may be performed by an admin who has authority over the user account. Often, a flow initiated by an admin may be completed by an end-user, or vice-versa.
Below are some of the different ways the above steps may be completed:
-
Registration
-
Create/Register User (Self-Service)
-
Create/Register User (Administrative)
-
-
Activation Send
-
Automatically upon Create/Register User (Self-Service) (if configured — see Configuration Tip: Send Activation Upon Registration)
-
Automatically upon Create/Register User (Administrative) (if configured)
-
Explicit call to Send Activation Code (Self-Service)
-
Explicit call to Send Activation Code (Administrative)
-
-
Activation Complete
-
Activate User by Email (Self-Service)
-
Activate User by Mobile (Self-Service)
-
Activate User (Administrative)
-
-
Set Password
-
When calling Create/Register User (Self-Service)
-
When calling Activate User by Email (Self-Service)
-
When calling Activate User by Mobile (Self-Service)
-
-
Setup MFA Credentials
|
Note
|
If direct user activation by an admin is the desired flow, the Activation Send step may be skipped. |
|
Warning
|
The password must be either upon self-service user registration, or self-service user activation. It cannot be set in both places, nor can it be omitted. |
More details about each of the above steps may be found in the following sections.
Registration
User registration (or creation) is the process of creating a user account in the system. The user may be created by an admin with sufficient permissions, or by an end-user through self-service functionality. This document focuses on the self-service flow.
The self-service user-creation API is described below:
Users can also register using the AuthN UI by clicking the "I Am New" button and proceeding through the subsequent screens:
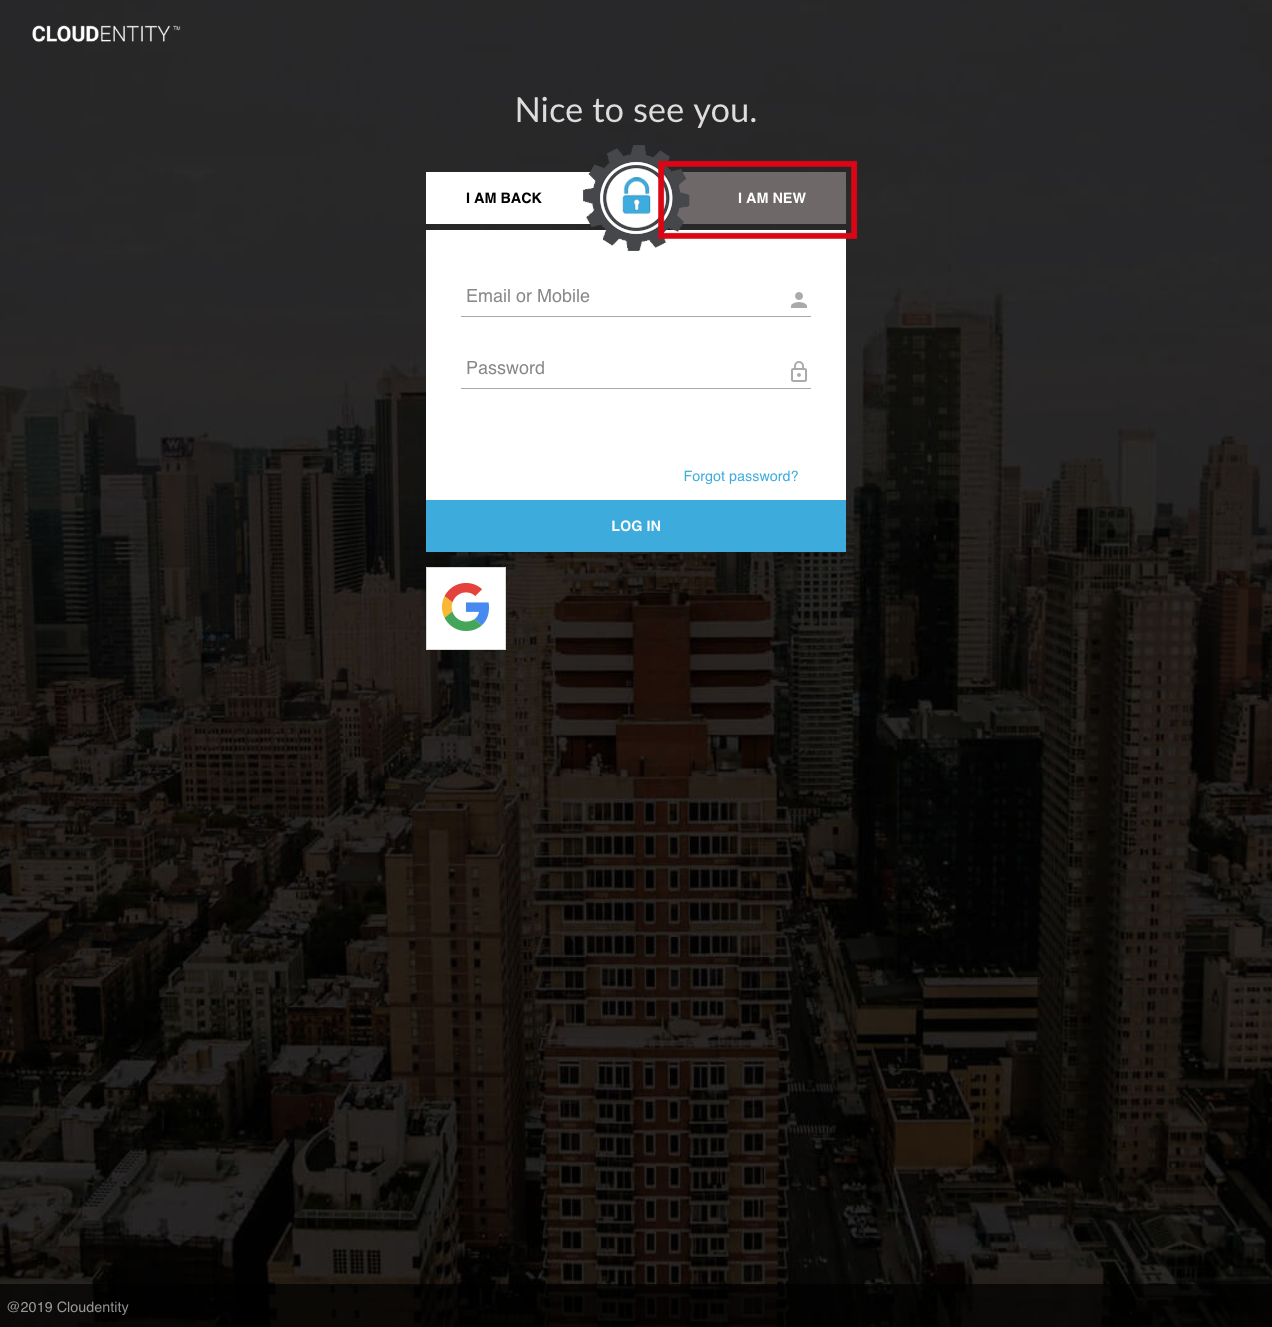
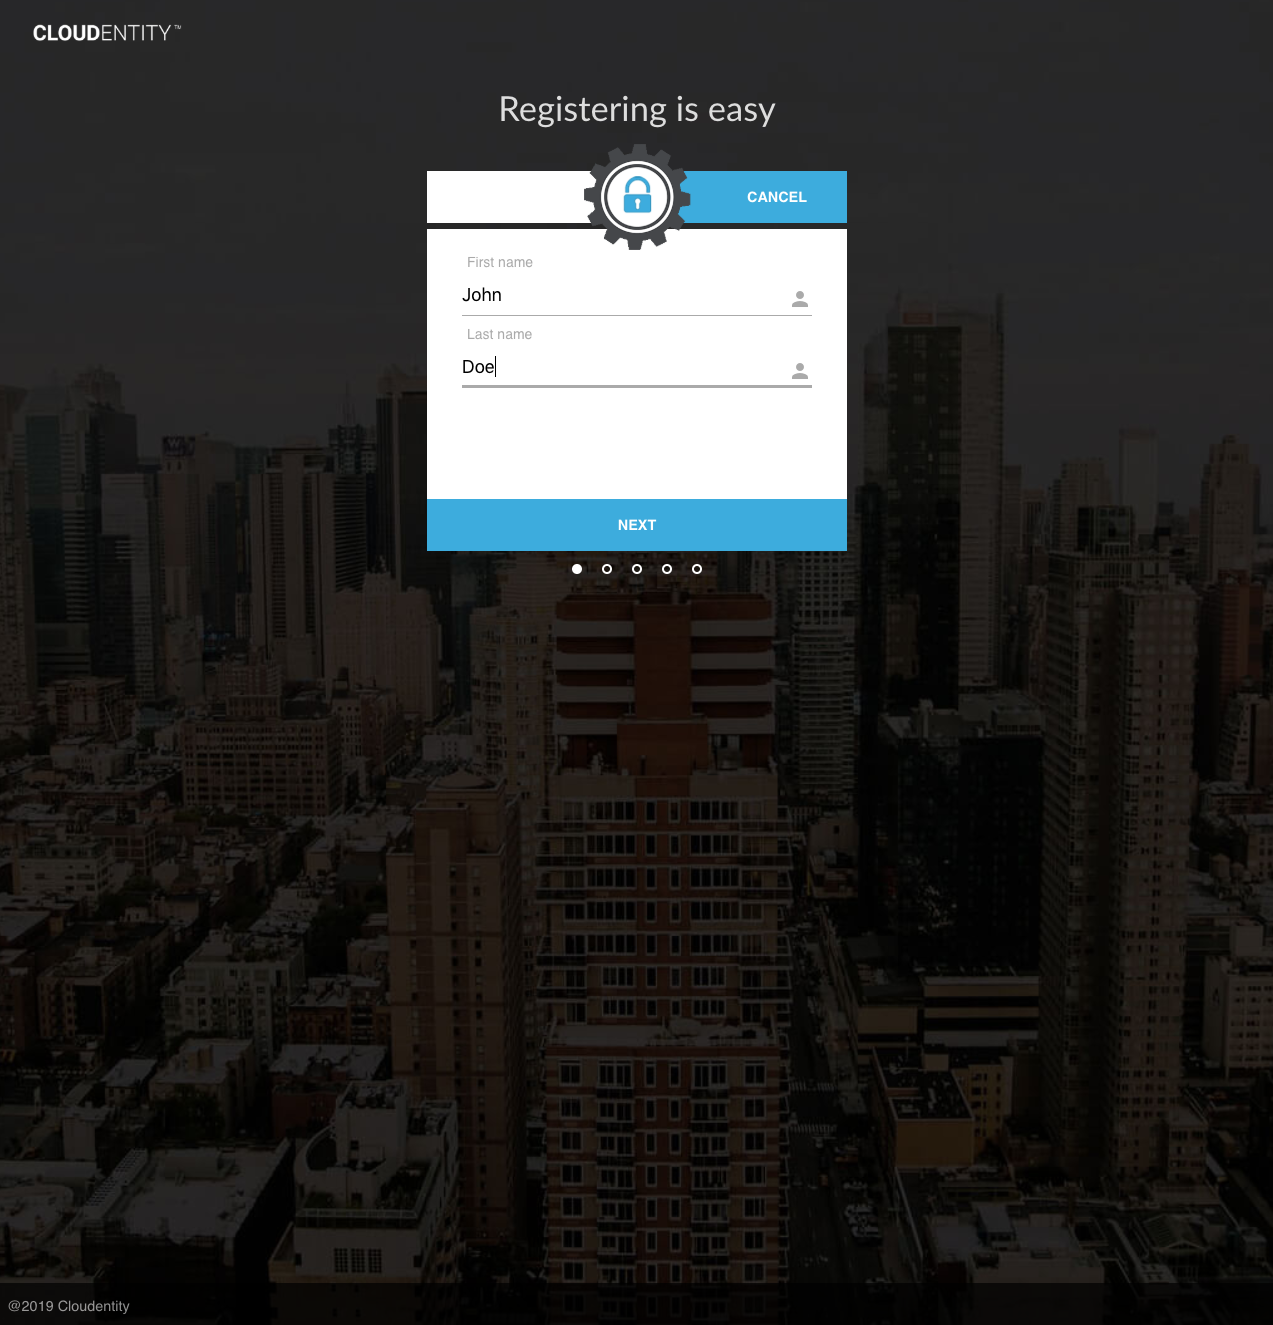
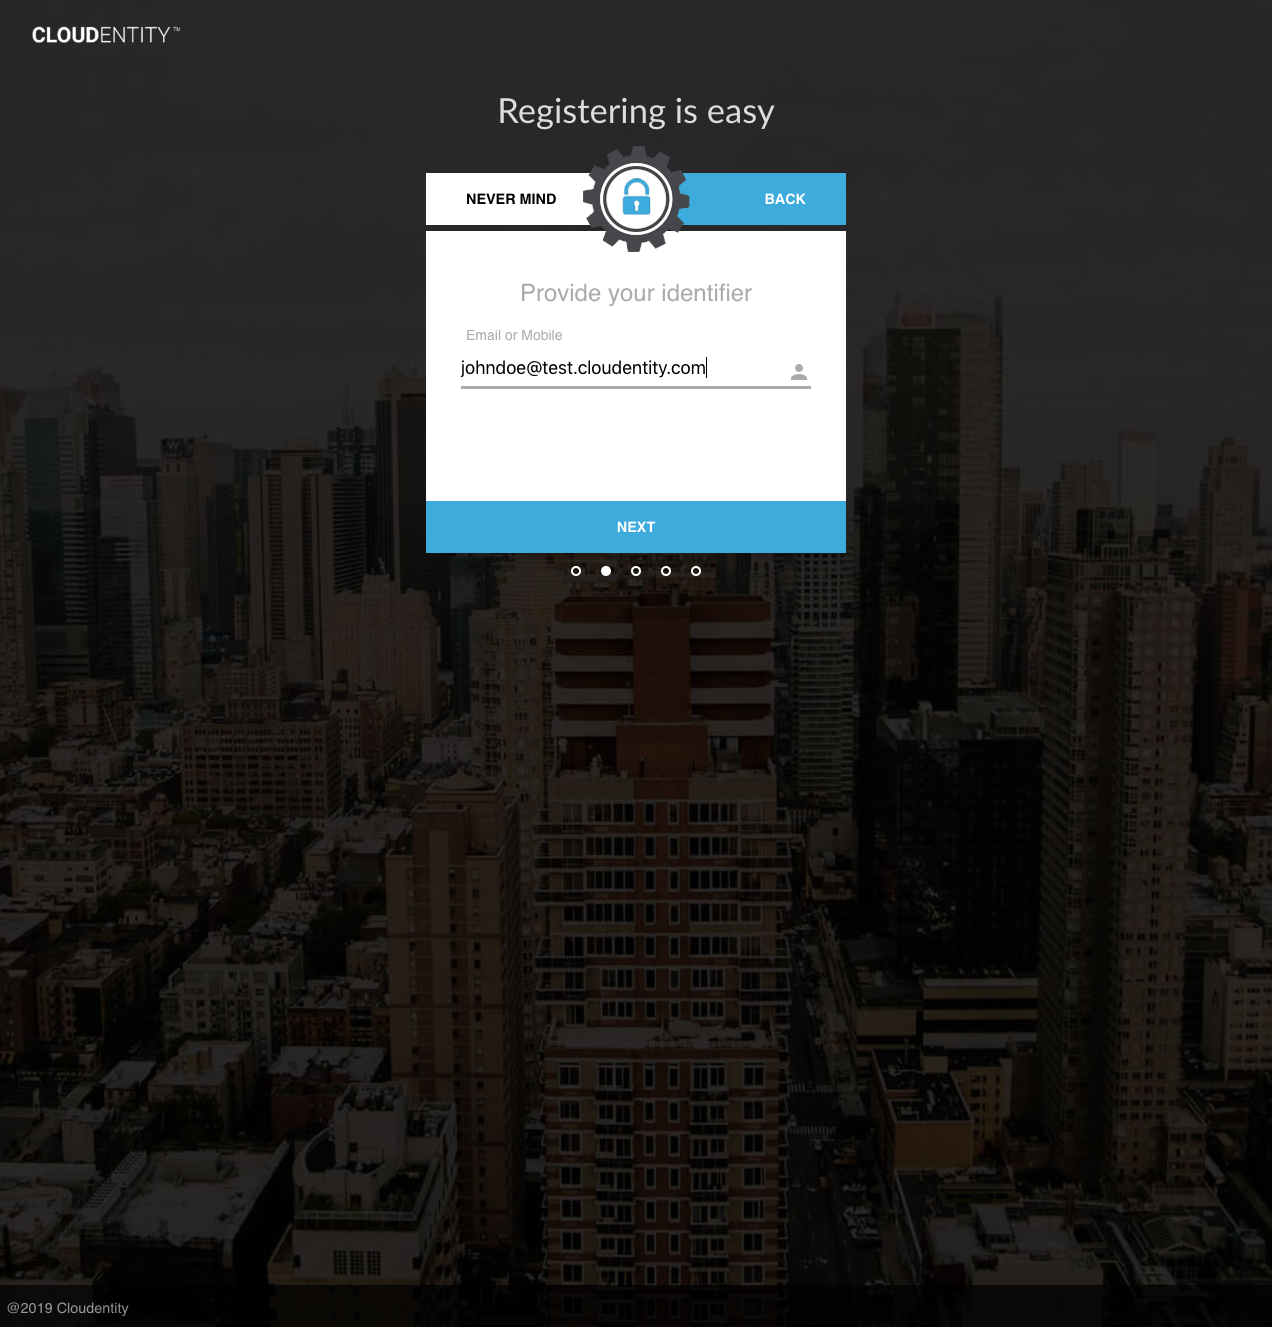
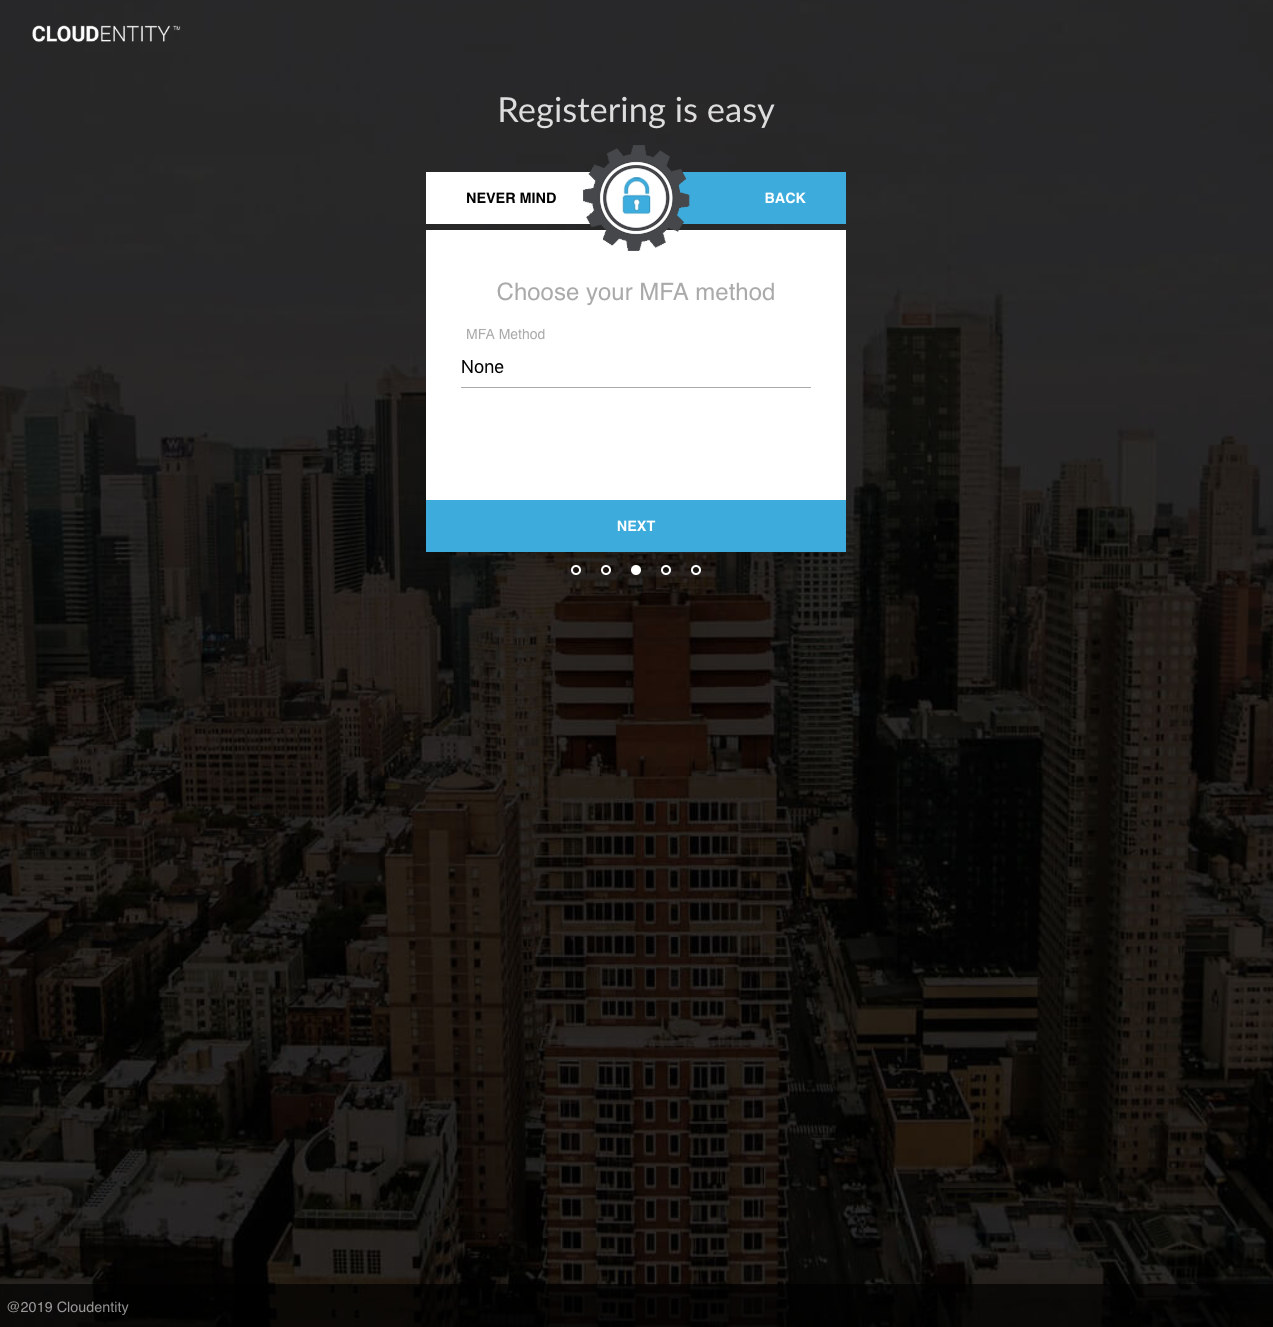
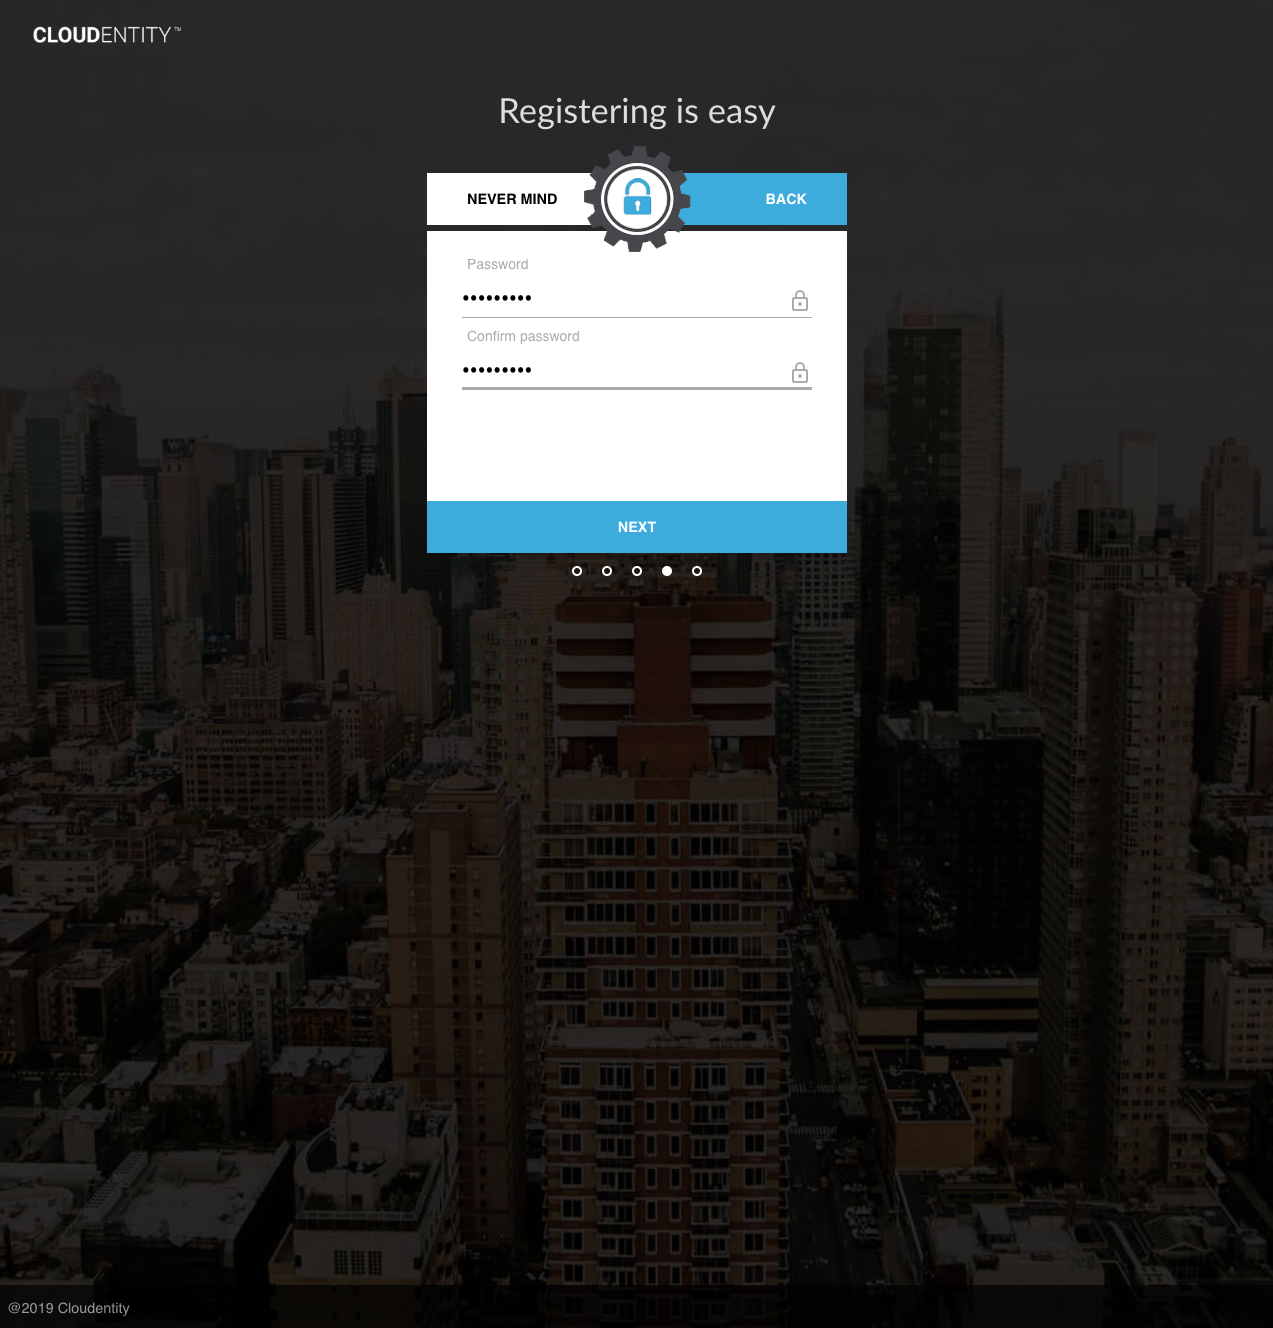
Upon completion, the inactive user is registered.
Activation Send
The user may be activated either by confirming a one-time code sent to the user’s email or mobile, or directly by administrative action.
An activation code may be sent through any of the following actions:
-
Automatically upon Create/Register User (Self-Service) (if configured — see Configuration Tip: Send Activation Upon Registration)
-
Automatically upon Create/Register User (Administrative) (if configured)
-
Explicit call to Send Activation Code (Self-Service)
-
Explicit call to Send Activation Code (Administrative)
The Send Activation Code actions may also be used to resend an activation code, if the code has expired or been lost.
The following self-service API may be used to send an activation code to a user:
In the AuthN UI, when registration is completed, an activation code is automatically sent to the user’s registered email address or mobile number:
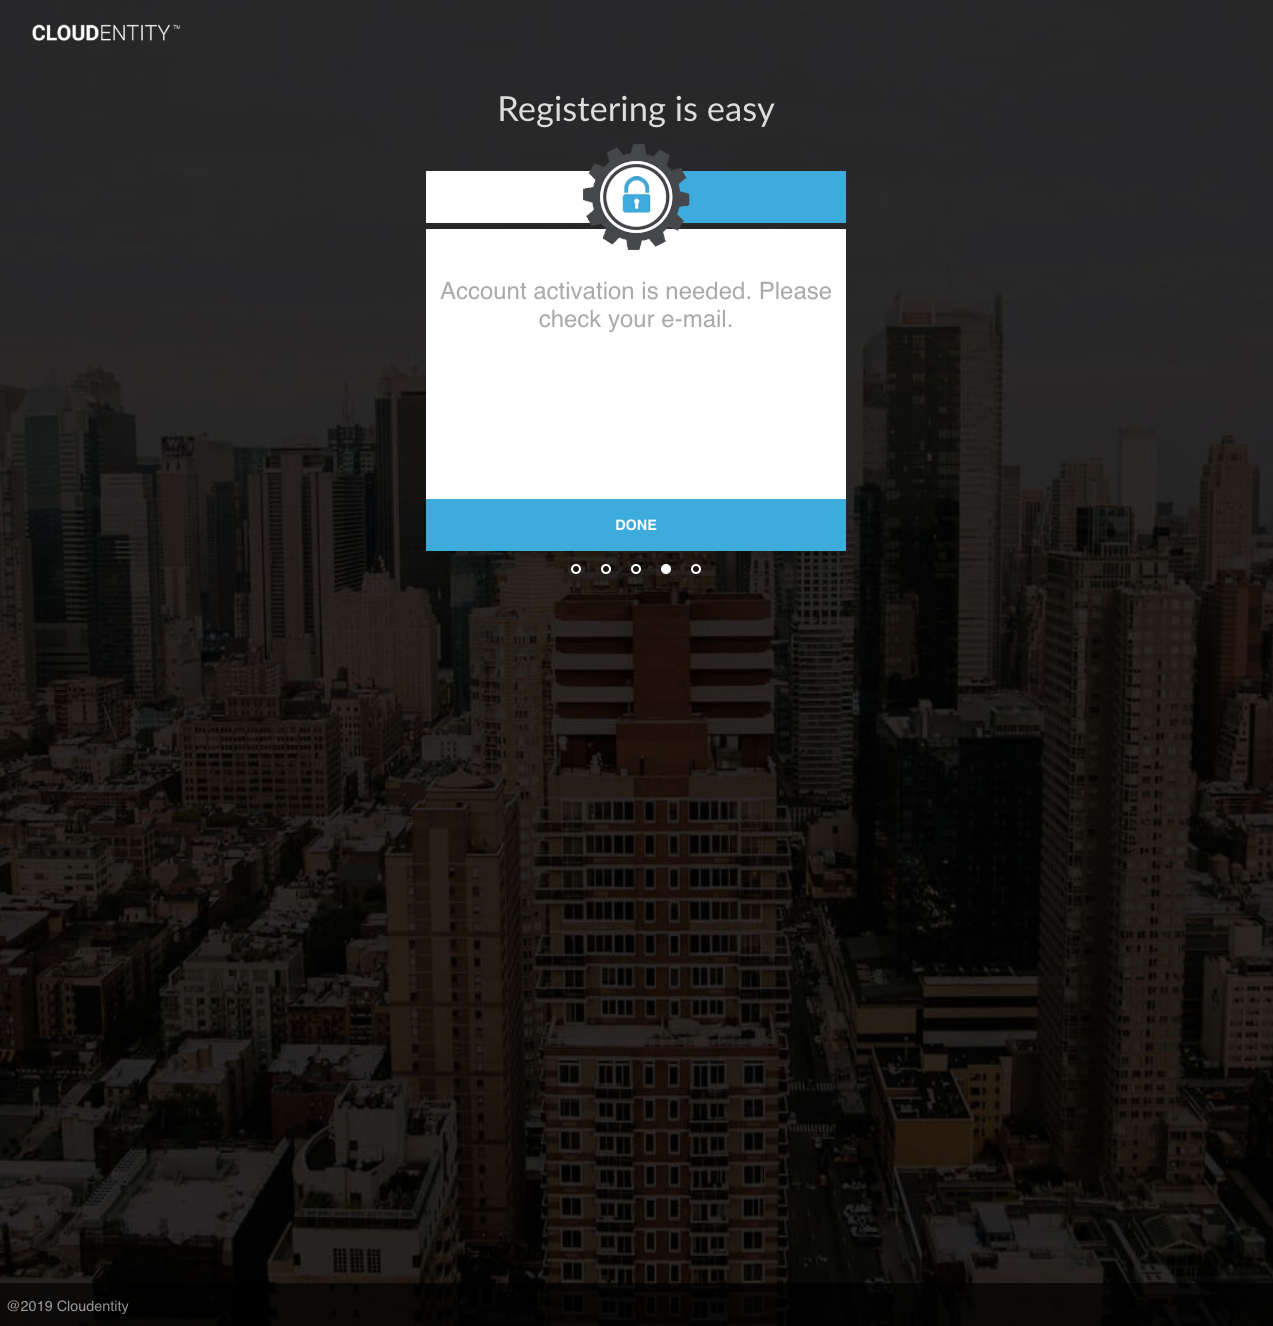
Then the following email would be received:
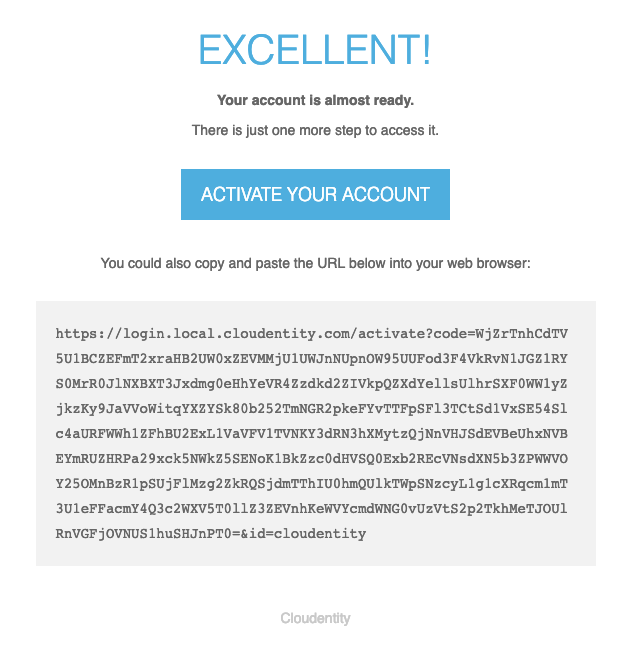
Activation Complete
User activation is completed through any of the following actions:
-
Direct activation by an administrator
-
Returning a valid one-time code through the Activate User by Email or Mobile (Self-Service) APIs
|
Tip
|
In some flows, it is desired to display the user’s name when activation is being completed (i.e. after the emailed activation link is clicked). The Inspect Verification Code API may be used to decrypt an encrypted activation code for such cases. |
To complete activation based on an encrypted verification code sent to a user’s email address, the following self-service API may be used:
To complete activation based on a plaintext OTP sent to a user’s mobile device (by SMS or voice message), the following self-service API may be used:
Upon success of either API, the user will be activated, and the user’s email or mobile address will be set to verified. See Verified Addresses and Identifiers for more information.
For UI users, when the user clicks the activation link in the email, the user will be directed back to the AuthN UI and be automatically activated. Then the user can proceed to authentication.
Set Password
Users must set their password at either registration time or activation time. If a password was supplied when the user registered, the user may not supply a password at activation time. If a user did not supply a password during registration (or if the user was administratively registered), the user must supply a password when completing self-service activation.
|
Warning
|
For security reasons, admins may not set a password on behalf of a user. |
General Account Management
Once authenticated, users can perform account-management operations.
To retrieve account information, the Get User API may be used:
To update account information, the Update User API may be used:
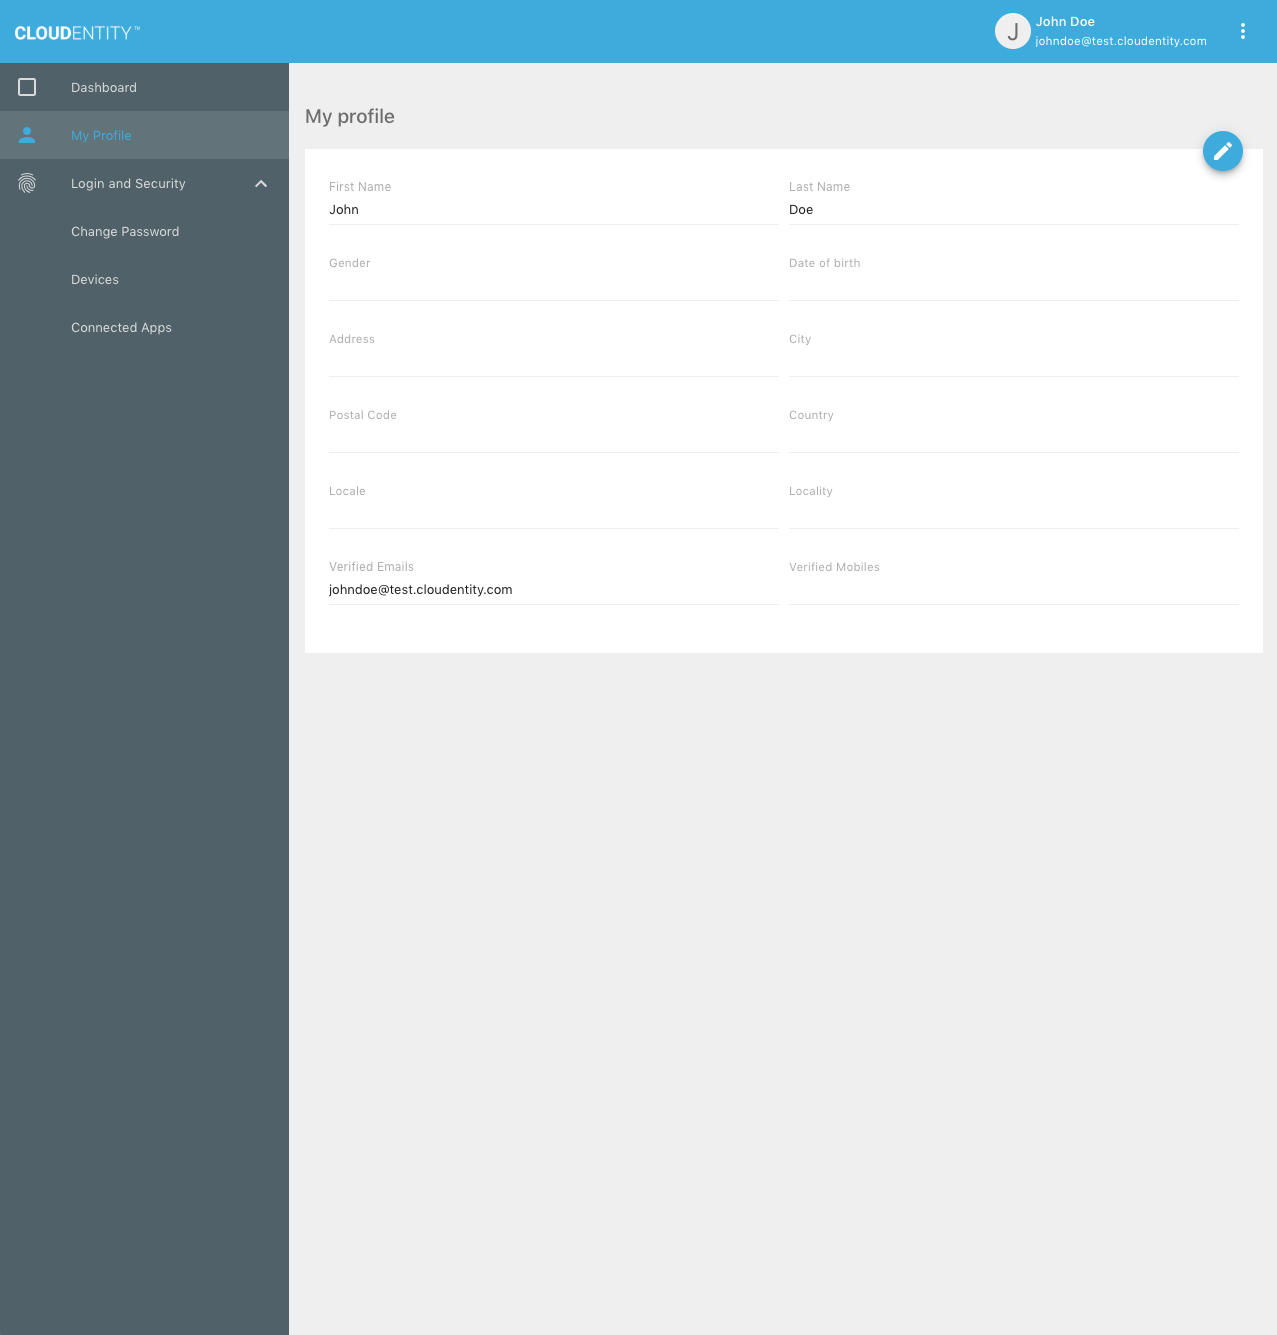
In the Self-Service UI, the user can select the "My Profile" menu to view profile information:
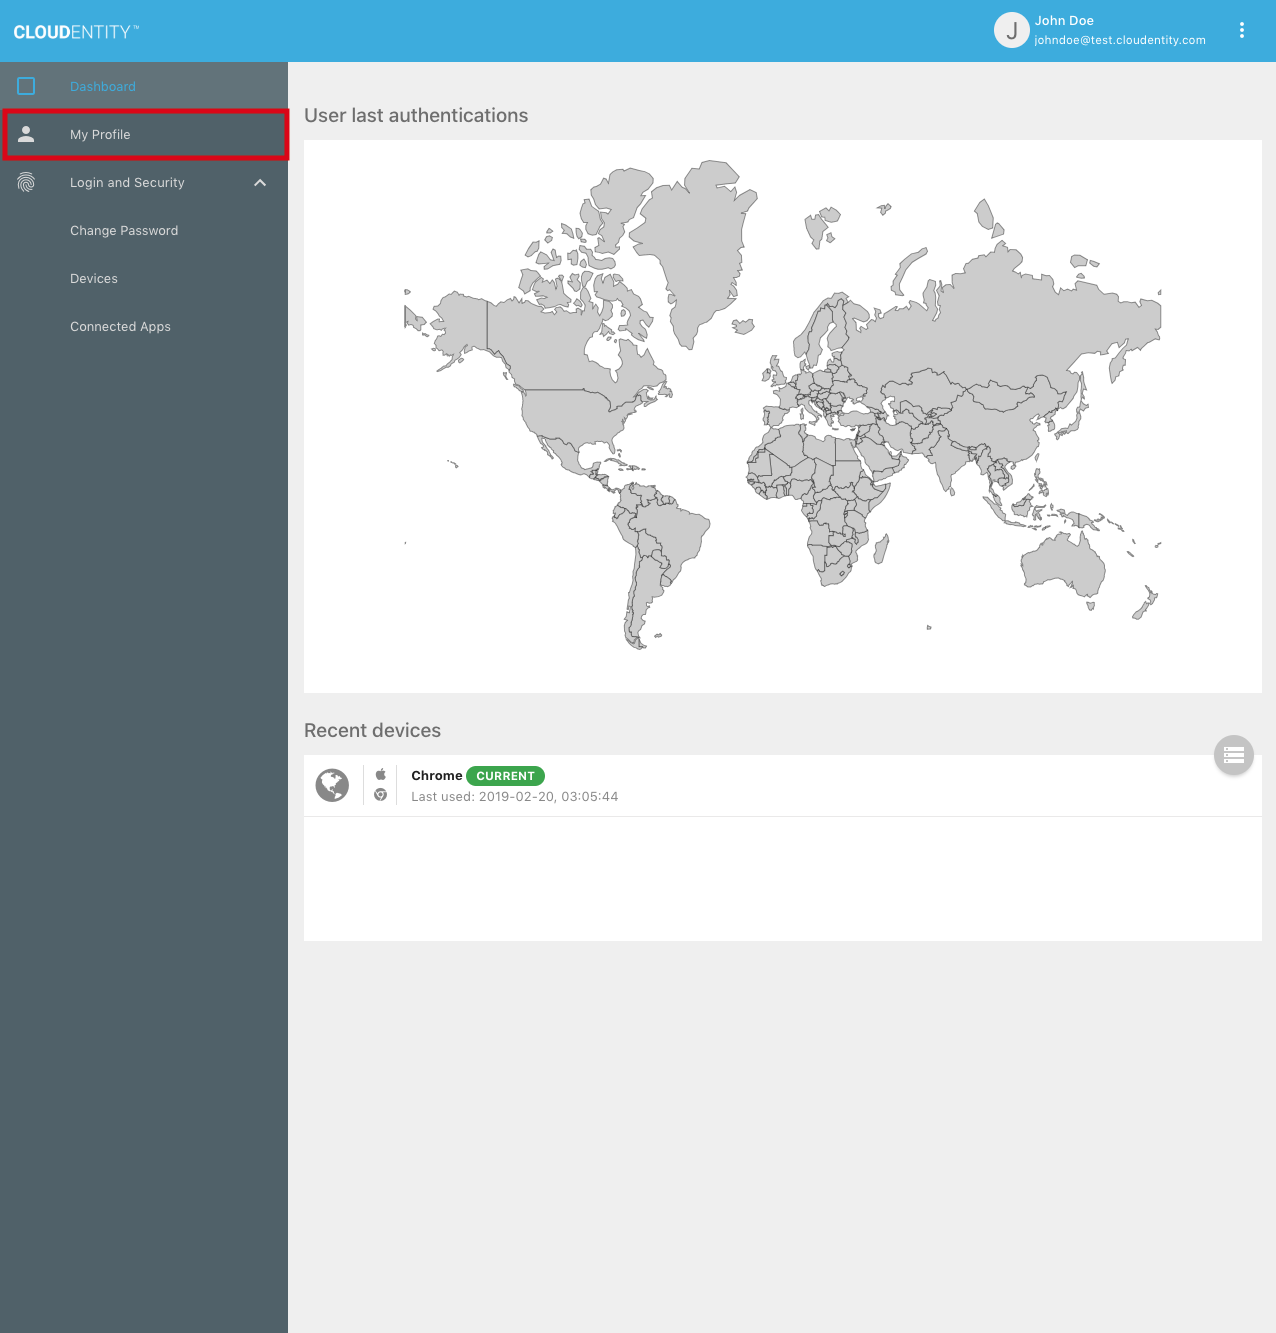
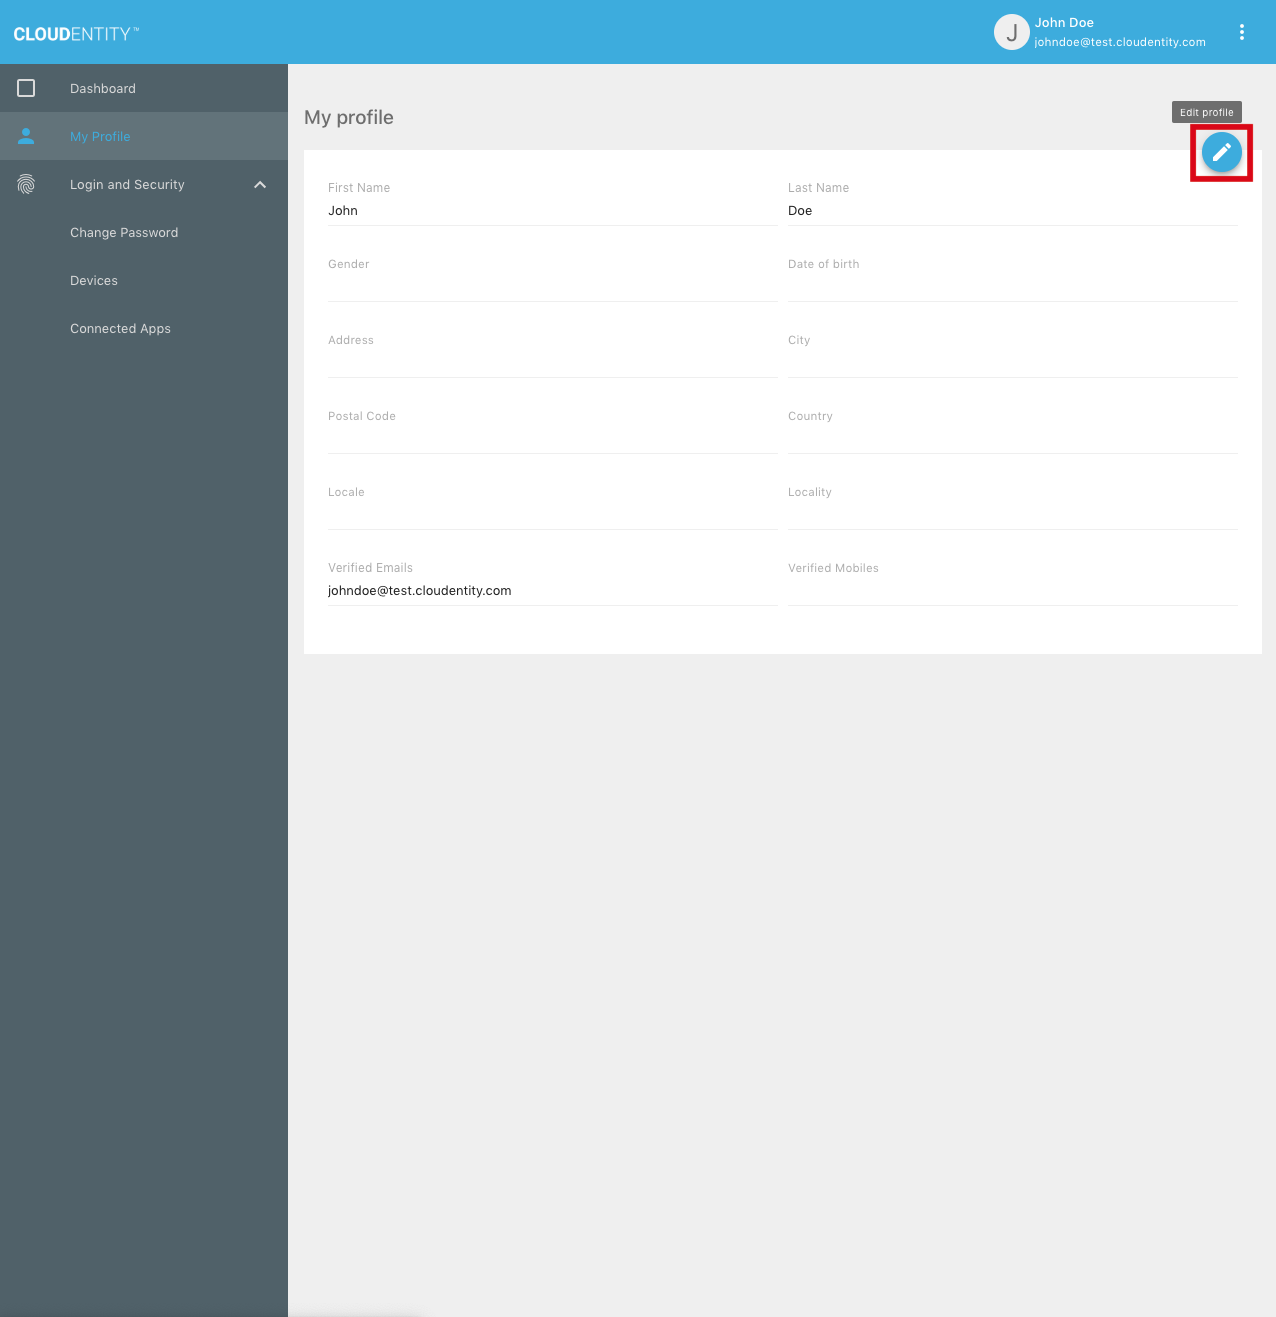
To edit the profile, the user can select the "Edit profile" button:
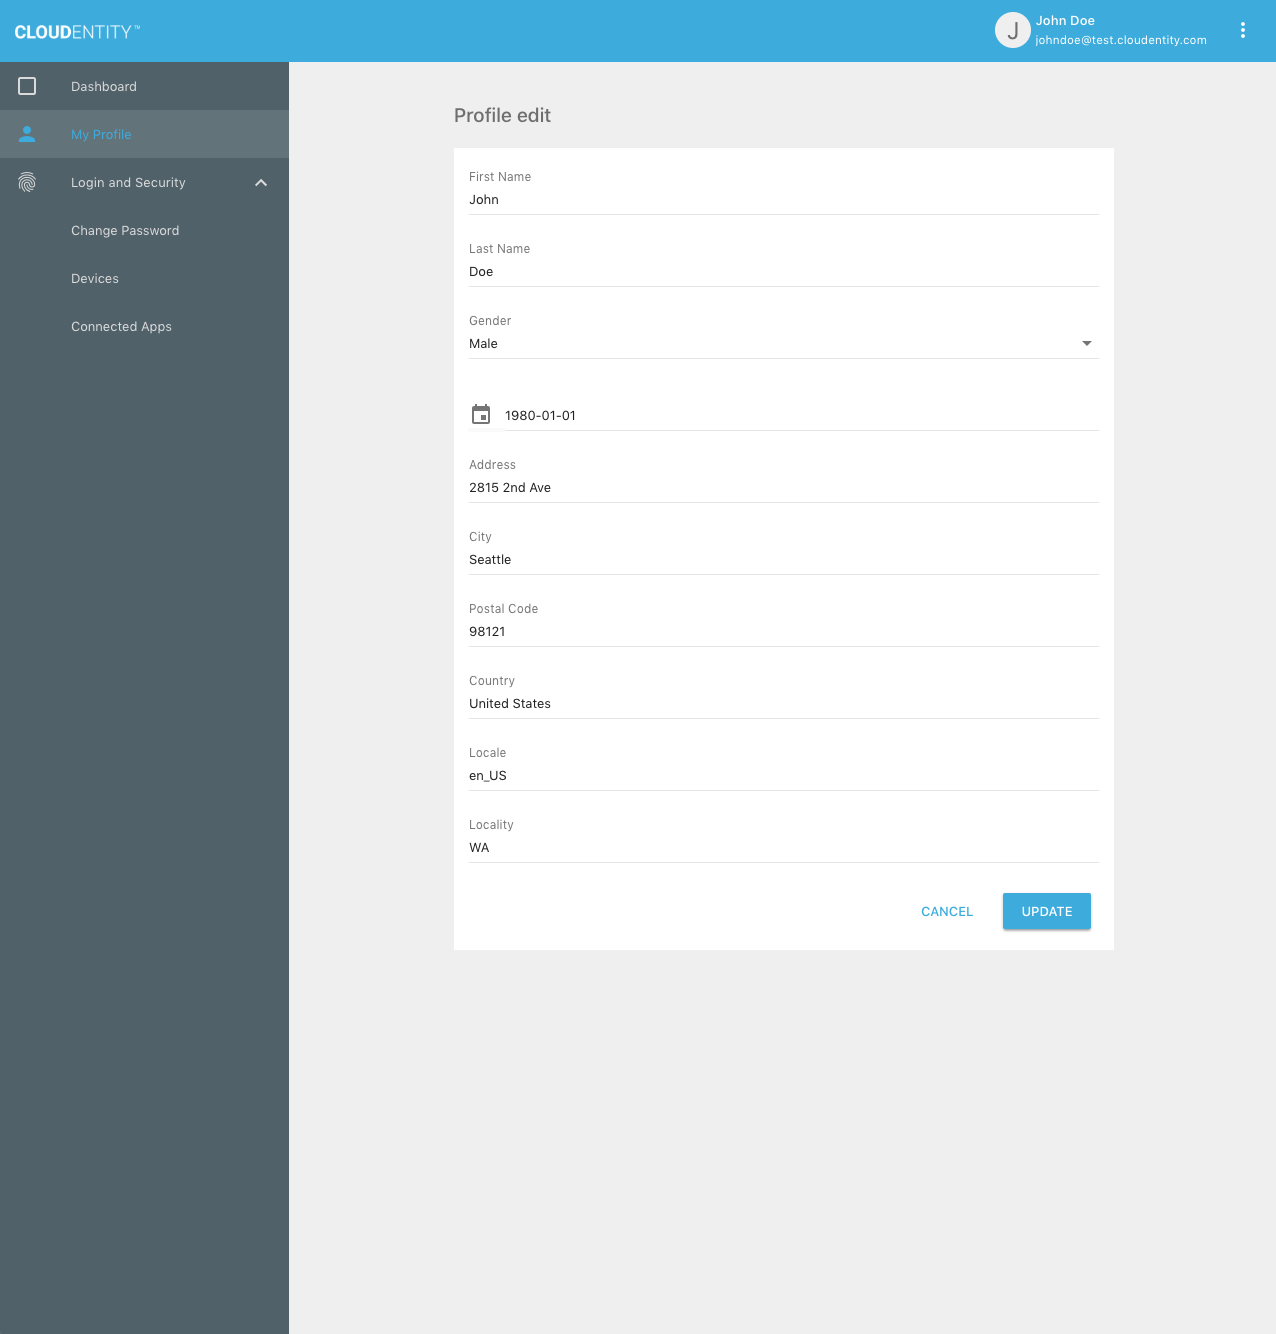
The user can enter new values for the fields shown, then click "Update":
Password Management
In the Cloudentity system, passwords are handled with extra care and require special flows to manage.
Password Change (for Authenticated Users)
An authenticated user can change his or her password using the following API:
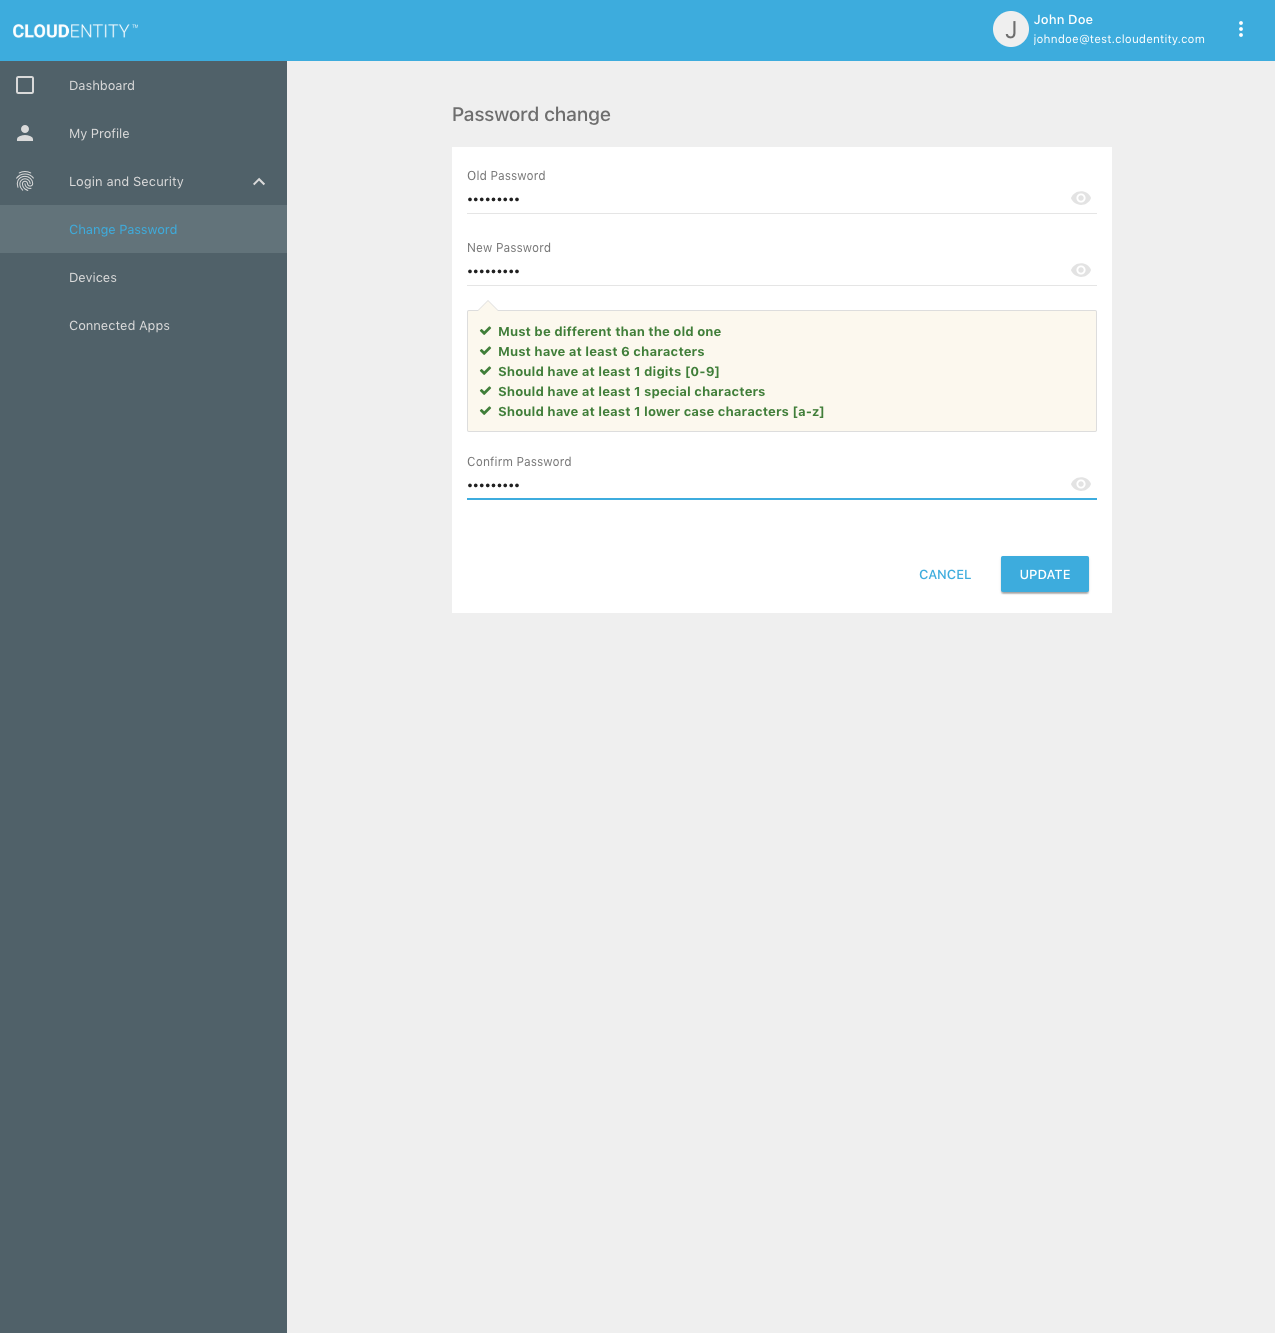
In the Self-Service UI, the user can select the "Change Password" option:
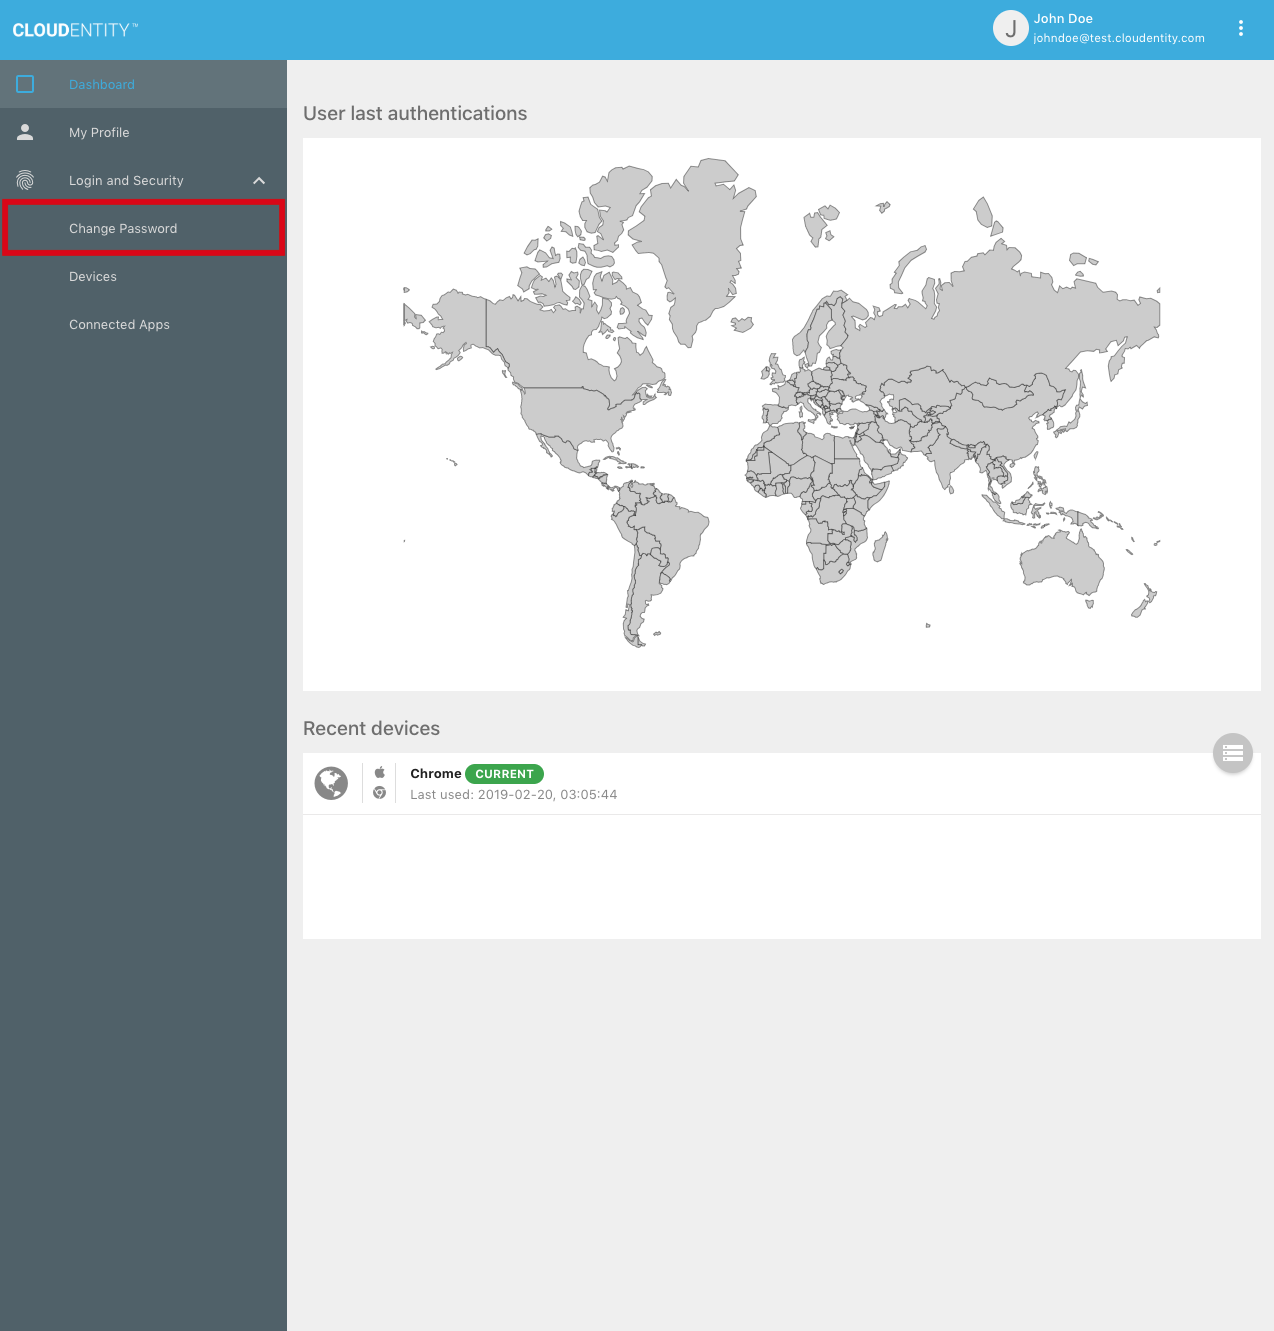
Once the user enters the valid old password and a new password matching the password policy rules, the password will be updated:
Password Reset (for Unauthenticated Users)
If a user has forgotten his or her password, the user cannot log in. The password-reset flow allows an anonymous user to recover the account by setting a new password.
The password-reset flow has two stages:
-
Request Password Reset: Initiates a password-reset flow by sending an encrypted verification code to a user’s email address
-
Confirm Password Reset: Verifies the encrypted verification code and sets the password for the user
A password reset flow may be initiated by the following actions:
-
Request Password Reset (Administrative): An authenticated admin selects a user for whom a password-reset flow is initiated. An encrypted verification code is sent to the user’s default email. The user is deactivated to prevent authentication until the flow is completed. Any failures are reported to the admin in the API response.
-
Request Password Reset, to Alternative Email (Administrative): Similar to the administrative action, but the admin can choose an arbitrary destination email address besides the user’s default email.
-
Request Password Reset (Self-Service): An anonymous user provides an identifier, and if the user is found, an encrypted verification code is sent to the user’s default email. The user is not deactivated, and failures are not reported to the calling entity.
The following API may be used by anonymous users to initiate a password-reset flow:
Once the encrypted verification code has been received, the following API may be used to complete password reset:
|
Note
|
Password-reset may also be performed as part of the "Verify Email or Mobile and Issue Session (Anonymous)" API. |
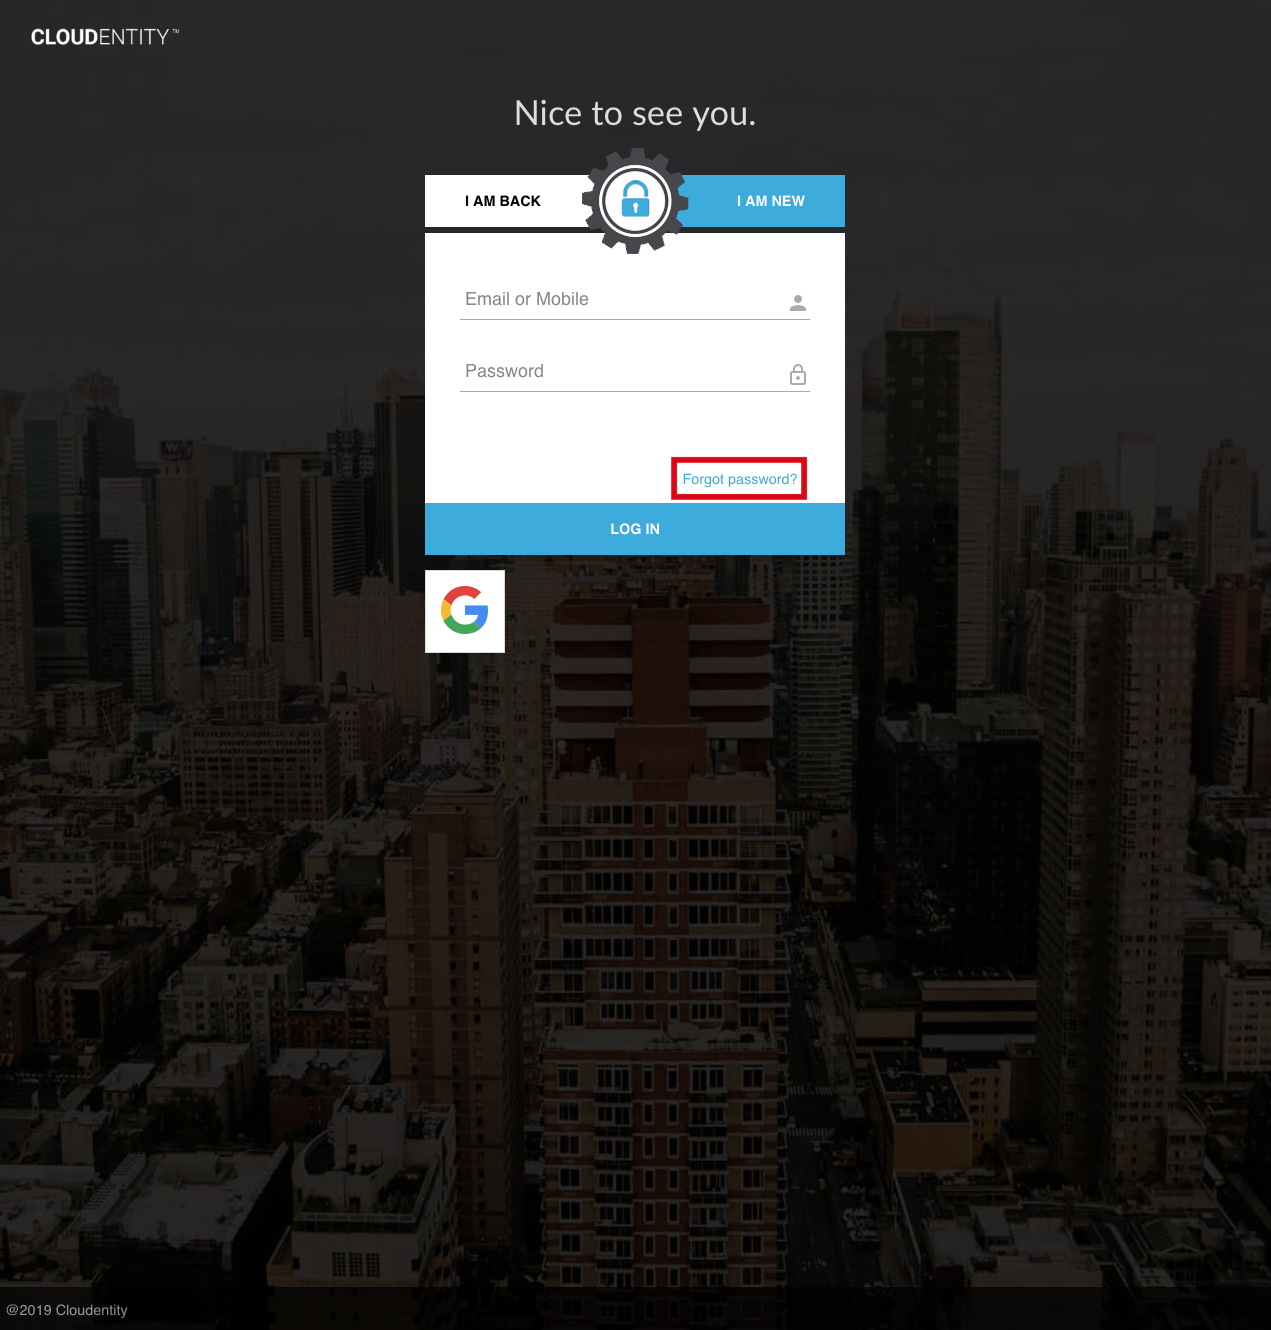
In the AuthN UI, the unauthenticated user may click the "Forgot password?" button to initiate a password-reset flow:
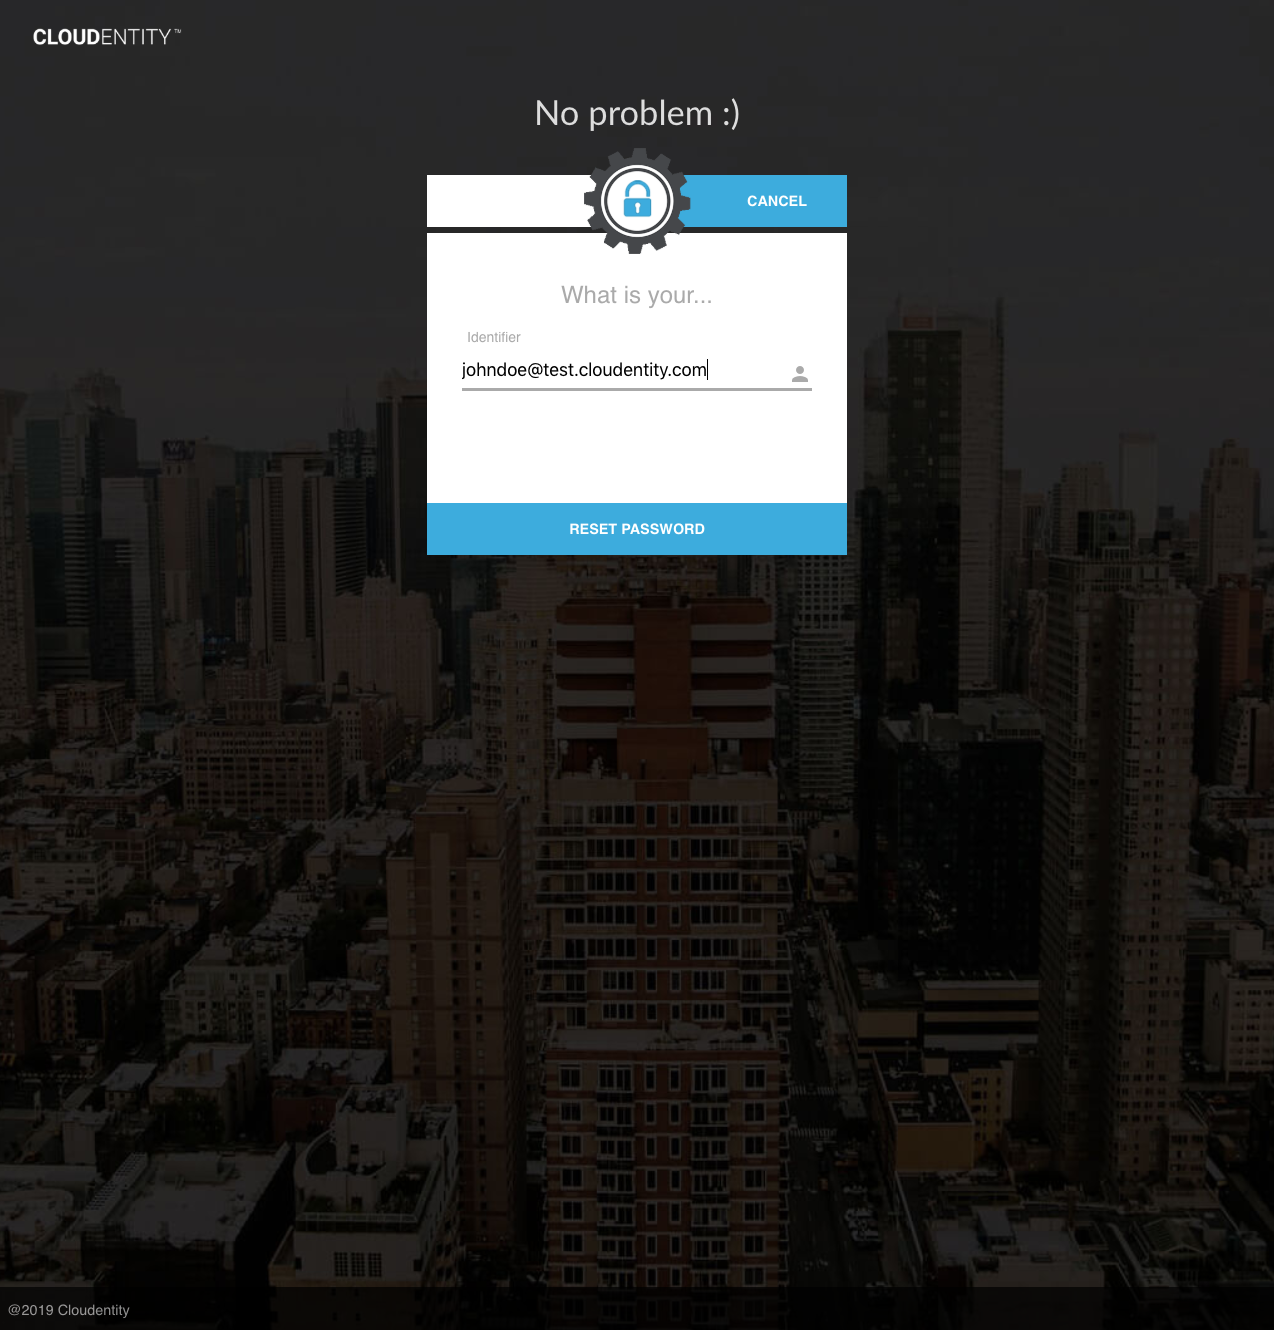
When the user enters his or her identifier, an email will be sent to the user’s default email:

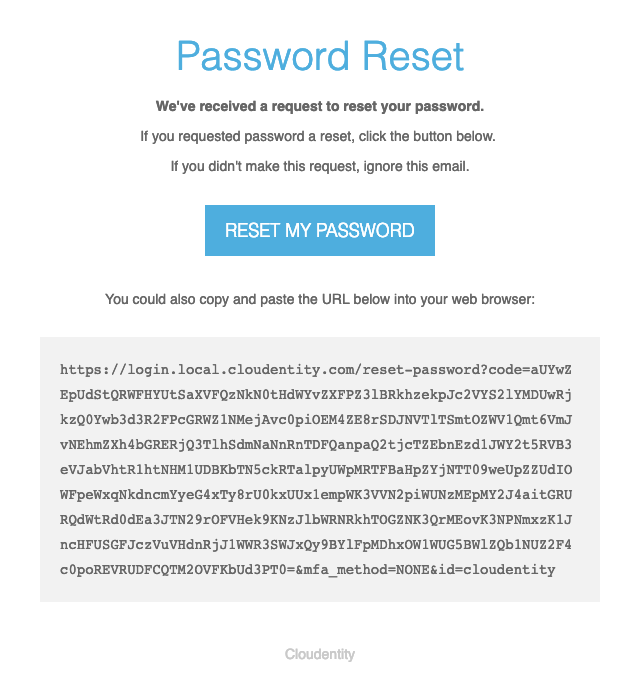
When the user clicks the link in the email, the user is taken to the AuthN UI to enter a new password:
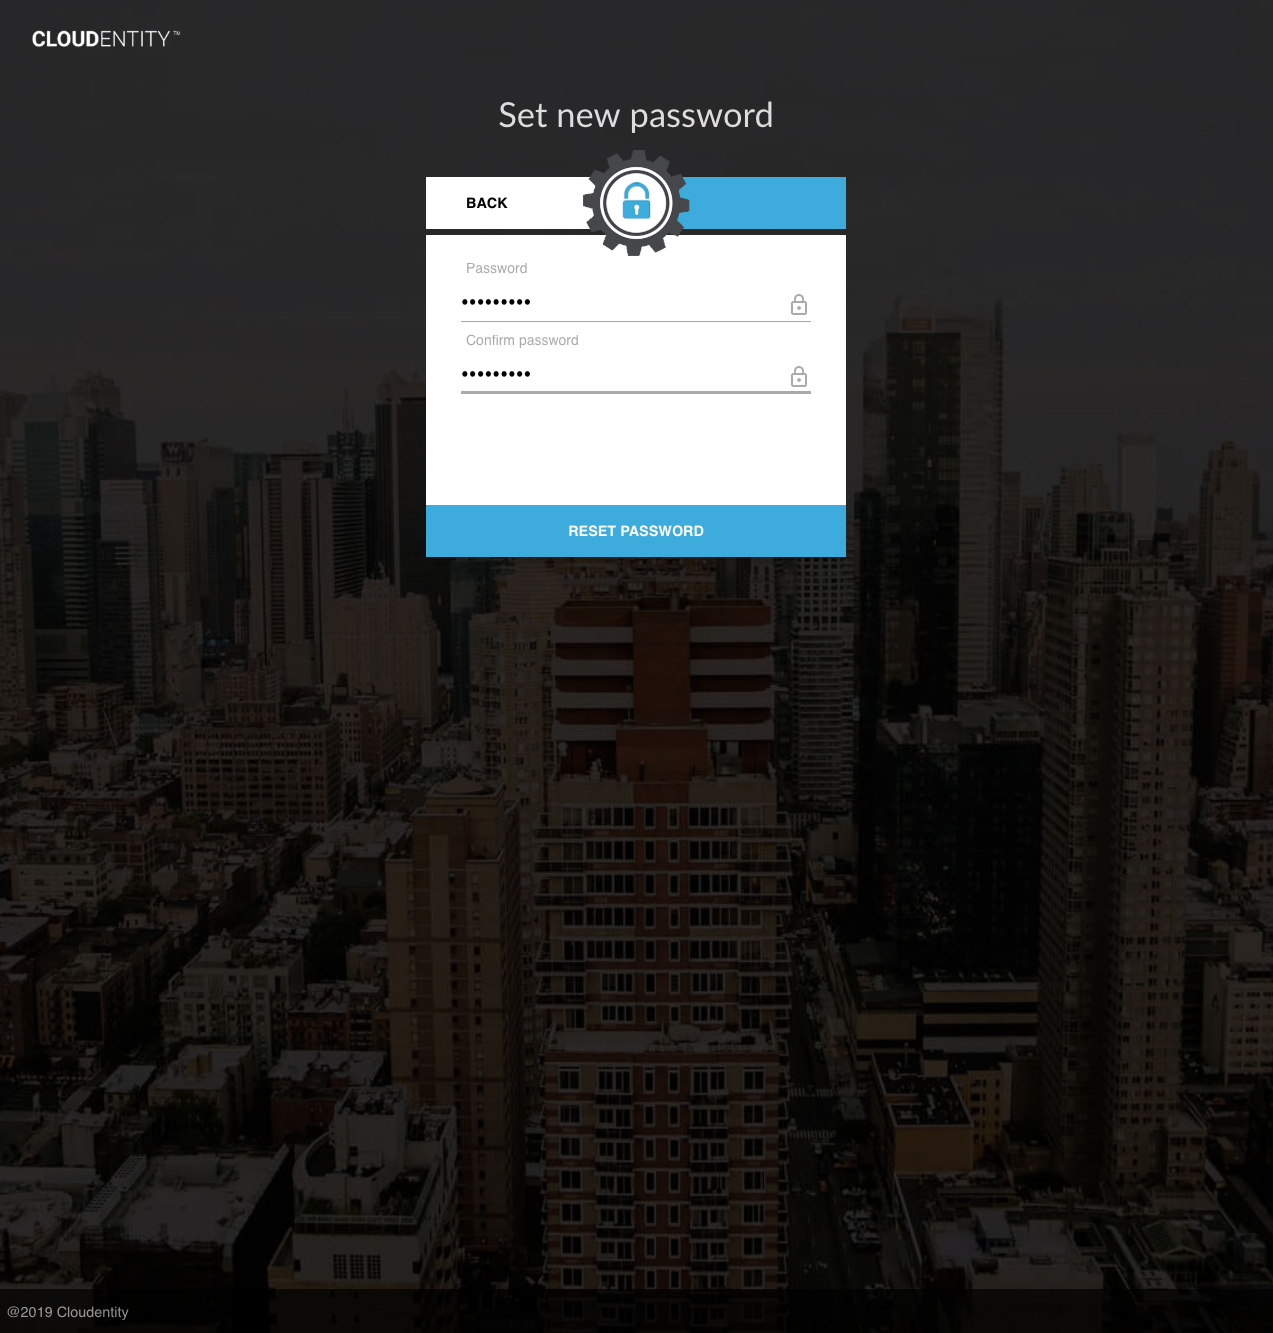
Once the new password is submitted, the user can authenticate with the new password:

Identifier / Destination Address Management
This section addresses user self-service capabilities surrounding management of user identifiers (including UID, and emails and mobiles used as identifiers) as well as verifying email addresses and mobile numbers. Note that in this section, "identifiers" and "destination addresses" are used interchangeably, although in reality they are distinct concepts. See One-Time Codes and Verified Addresses and Identifiers for necessary background information.
Retrieving Masked Addresses
For some user experiences, a list of user emails and mobile addresses is displayed to the user (e.g. to allow selection of a particular address as the destination of a message or one-time code). In certain cases it is desired to mask the address when displaying it to the user. The following API provides this functionality:
|
Note
|
Some OTP MFA APIs use the generated key values from the API response to send a one-time code to the corresponding address. See the MFA Flows guide for more information.
|
Adding Destination Addresses
An authenticated user may add a new, unverified email address or mobile number to his/her account using the following API:
|
Note
|
An administrative version of this API also exists. In addition to the self-service functionality, the administrative API allows an admin to explicitly specify the new address as an identifier (if the areVerifiedAddressesIdentifiers flag is false).
|
Changing UID
The user may modify his/her UID using the following API:
Verifying Destination Addresses
Verifying an unverified destination email or mobile address requires a two-step process:
-
Send one-time code to address
-
Confirm one-time code
This flow begins with sending a verification code:
Once received, the one-time code may be confirmed through any of the following APIs:
-
Verify Destination Address (Authenticated): Uses the provided session token to identify the user. Upon confirmation of the one-time code, marks the address as verified.
-
Verify Destination Address (Anonymous): If the code type is encrypted verification code, decrypts the code to identify the user. If the code type is plaintext OTP, requires an explicit
identifierrequest parameter to identify the user. Upon confirmation of the one-time code, marks the address as verified. -
Verify Destination Address and Issue Session (Anonymous): Same as Anonymous API, but supports session-issuance and password-reset as well.
These APIs are described below:
The Self-Service UI may be used to send verification codes and verify addresses. If an unverified address exists for the user, a notification is shown at the top of the main page:
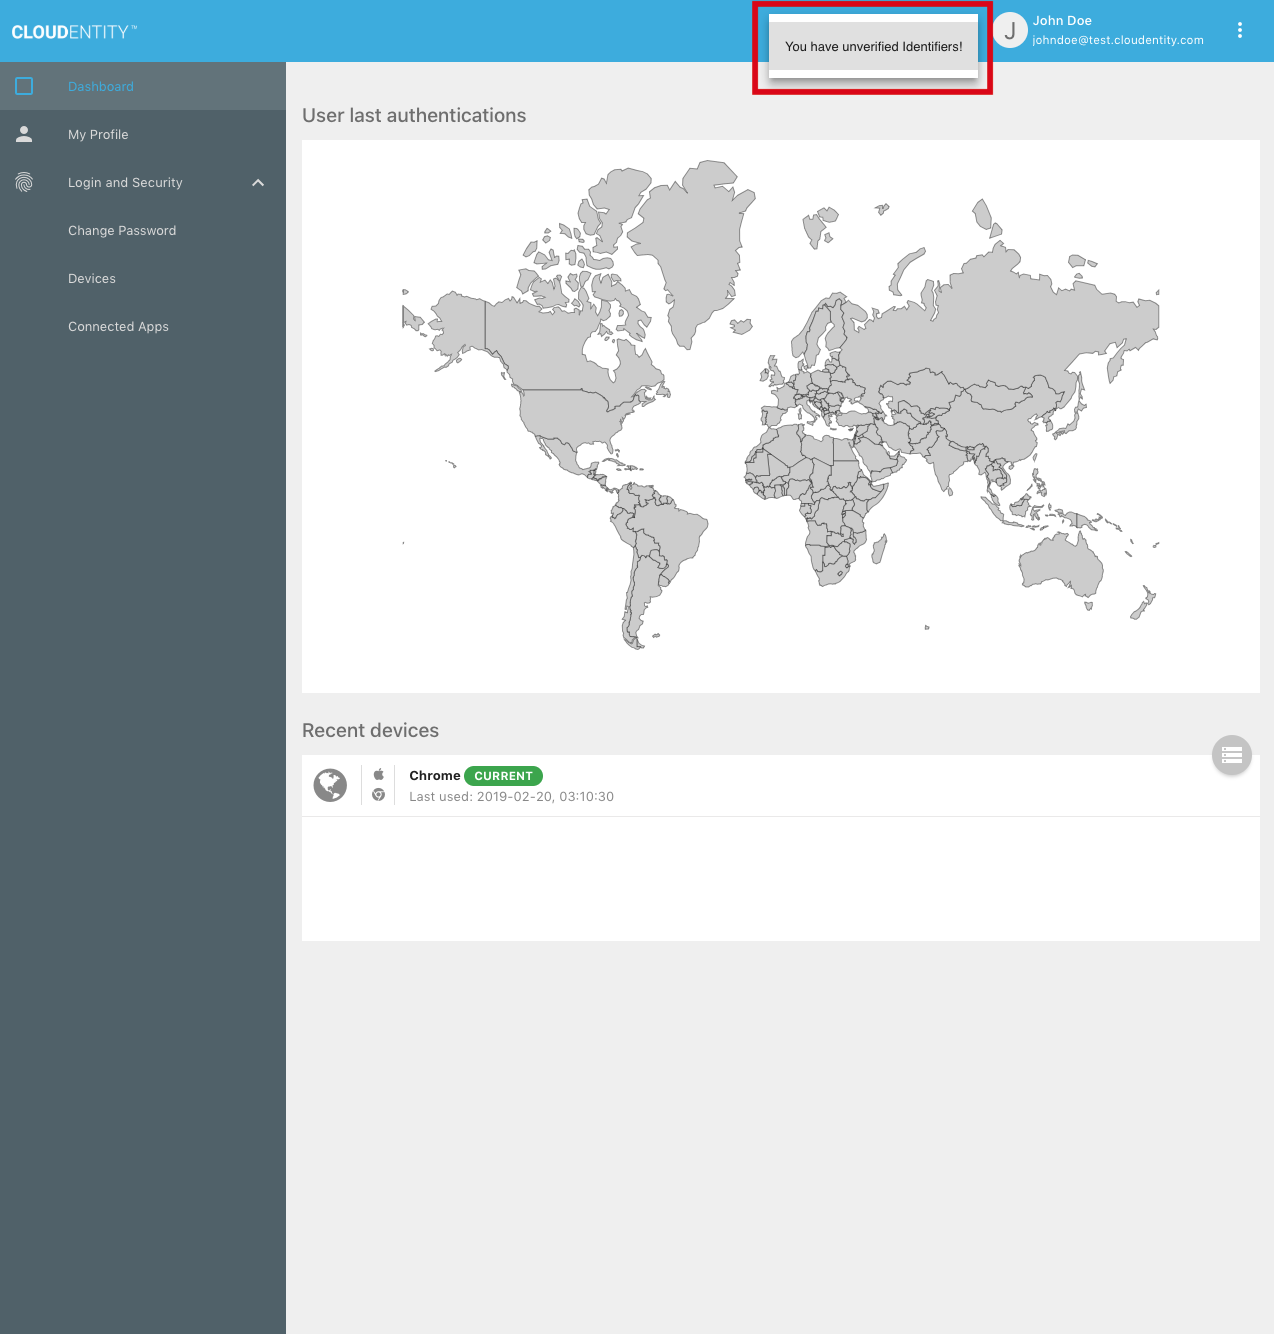
Clicking on the notification takes the user to a verification request page:
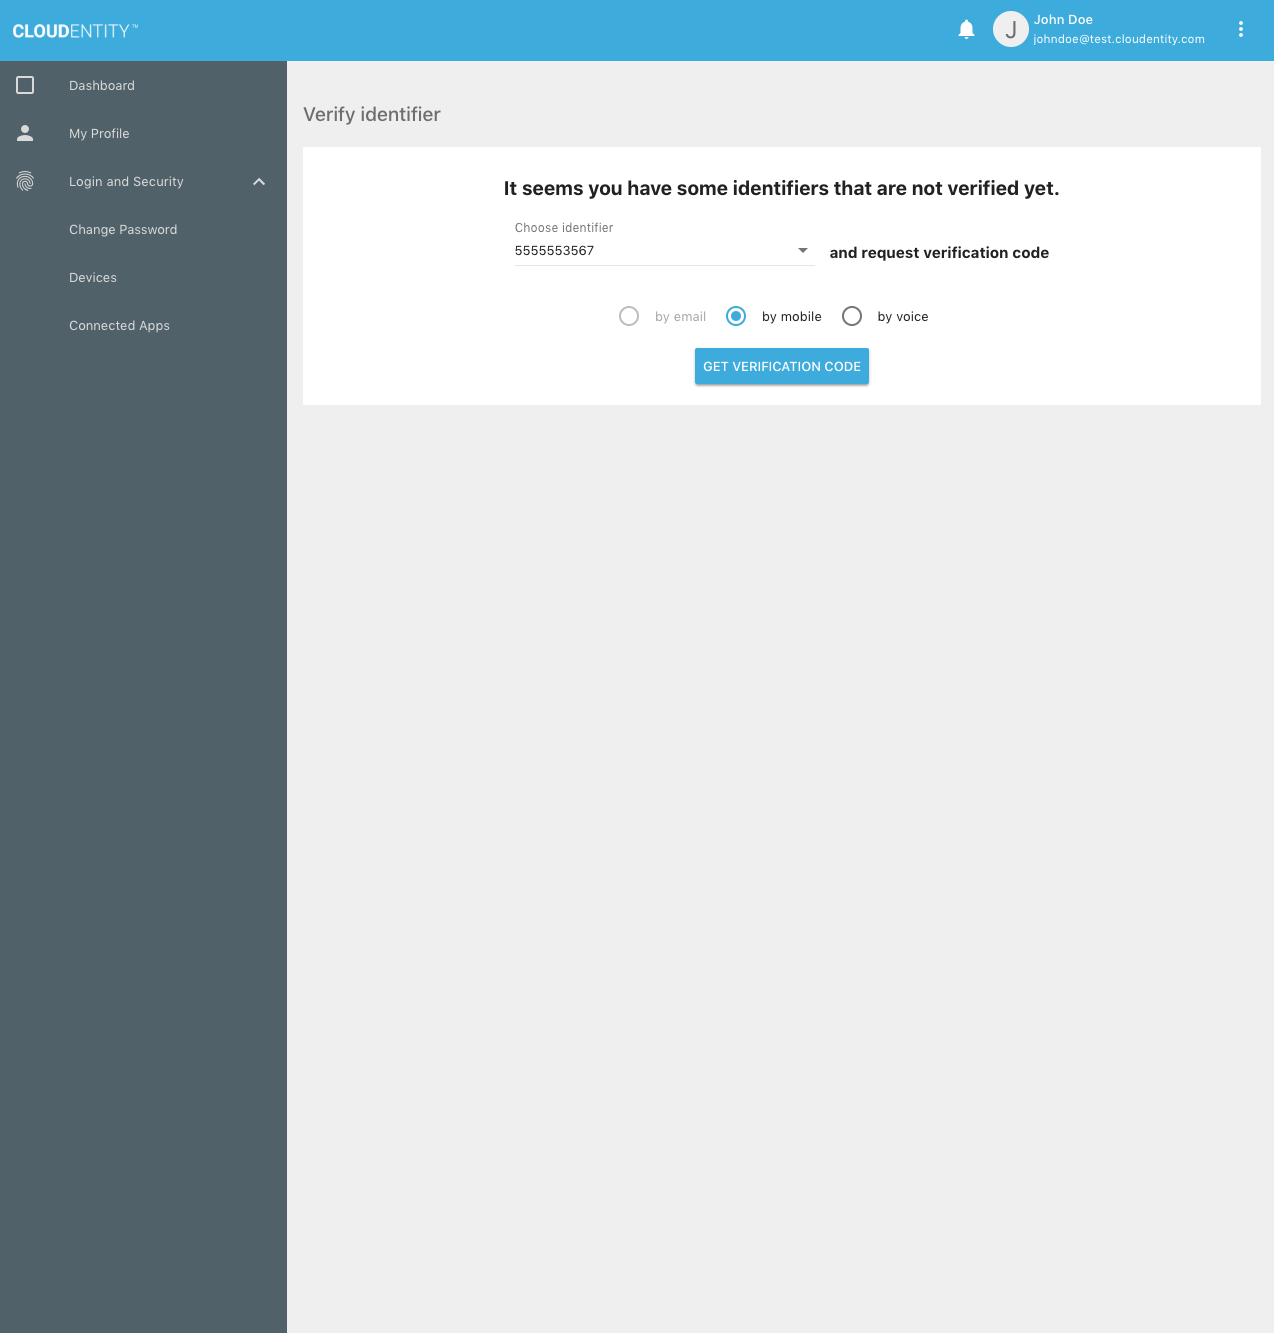
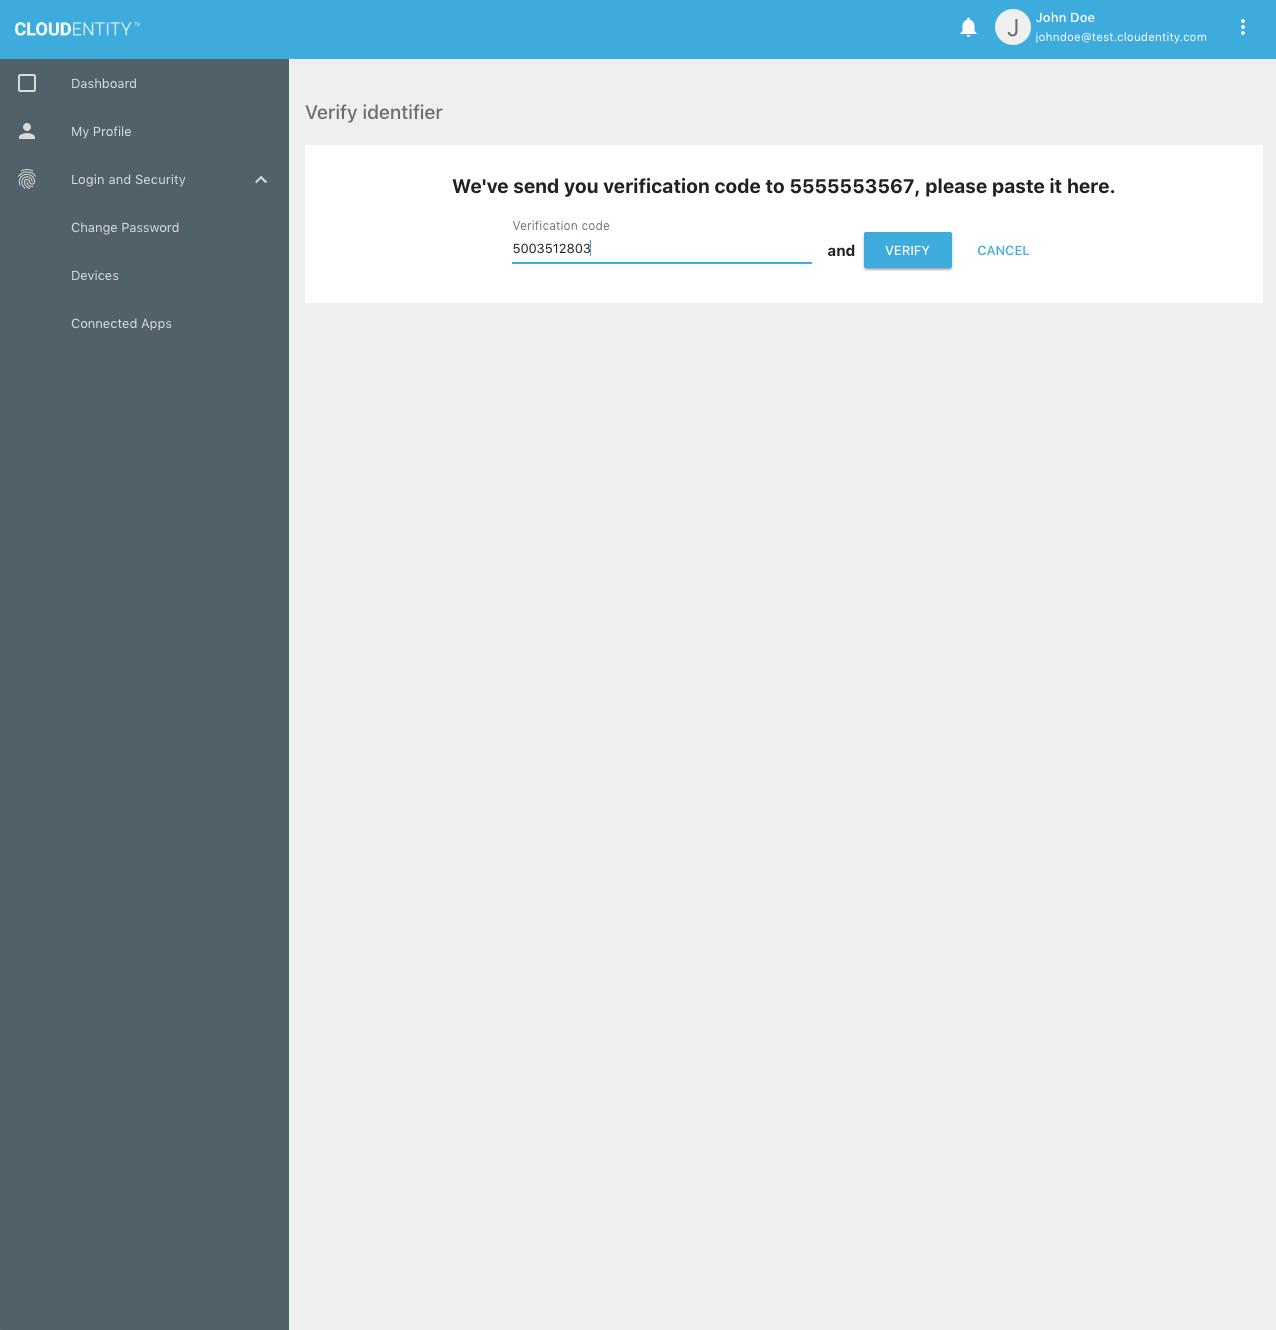
The user receives the OTP on his/her mobile device, then enters it into the UI:
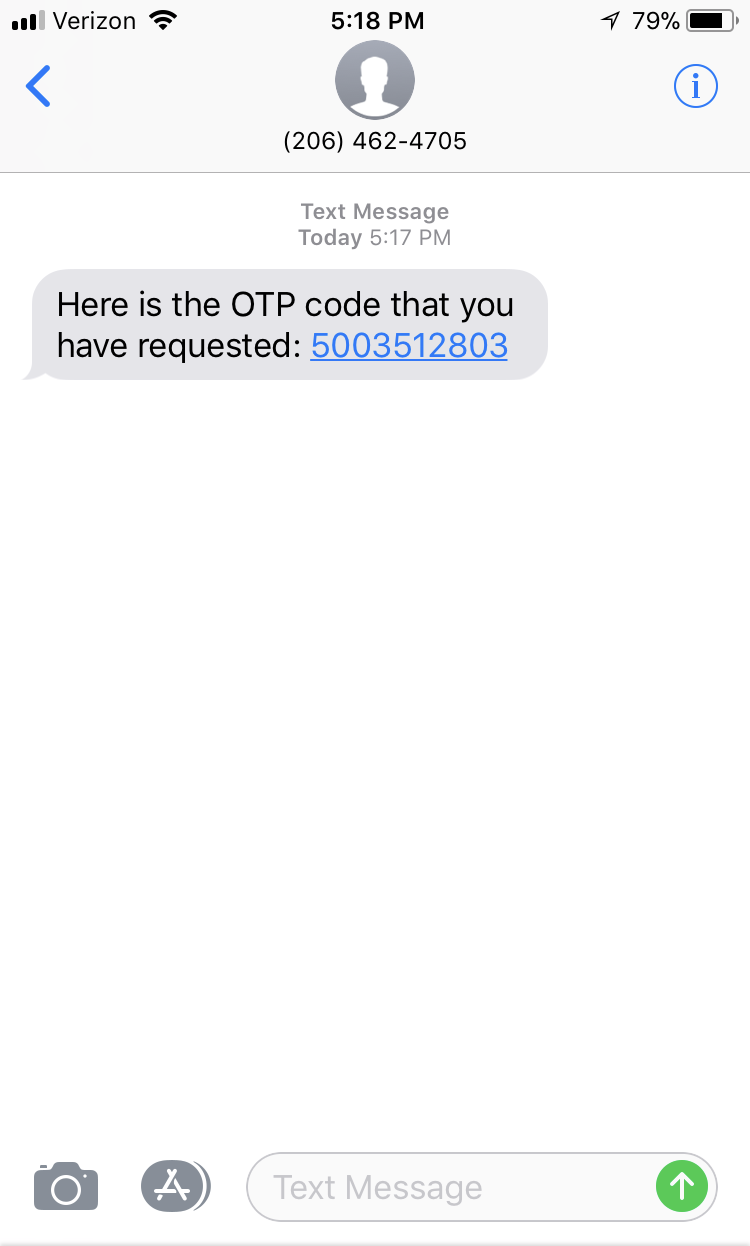
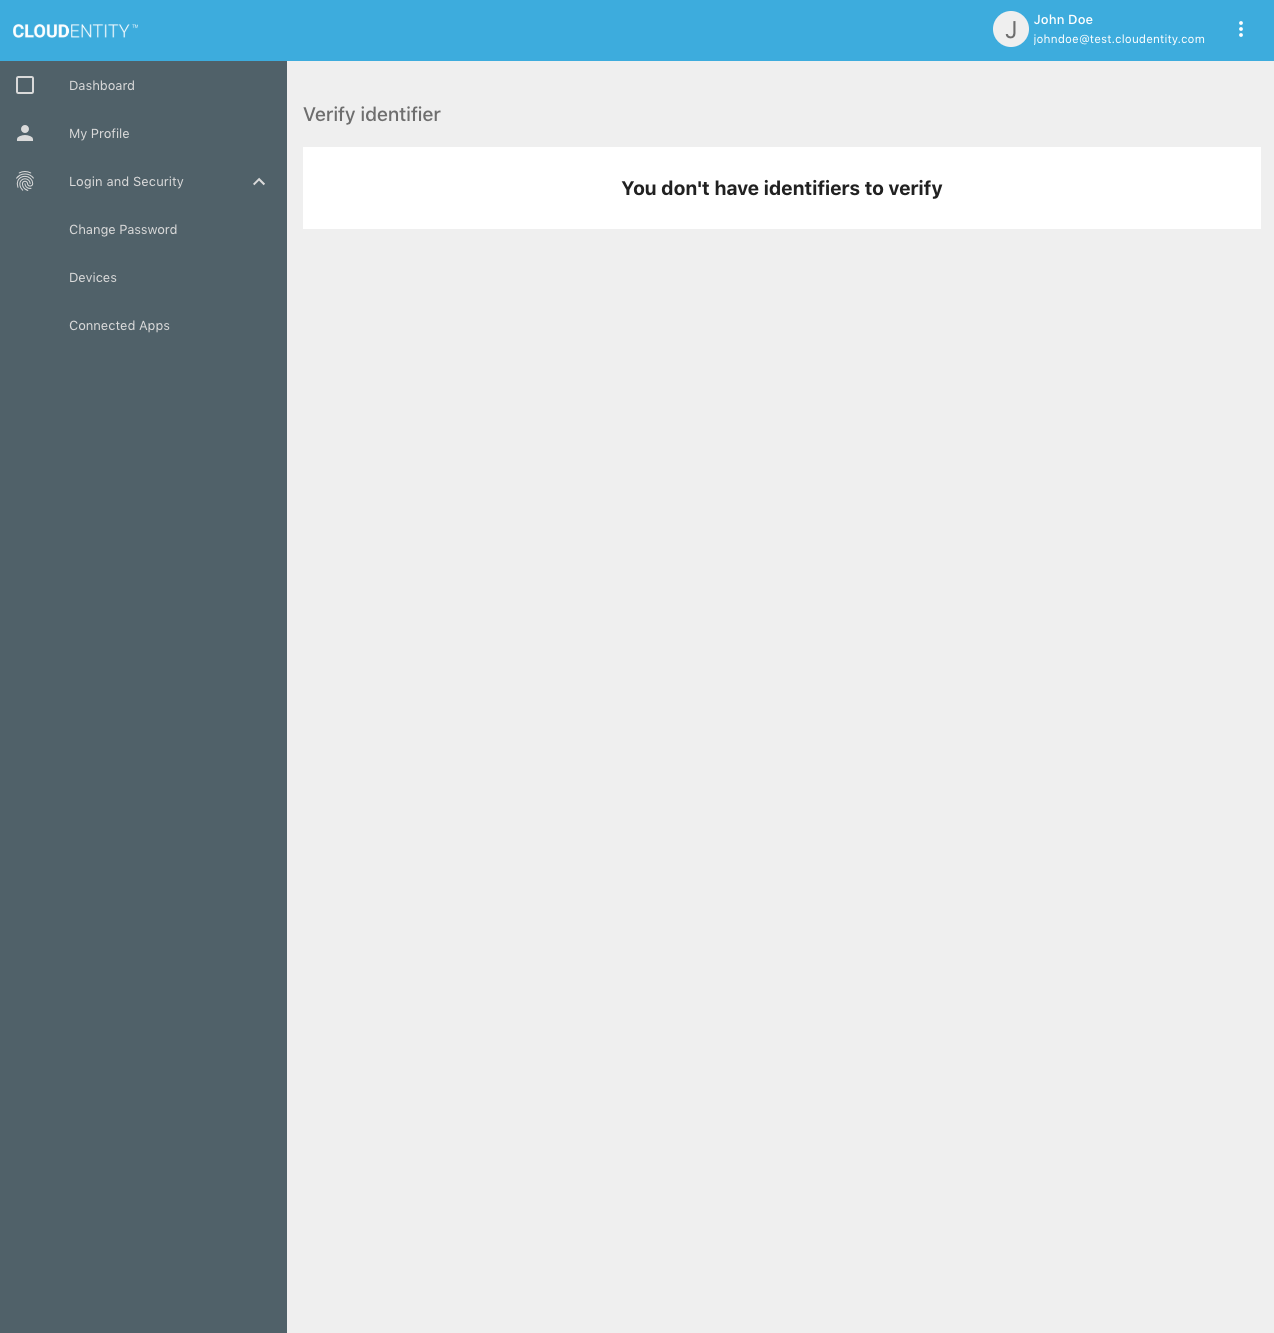
Upon success, the mobile device is verified and no unverified identifiers remain:
Removing Identifiers or Destination Addresses
A user may remove any verified destination address or UID from his/her account through the following API:
|
Note
|
An administrative version of this API exists as well. |
|
Important
|
It is possible to remove all of a user’s human-recognizable (non-UUID) identifiers. This could prevent future authentications and administrative actions unless the UUID is known to the user or acting admin. |
User Self-Service Dependencies
Cloudentity Microservices
The following Cloudentity components are used to support user self-service features in the Cloudentity stack.
User Service
The User Service exposes a set of REST APIs for managing user records. This service is the primary component responsible for enabling user self-service capabilities.
Session Service
The Session Service exposes a set of REST APIs for SSO session verification and retrieval of details.
User self-service features which require authentication rely on the Session Service to determine which user is performing an action. This service is also used by the Authorization Service and the API Gateway when evaluating authorization policies.
See the Session Service API guide for more details.
AuthN Service
The AuthN Service exposes a set of REST APIs for user authentication.
Many user self-service features require an authenticated session, so that the system knows which user is performing an action.
See the AuthN Service API guide for more details.
Authorization Service (authz-service)
The Authorization Service maintains authorization policies, and exposes APIs for managing and validating these policies.
Authorization policies are used to govern authentication and authorization flows. Many user self-service actions may only be performed by users who are fully authenticated (i.e. have completed all necessary authentication steps, including MFA). Some actions also require additional authorization.
See the Authorization Service API guide for more details.
AuthN Events Service
The AuthN Events Service supplements the Authorization Service’s policy validation engine by exposing APIs to manage auth events.
See the AuthN Events Service API guide for more details.
API Gateway
The API Gateway is a reverse-proxy server with configurable rules for exposing and hiding endpoints for the API microservices. It supplies a generic mechanism for enforcing authentication and authorization on a per-resource basis.
All external traffic to API services must be routed through the API Gateway.
See the API Gateway microservice guide for more details.
Low-Level API Service (LLA)
The Low-Level API Service provides a REST interface which allows other API services to access the datastore and session store. This microservice is designed for internal use only, and is a key component of the Cloudentity stack.
LLAs are not exposed publicly; internal LLA microservice documentation is available on request.
AuthN UI
The AuthN UI is the front-end interface for user authentication flows. It relies heavily on the Authorization Service policy validation engine, as well as the other API services, to guide users through various authentication processes. Users may use this UI to perform unauthenticated or partially authenticated actions, like requesting password reset.
This component is not required for user self-service functionality — direct API calls may facilitate these actions in the absence of the AuthN UI.
Self-Service UI
The Self-Service UI is the front-end interface for user self-service functionality. Users may use this UI to perform authenticated self-service actions, like password change and profile update.
This component is not required for MFA functionality — direct API calls may facilitate user actions in the absence of the Self-Service UI.
Administrative UI
The Administrative UI is the front-end interface for user management. Users with appropriate permissions may utilize this UI to force other users to reset their password, or to send a verification email.
This component is not required for MFA functionality — direct API calls may facilitate user management in the absence of the Administrative UI.
Third-Party Components
The following third-party components are used to support MFA features in the Cloudentity stack.
LDAP Datastore — implementation: OpenDJ
The LDAP datastore holds all persistent data for users, organizations and entitlements.
Session Store — implementation: Hazelcast
The session store is used to manage all session information. It allows for storage, retrieval, validation, and invalidation of sessions.
NoSQL Database — implementation: Cassandra
The NoSQL database holds authorization policies managed by the Authorization Service.
|
Note
|
The LDAP datastore may also be used for authorization policy storage. |
Webserver — implementation: Nginx
The webserver is used for SSL termination and hosting of static web resources. In some cases it supplements the API Gateway with routing and cookie parameter translation.