Integrating Azure SAML
This article provides sample Azure SAML integrations.
Prerequisites
Azure AD integration can be done in an Azure Active Directory with the following capability:
-
Self-service integration of any application that supports SAML 2.0 identity providers (SP-initiated or IdP-initiated).
Tip
Contact your Azure administrators to check that the Azure license in your organization has the above feature enabled.
Read Azure AD IDP Documentation for further information.
Set up Azure AD
-
Configure Azure to register CIP as a service provider.
Note
This procedure might change along with Azure functionalities.
-
Log in to Azure AD.
-
Select Azure Active Directory from the left-side menu.

-
Select Enterprise applications.
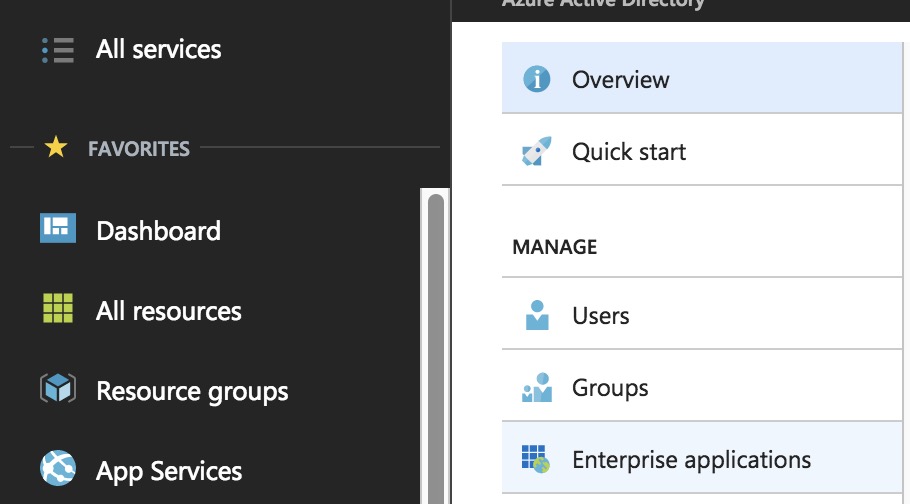
-
Register CIP as a new non-gallery application as shown below.
-
Select New application

-
Select Non-gallery application
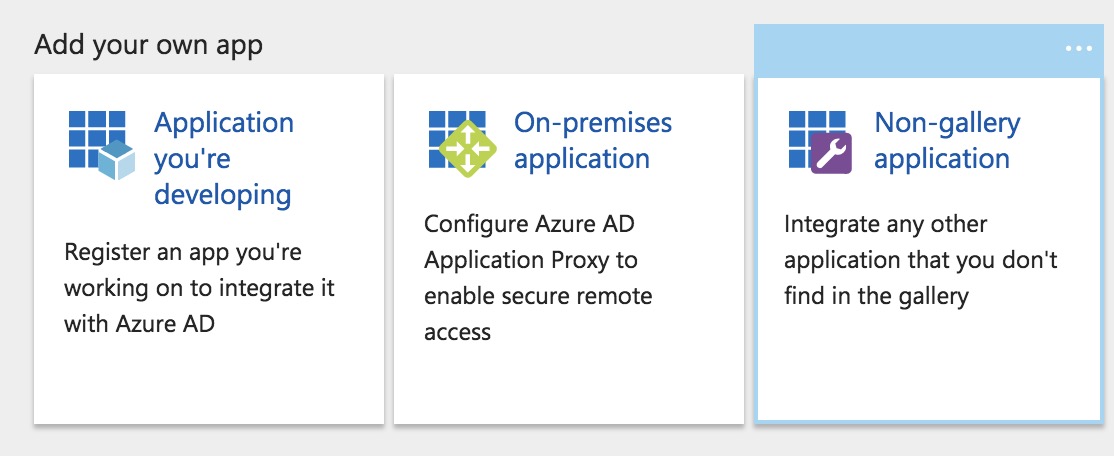
-
Give your application a name
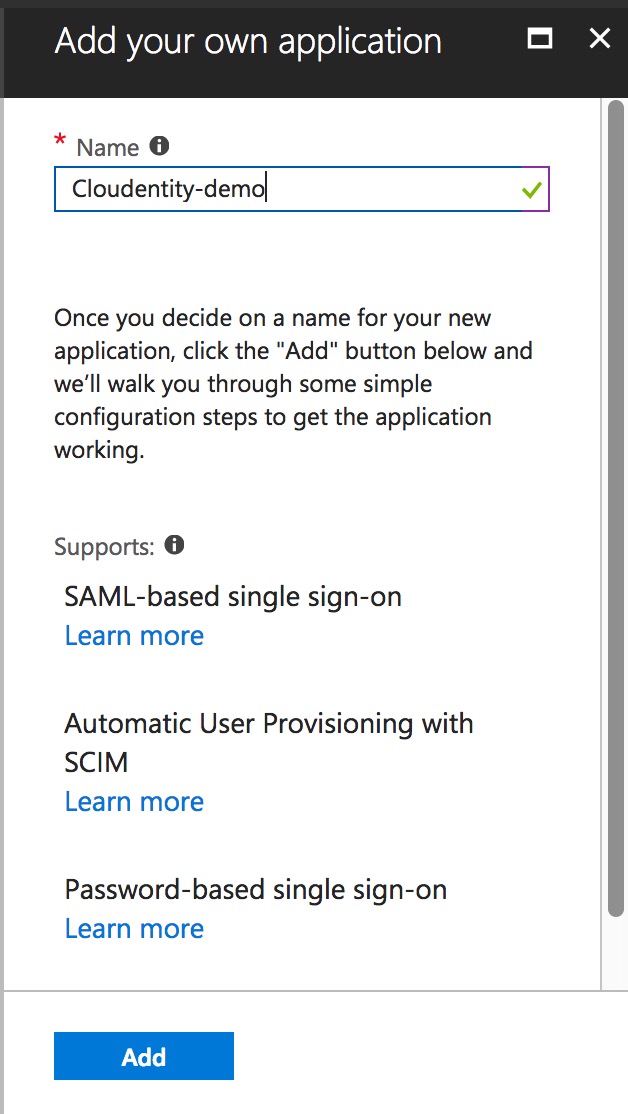
-
-
Edit the properties of your application as shown below.
-
Select Properties

-
Fill in the properties form
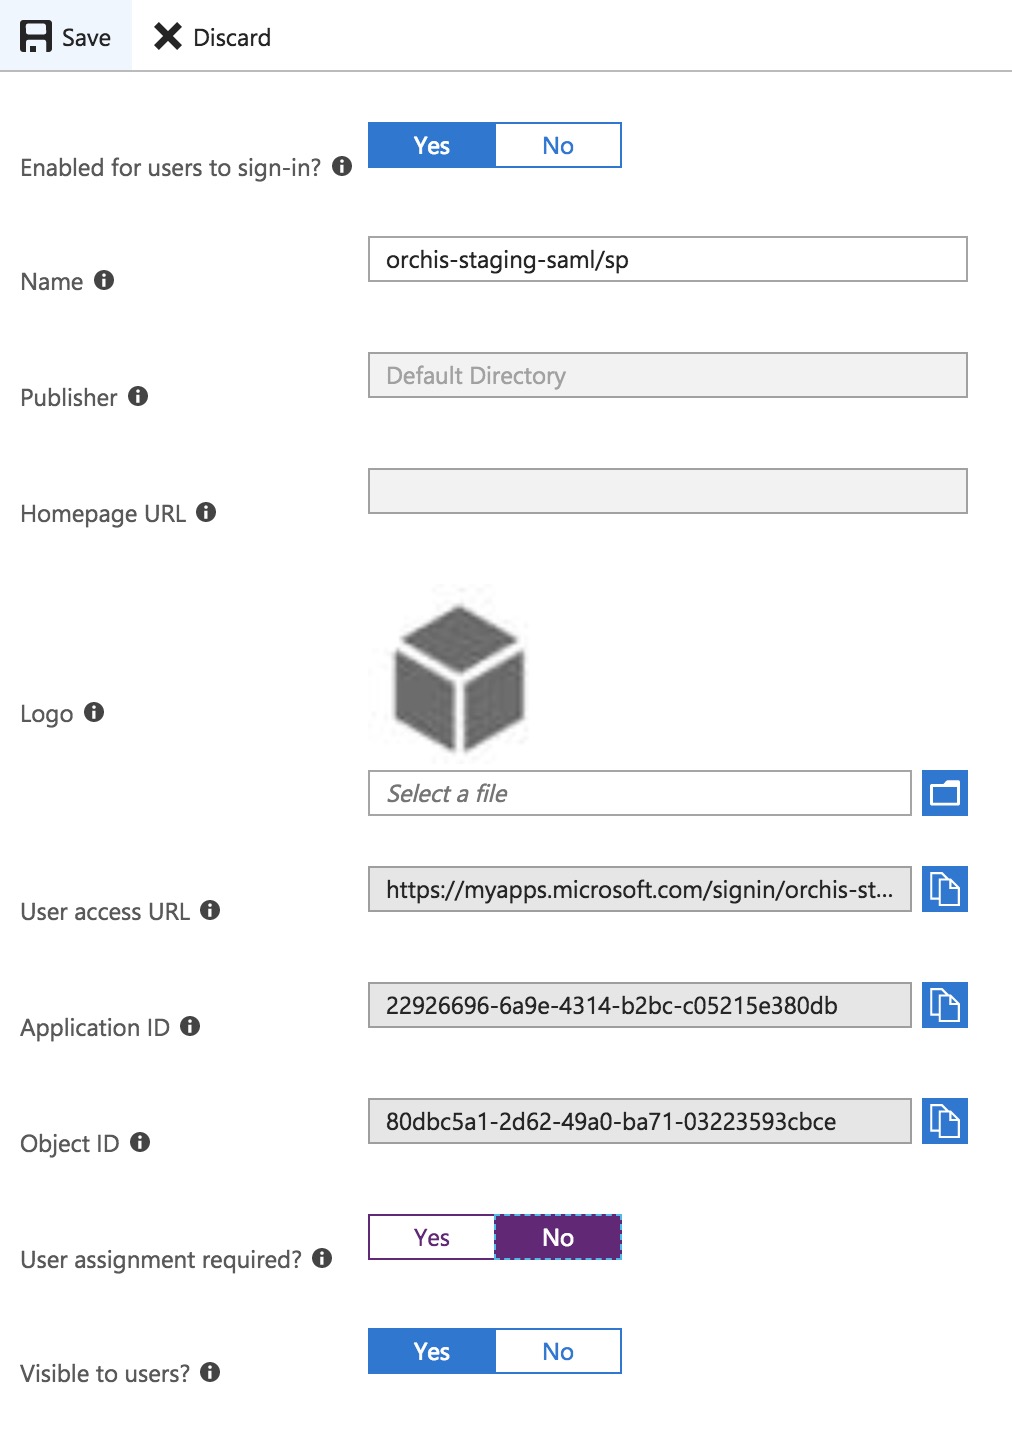
-
-
Enable Single sign-on. Select SAML-based Sign-on from the menu.
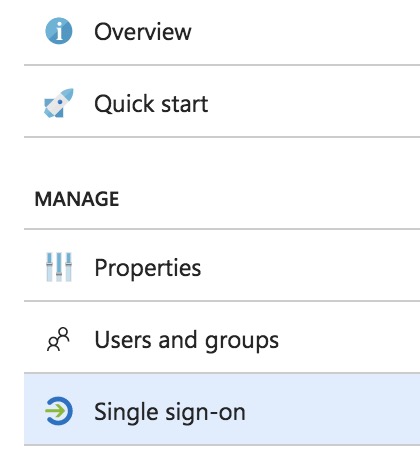

-
-
Fetch Azure SAML metadata.

-
Register Azure as an external IDP in CIP. For more information, read Configure external IDPs.
-
Download CIP SAML SP metadata. For more information, read Download SAML IDP metadata.
-
Upload CIP SAML metadata to Azure as shown below.

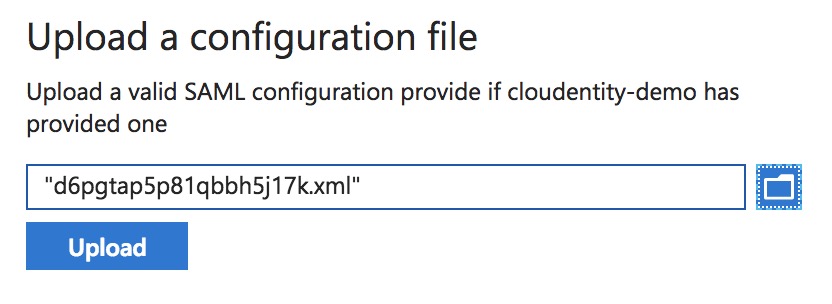

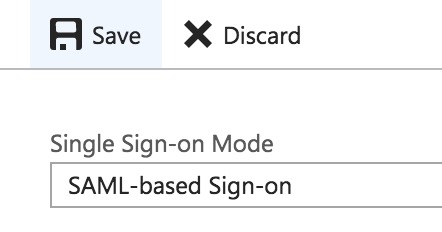
-
Configure attributes that need to be released in Azure.
-
Select App registrations from Azure Active Directory.
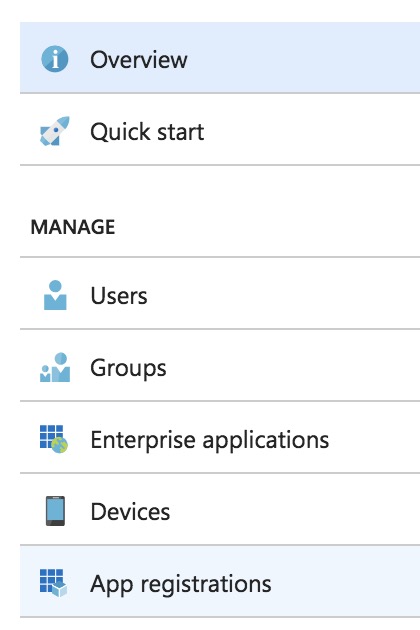
-
Select View all from App registrations.

-
Select your application.

-
Select Manifest.

-
Find
groupMembershipClaimsand change its value fromnulltoall. -
Select Save.
-
-
Verify the SAML authentication flow with Azure. For more information, read Verify SAML authentication flow.