Okta SAML integration
This article provides sample Okta SAML integrations with Cloud Identity Plane.
Register Okta as an external IDP in CIP
-
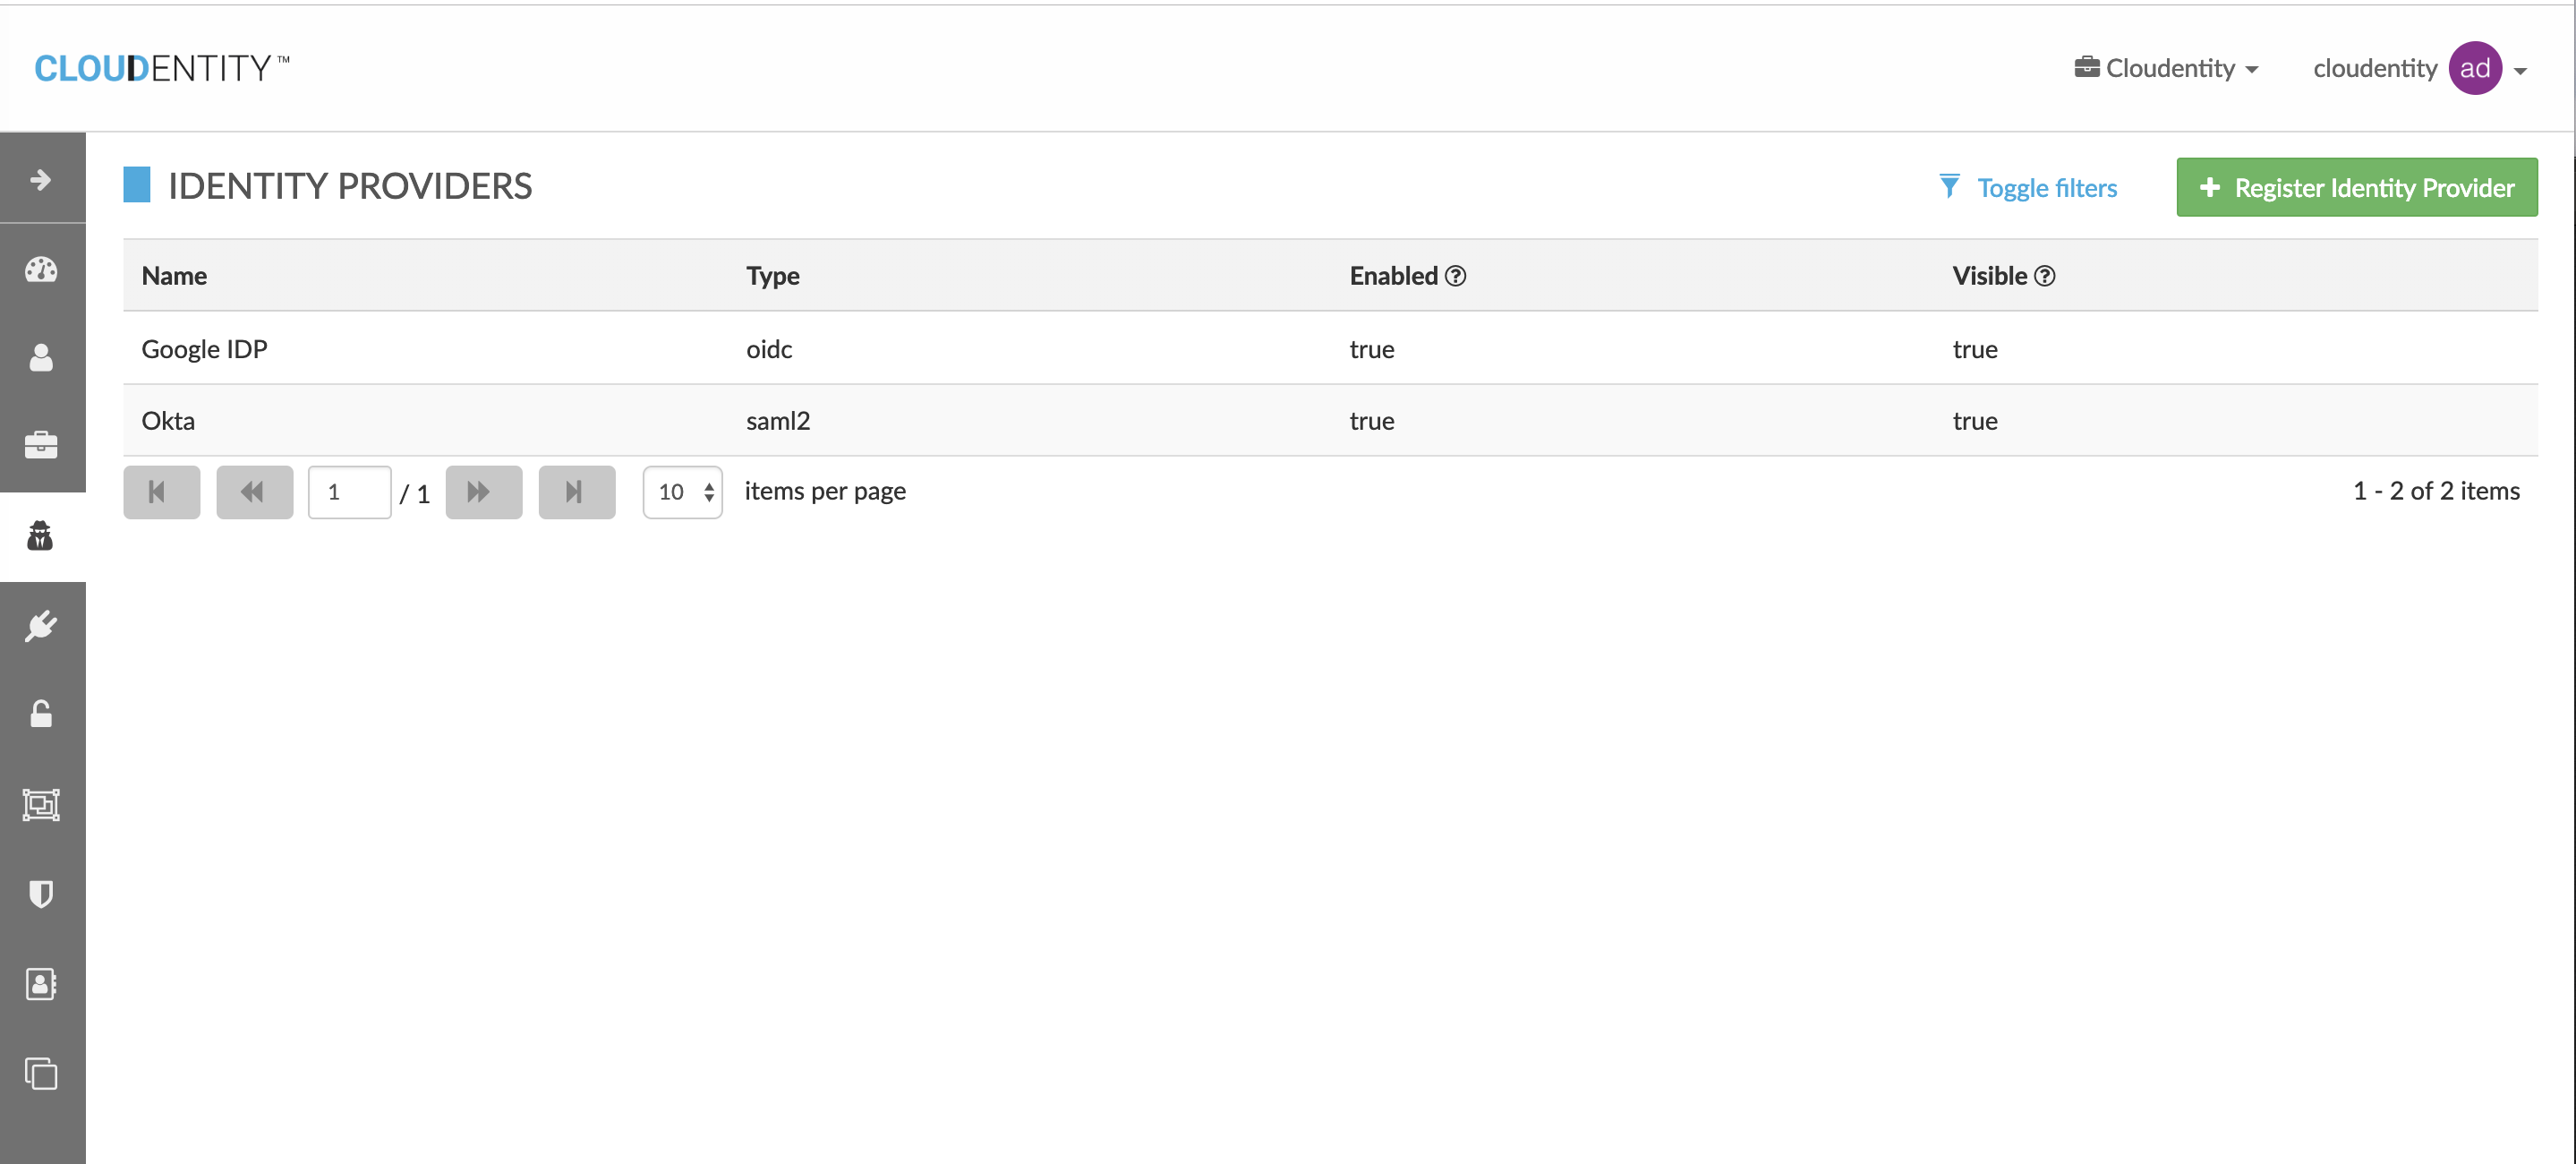
Select Register Identity Provider from Identity Providers on the admin page.
-
Select SAML 2.0.

-
Enter IDP name, description, Metadata Source, and Authentication lifetime (in seconds). You can enter the Metadata Source data as a URI or an XML value.
Tip
If IDP Metadata Path is unknown, enter a dummy value for now (eg.
http://localhost:1234). -
Add Field mapping to map the incoming SAML user entity to CIP user attributes.
Incoming attribute CIP attribute EmailuidFirstNamefirstNameLastNamelastName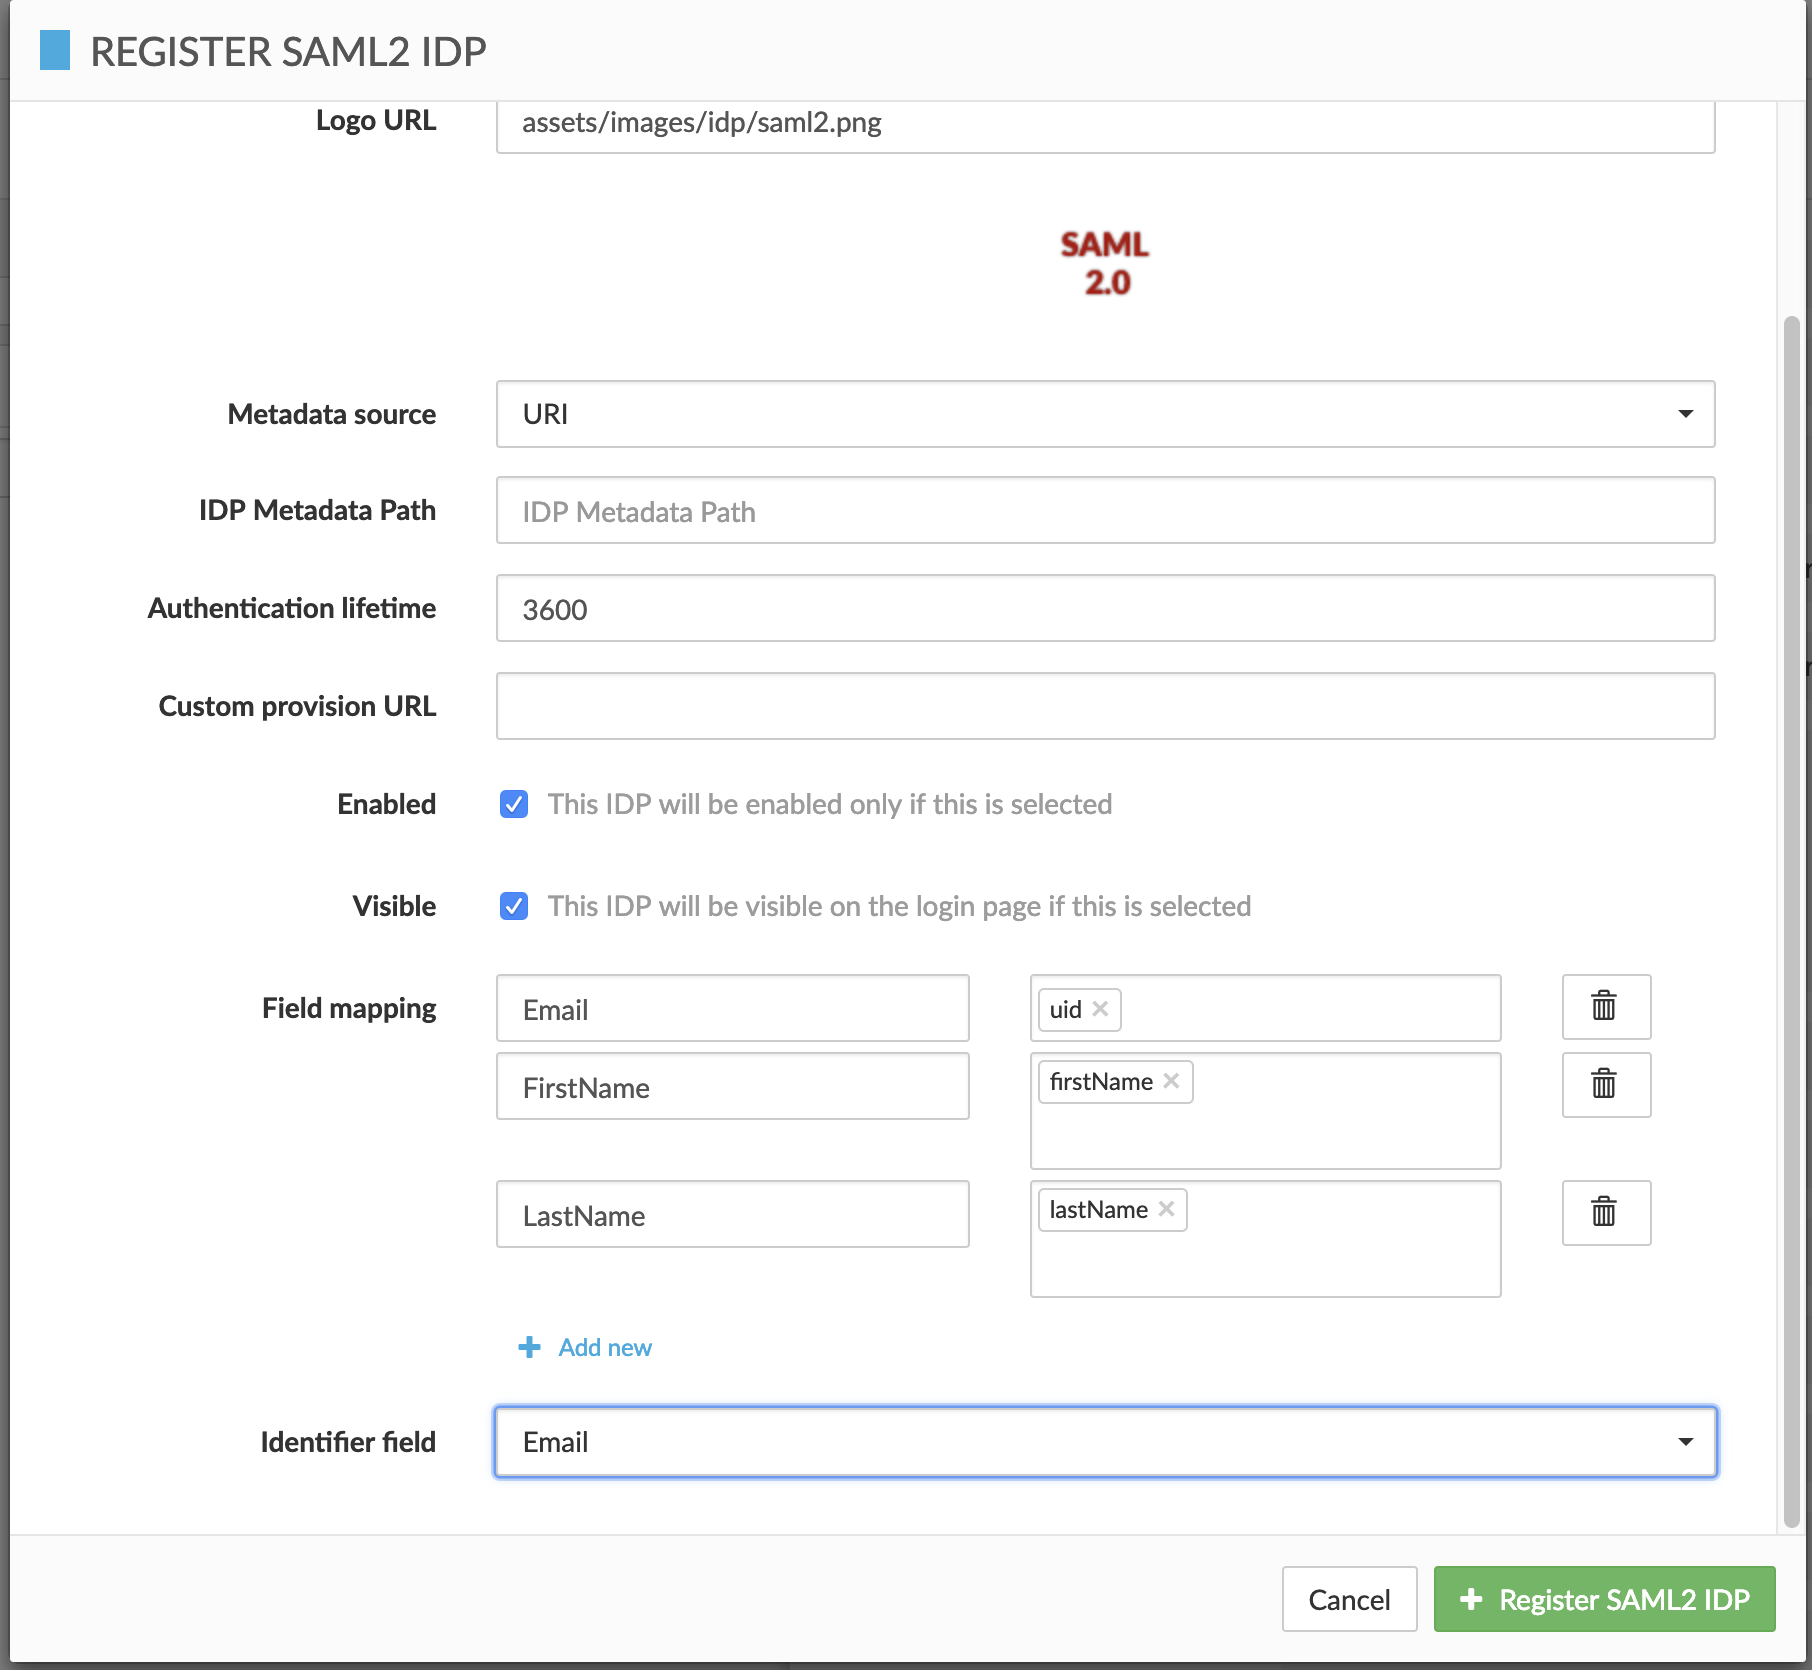
Result
You have now successfully created an Identity Provider object.
Set up a SAML SP application in Okta
Set up a SAML SP application in Okta following the instructions provided by Okta SAML Documentation.
-
Enter IDP details from the CIP admin page.

-
As Single sign on URL on Okta SP, enter Redirect URI from CIP IDP. For Audience URI (SP Entity ID), enter
urn:mace:saml:<your IDP identifier here>.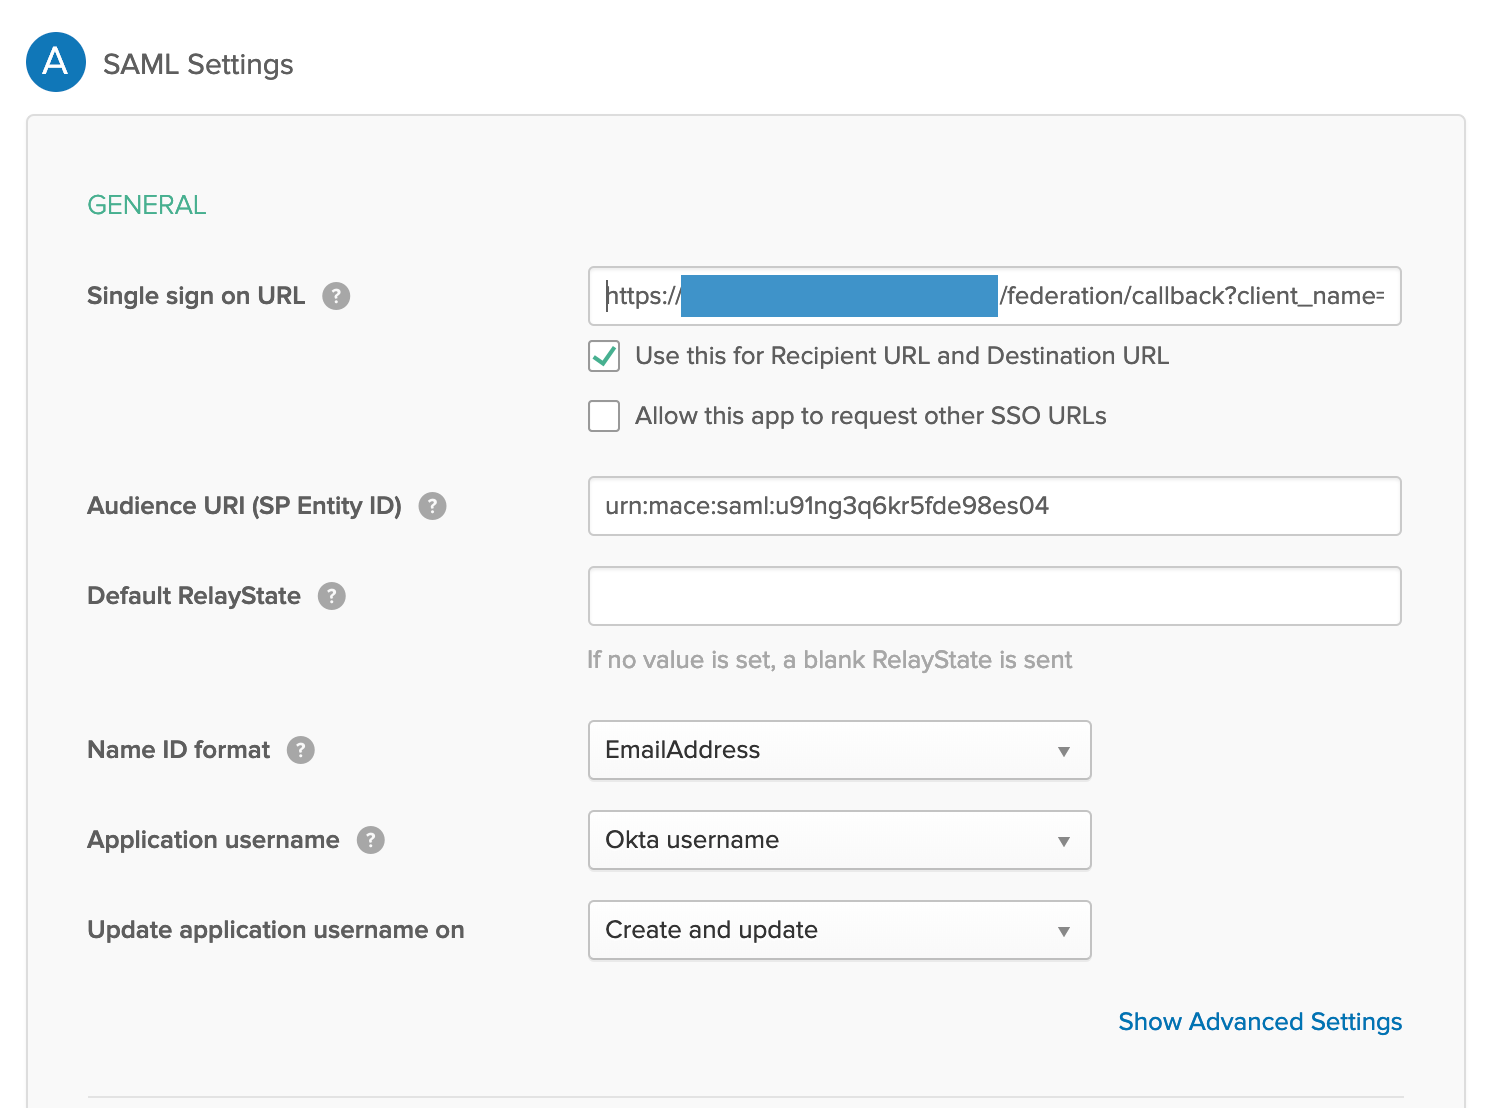
-
Configure the IDP outbound field mapping.

-
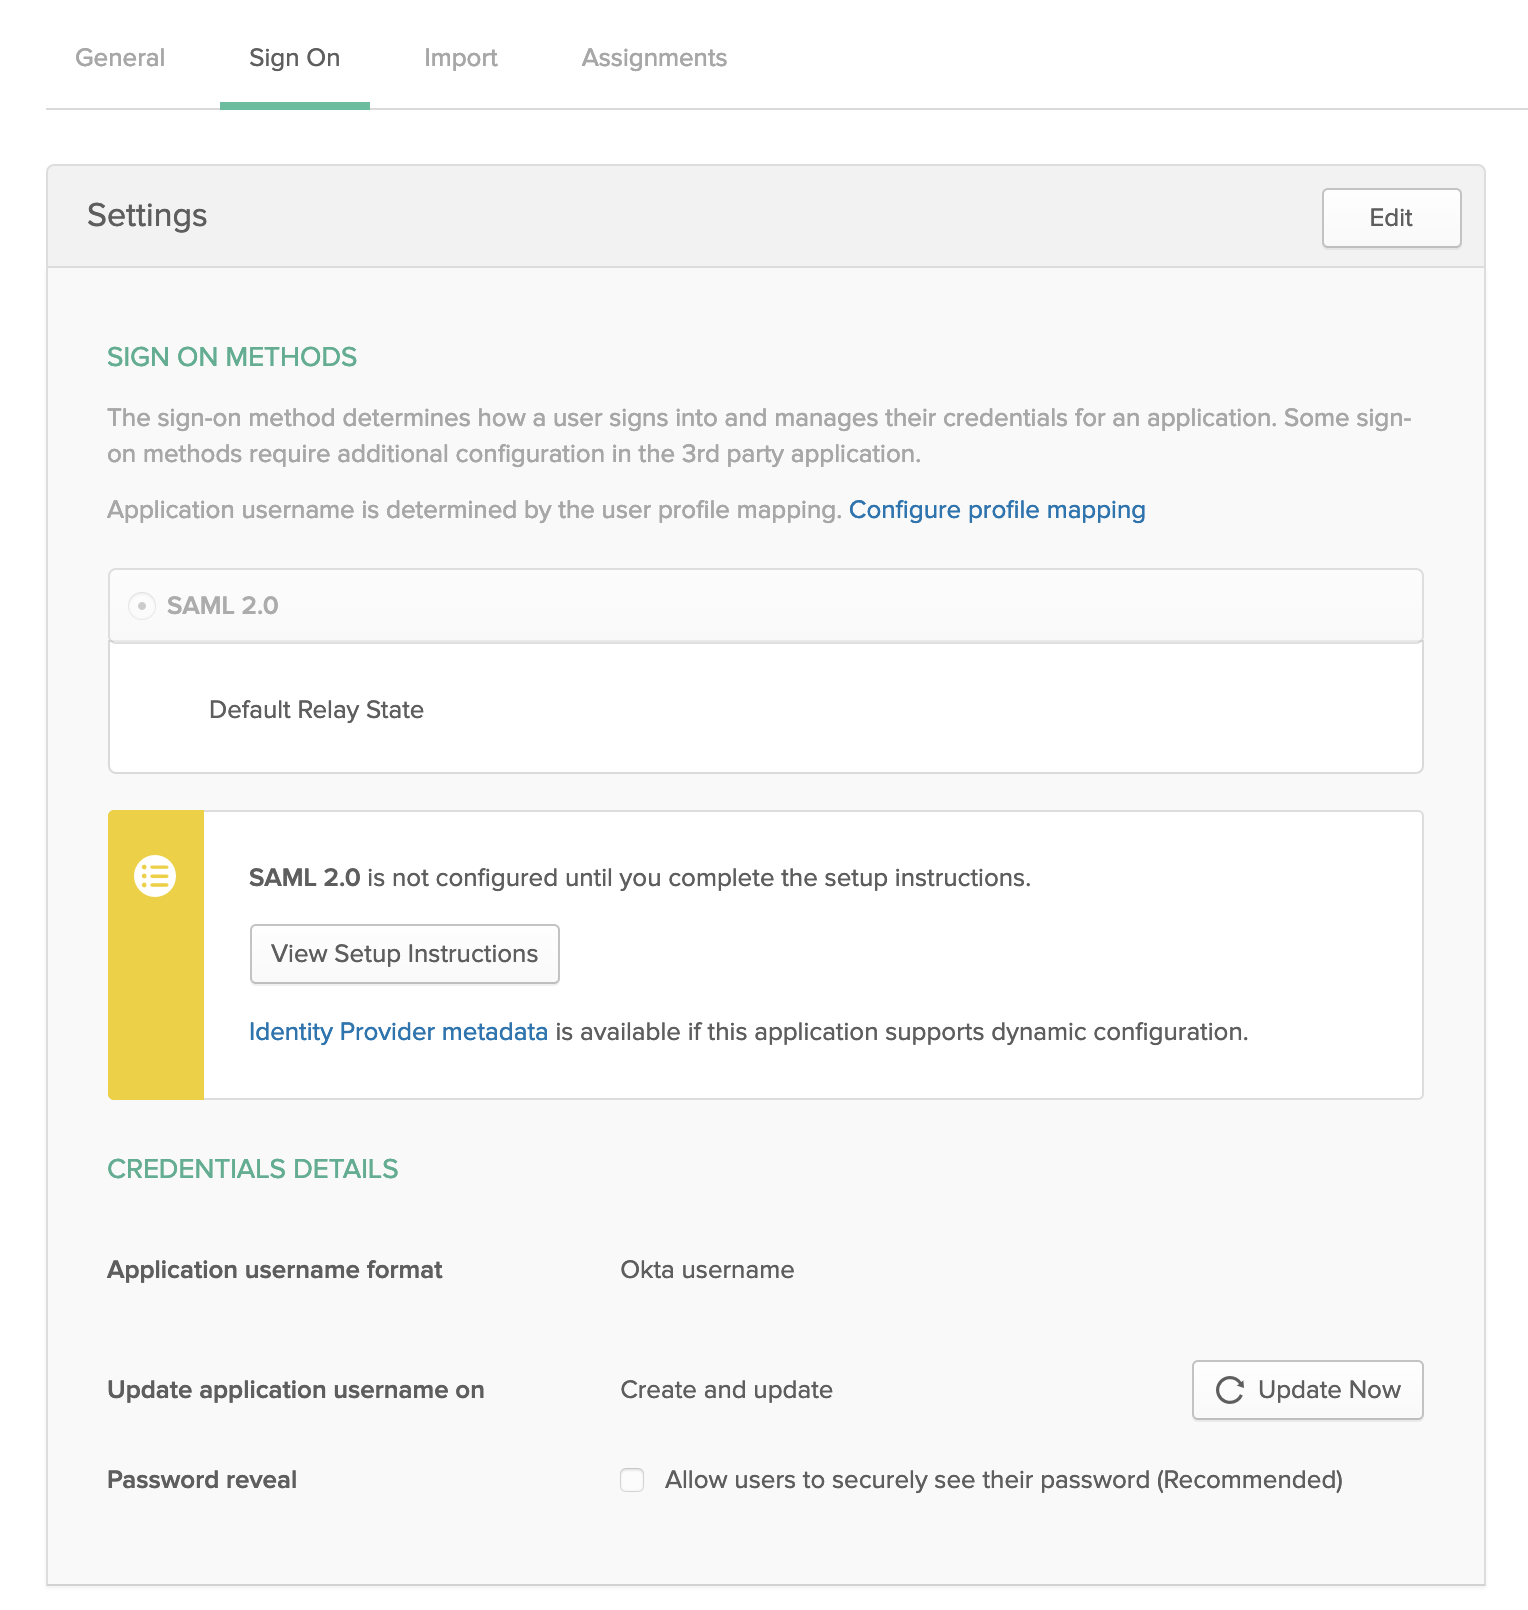
After registering a SAML SP application in Okta, download Okta Identity Provider metadata.
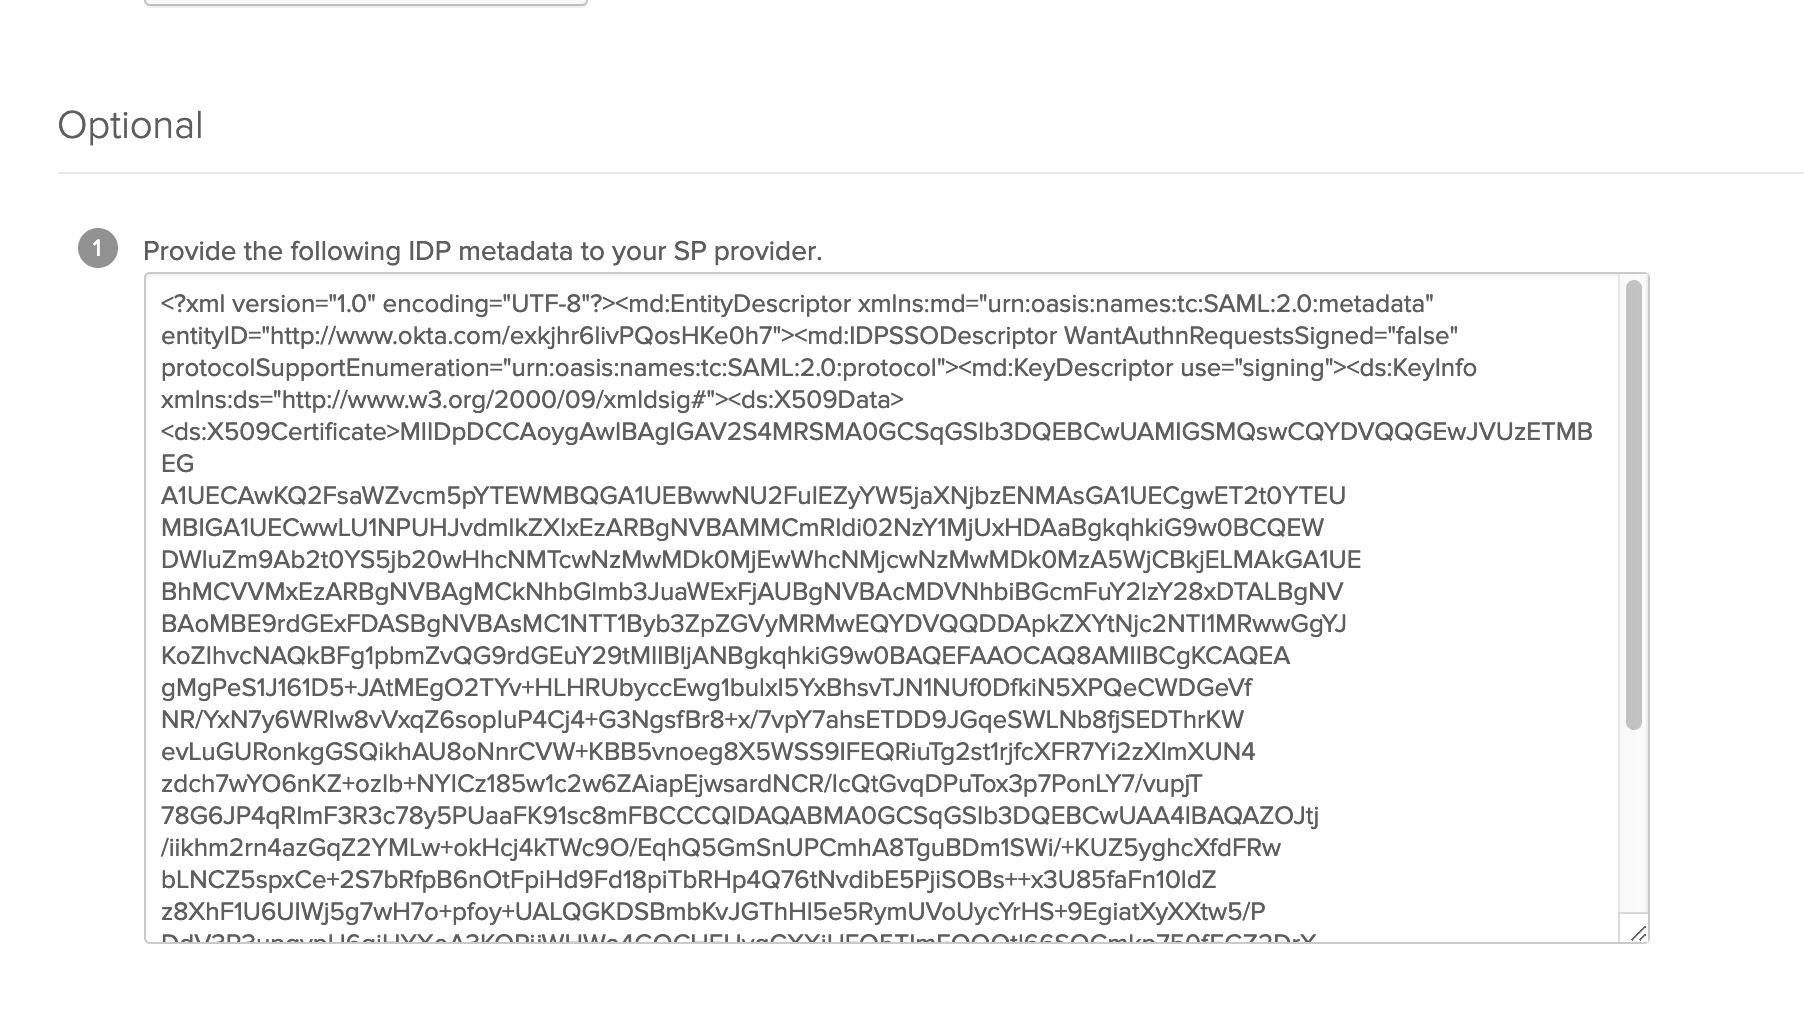
-
Copy/paste the whole IDP metadata XML data to CIP. Select
XML dataas Metadata source.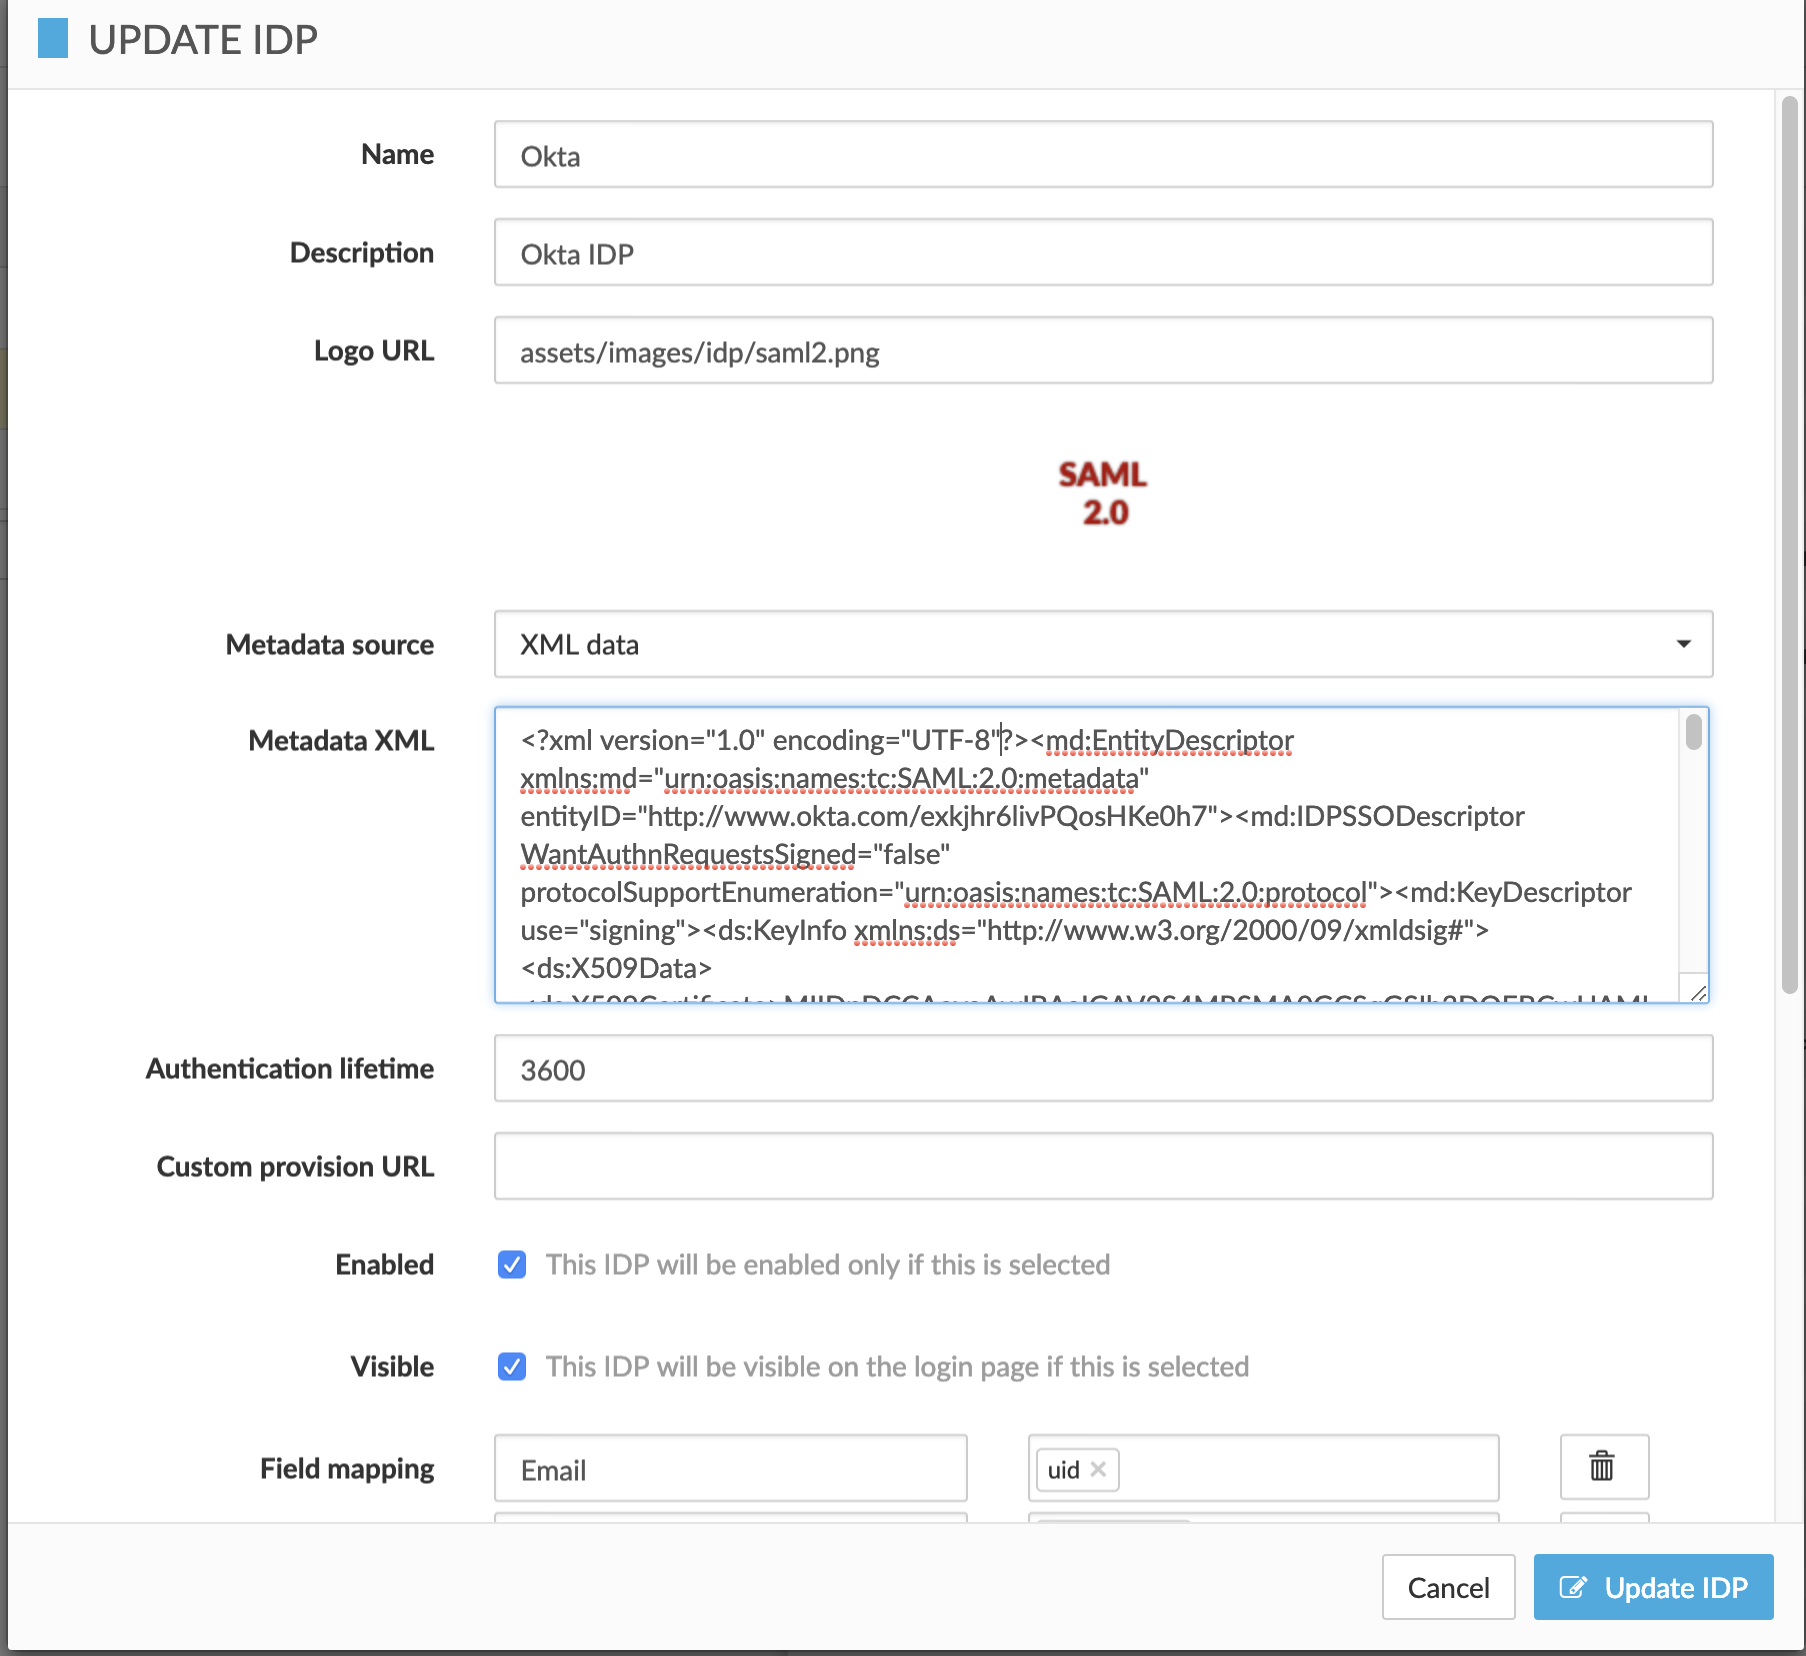
-
Verify the SAML authentication flow with Okta. For more information, see Verify SAML authentication flow.