Managing authorization policies
This article explains how to create, view, update, and delete authorization policies in Cloud Identity Plane administrator portal.
Note
Policy management operations are restricted to authorized users with authorization-management-specific entitlements and can be performed in the administrator portal or through API calls.
Prerequisites
You have relevant administrator privileges.
List policies
-
Log in to the Identity administrator portal.
-
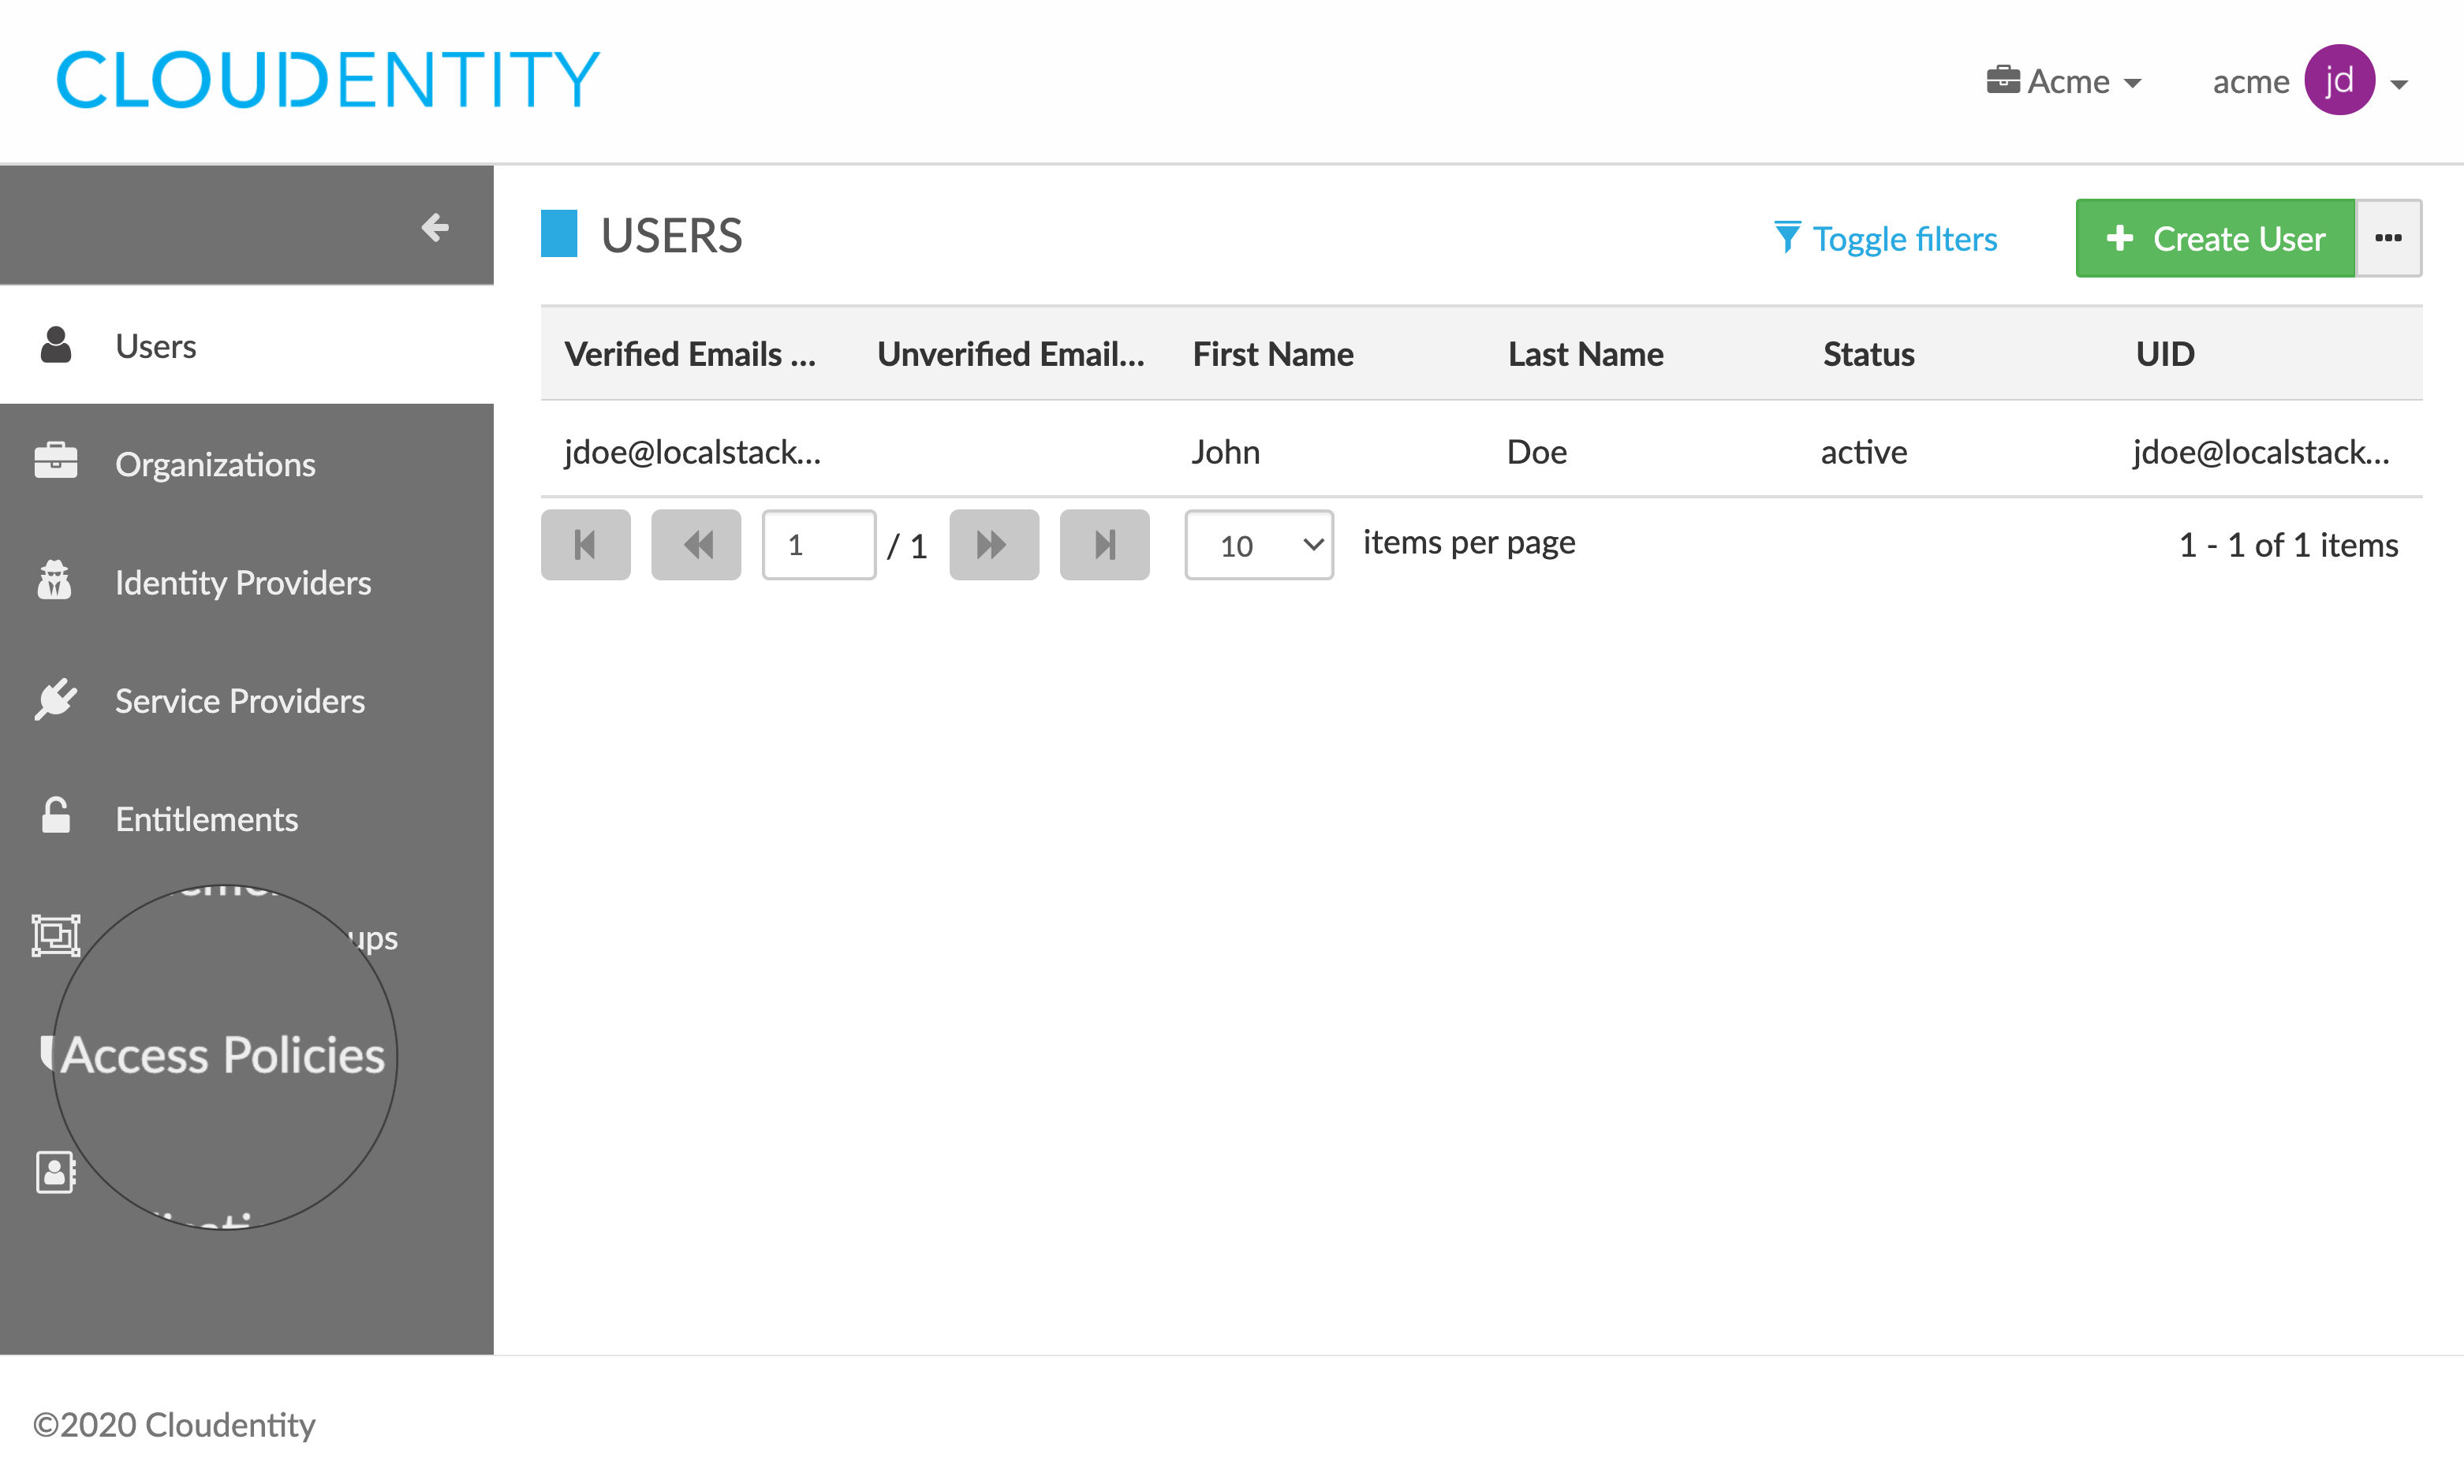
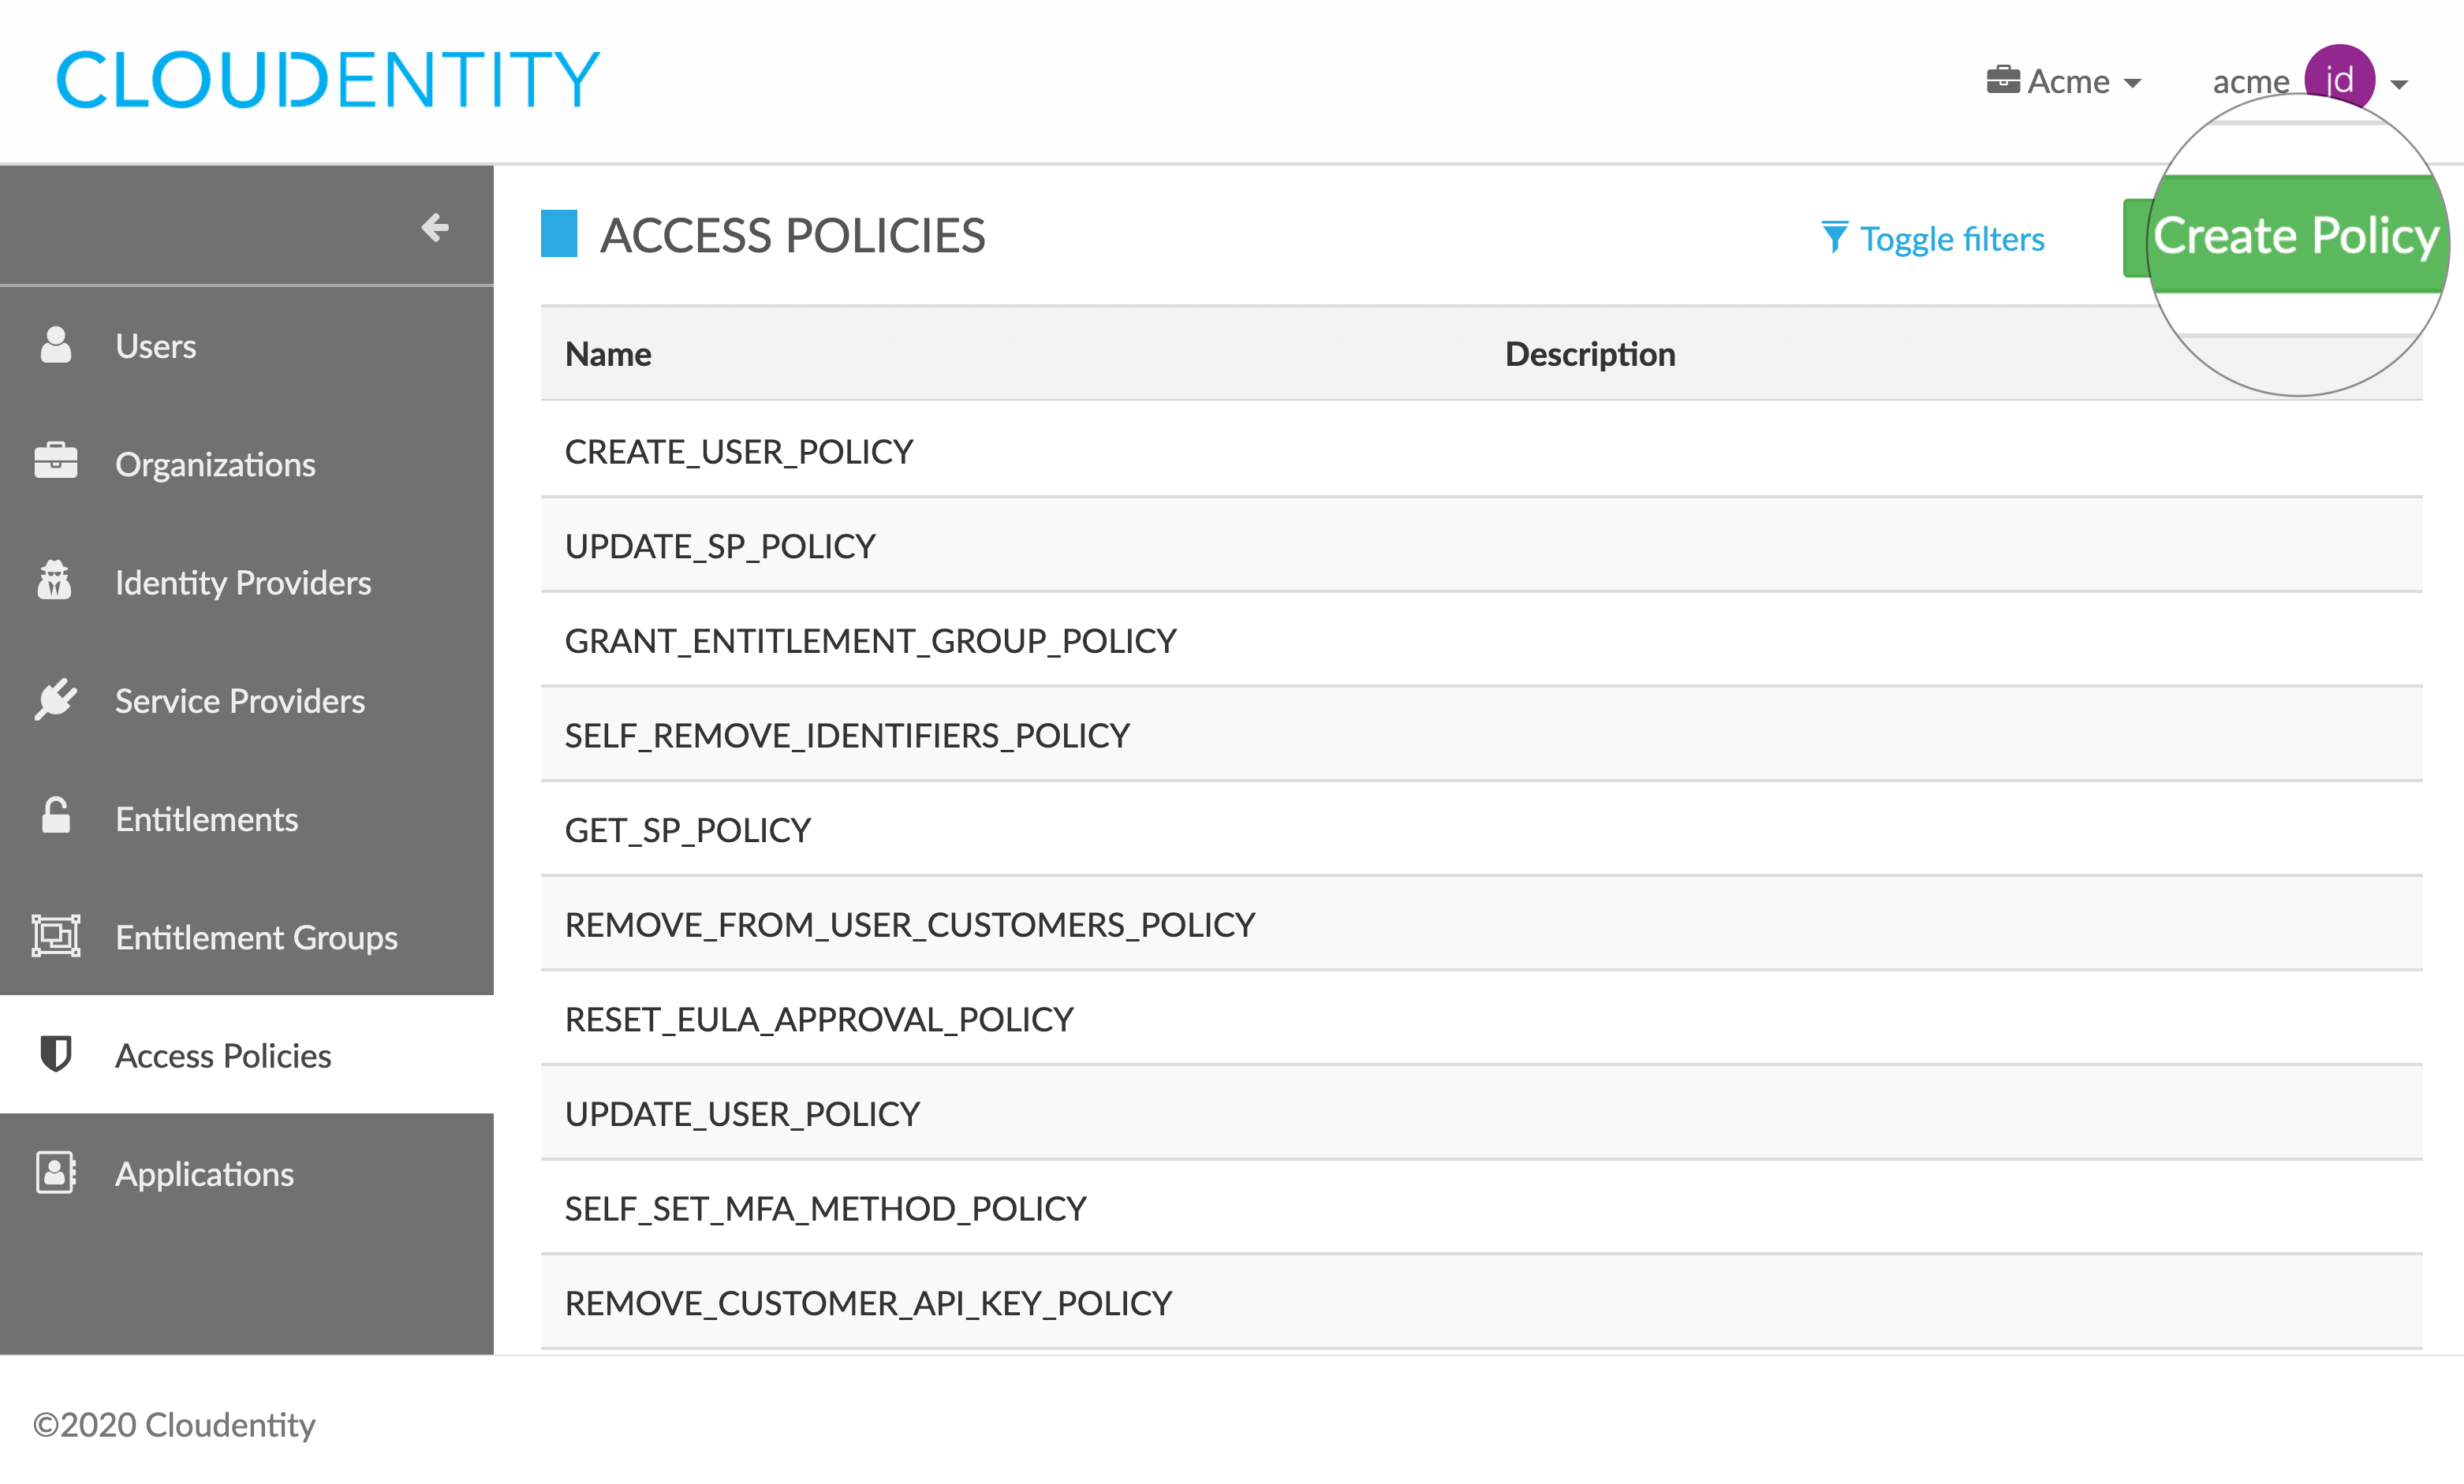
Select Access Policies from the sidebar.
Result
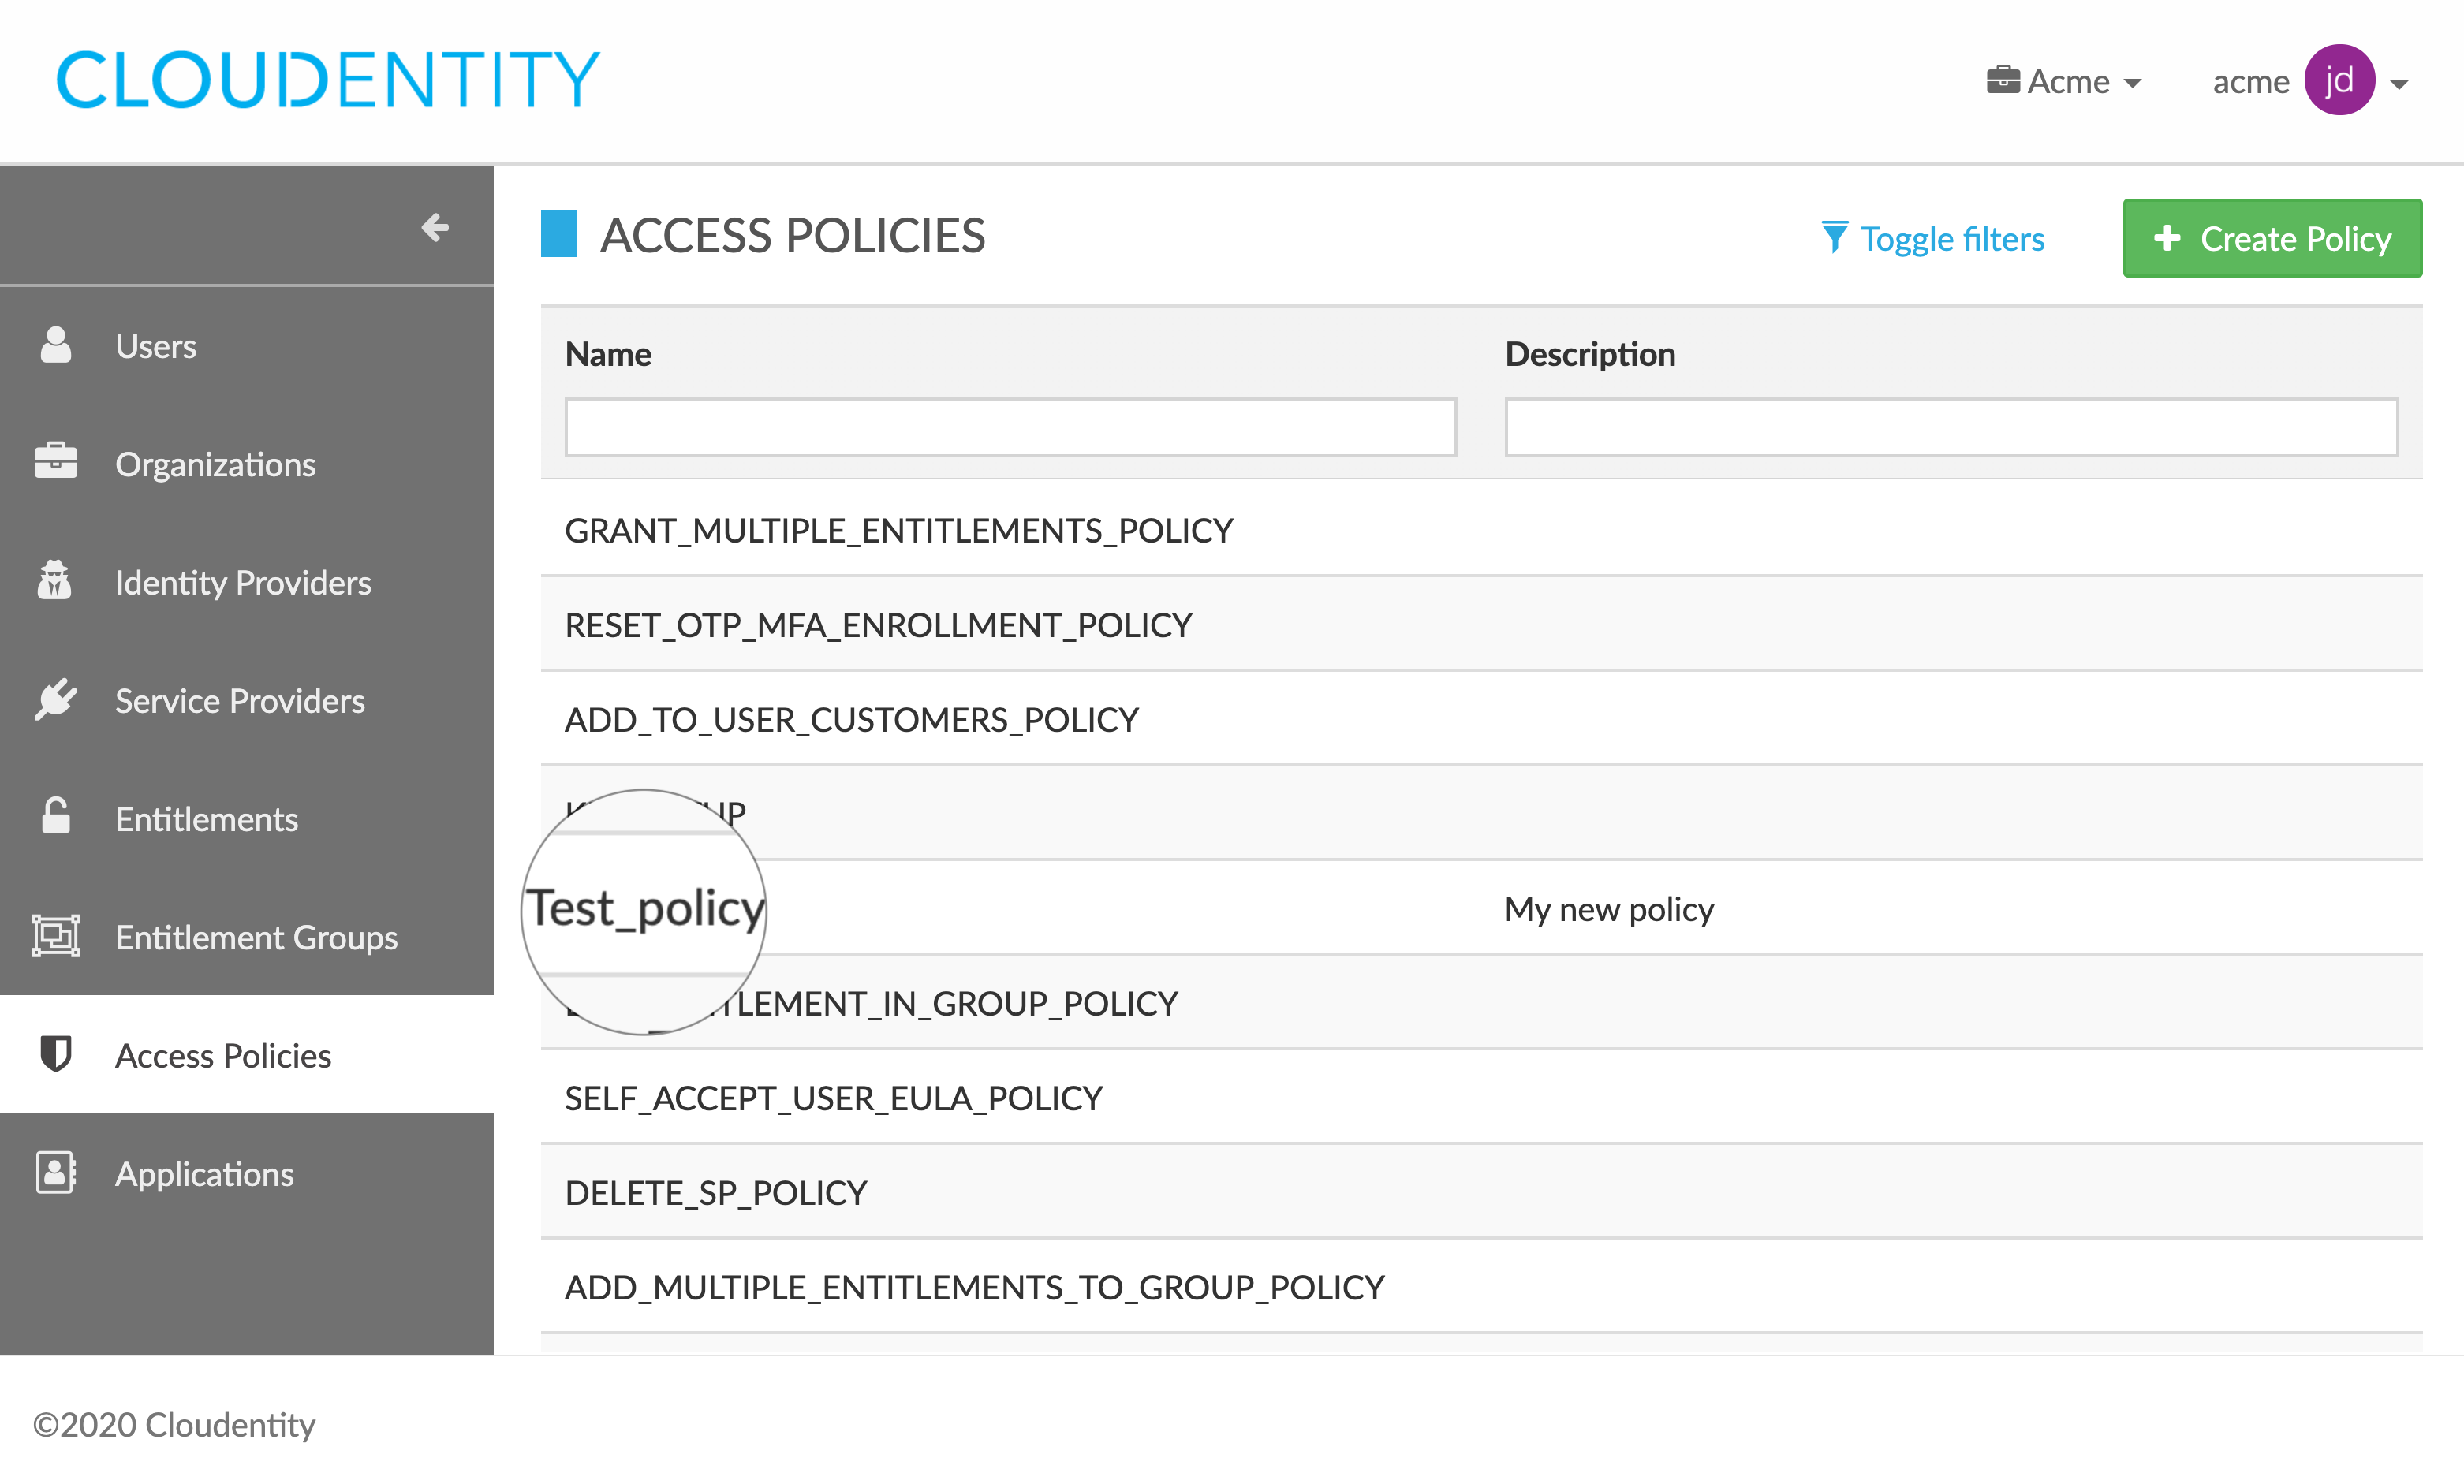
The ACCESS POLICIES view opens and shows the list of your authorization policies.

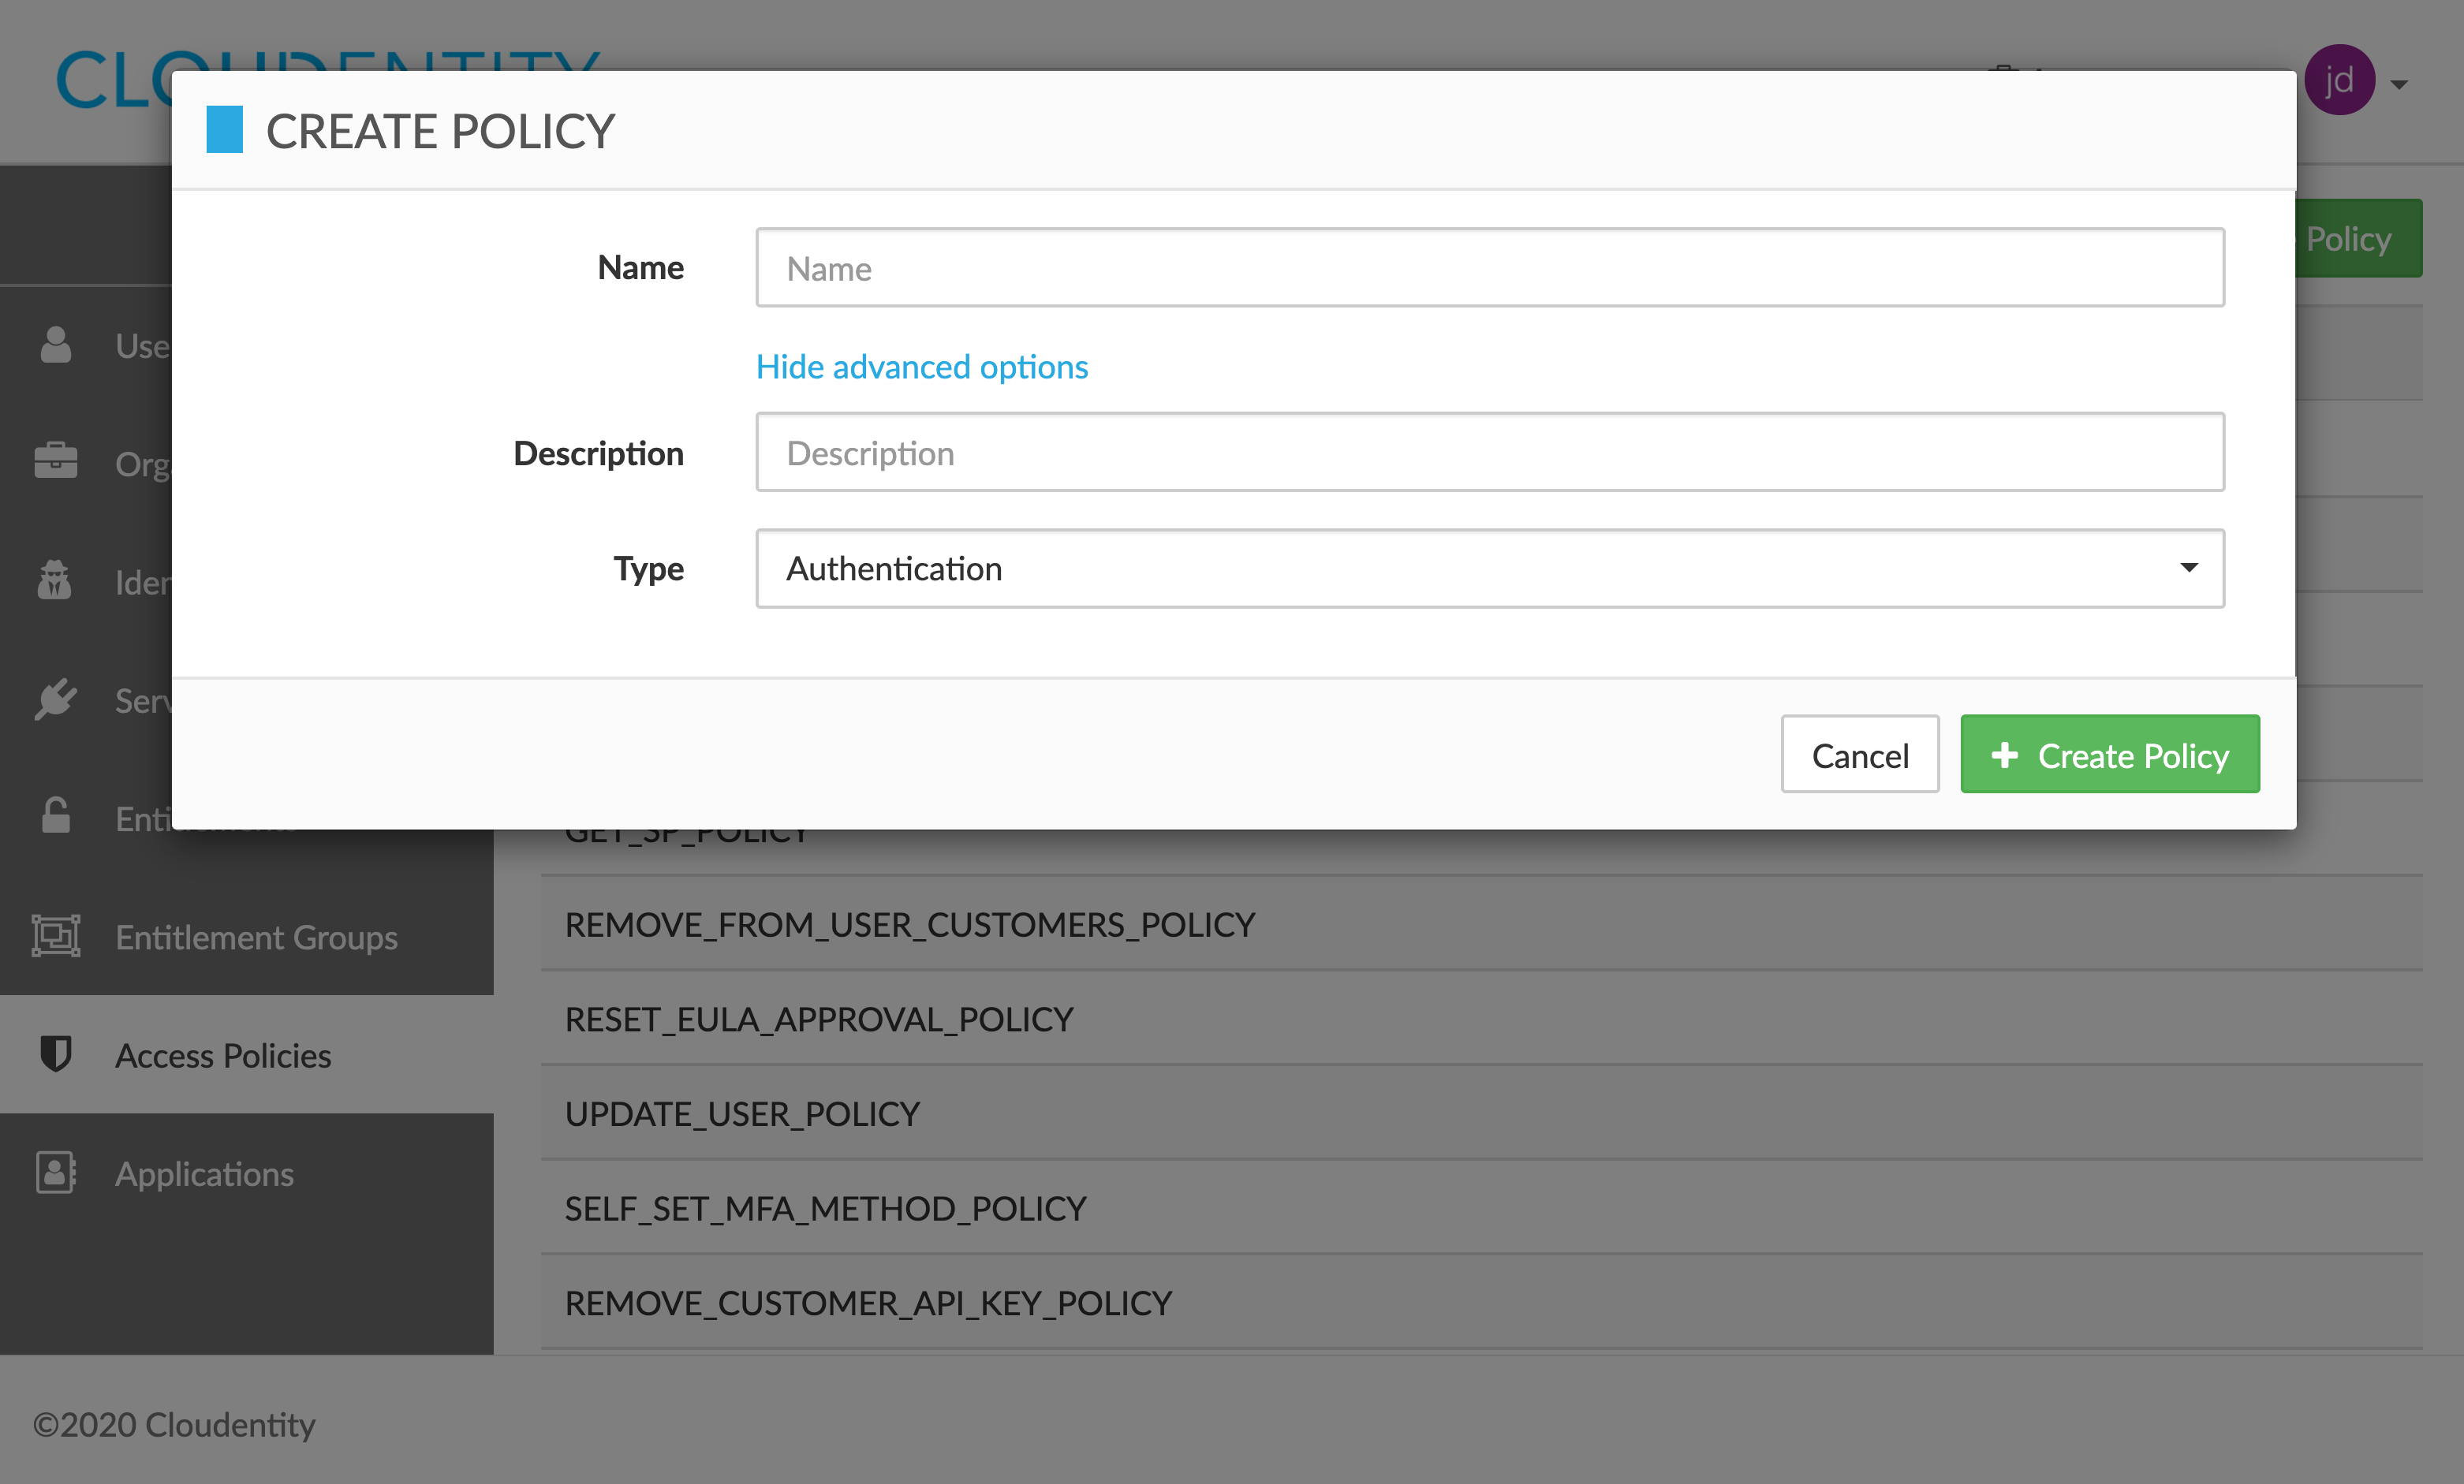
Create a policy
-
In the ACCESS POLICIES view, select Create Policy to add a new policy.
-
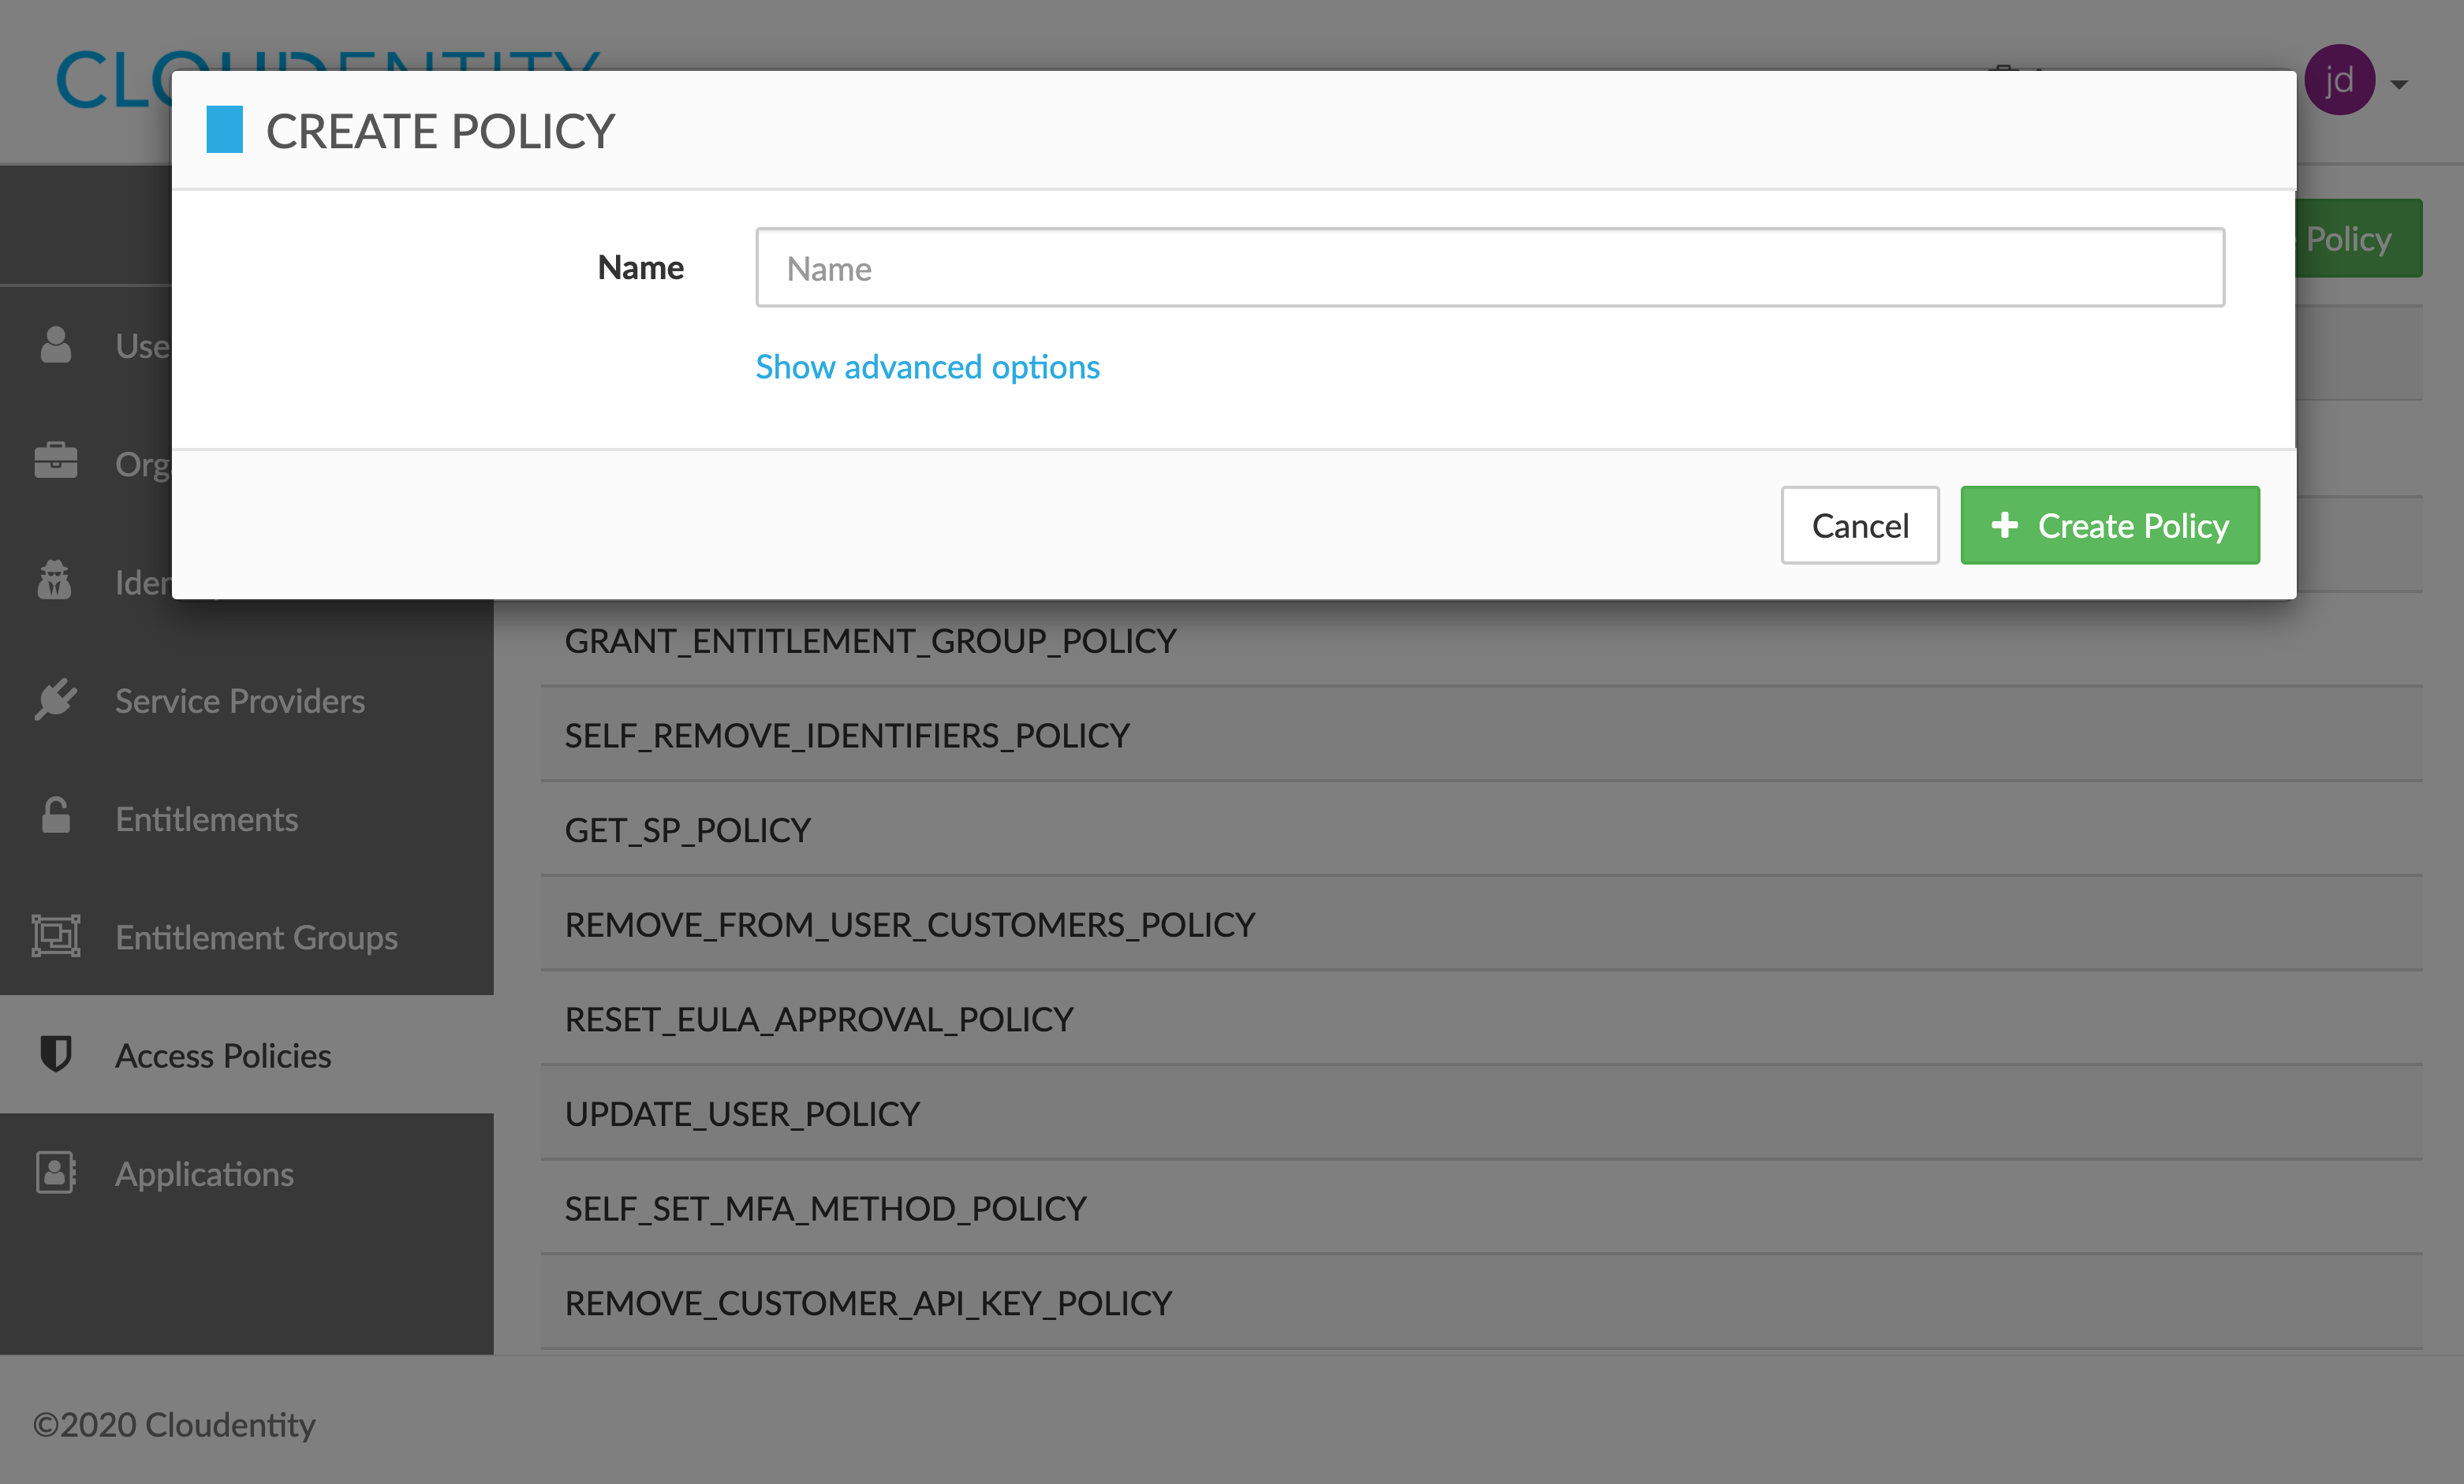
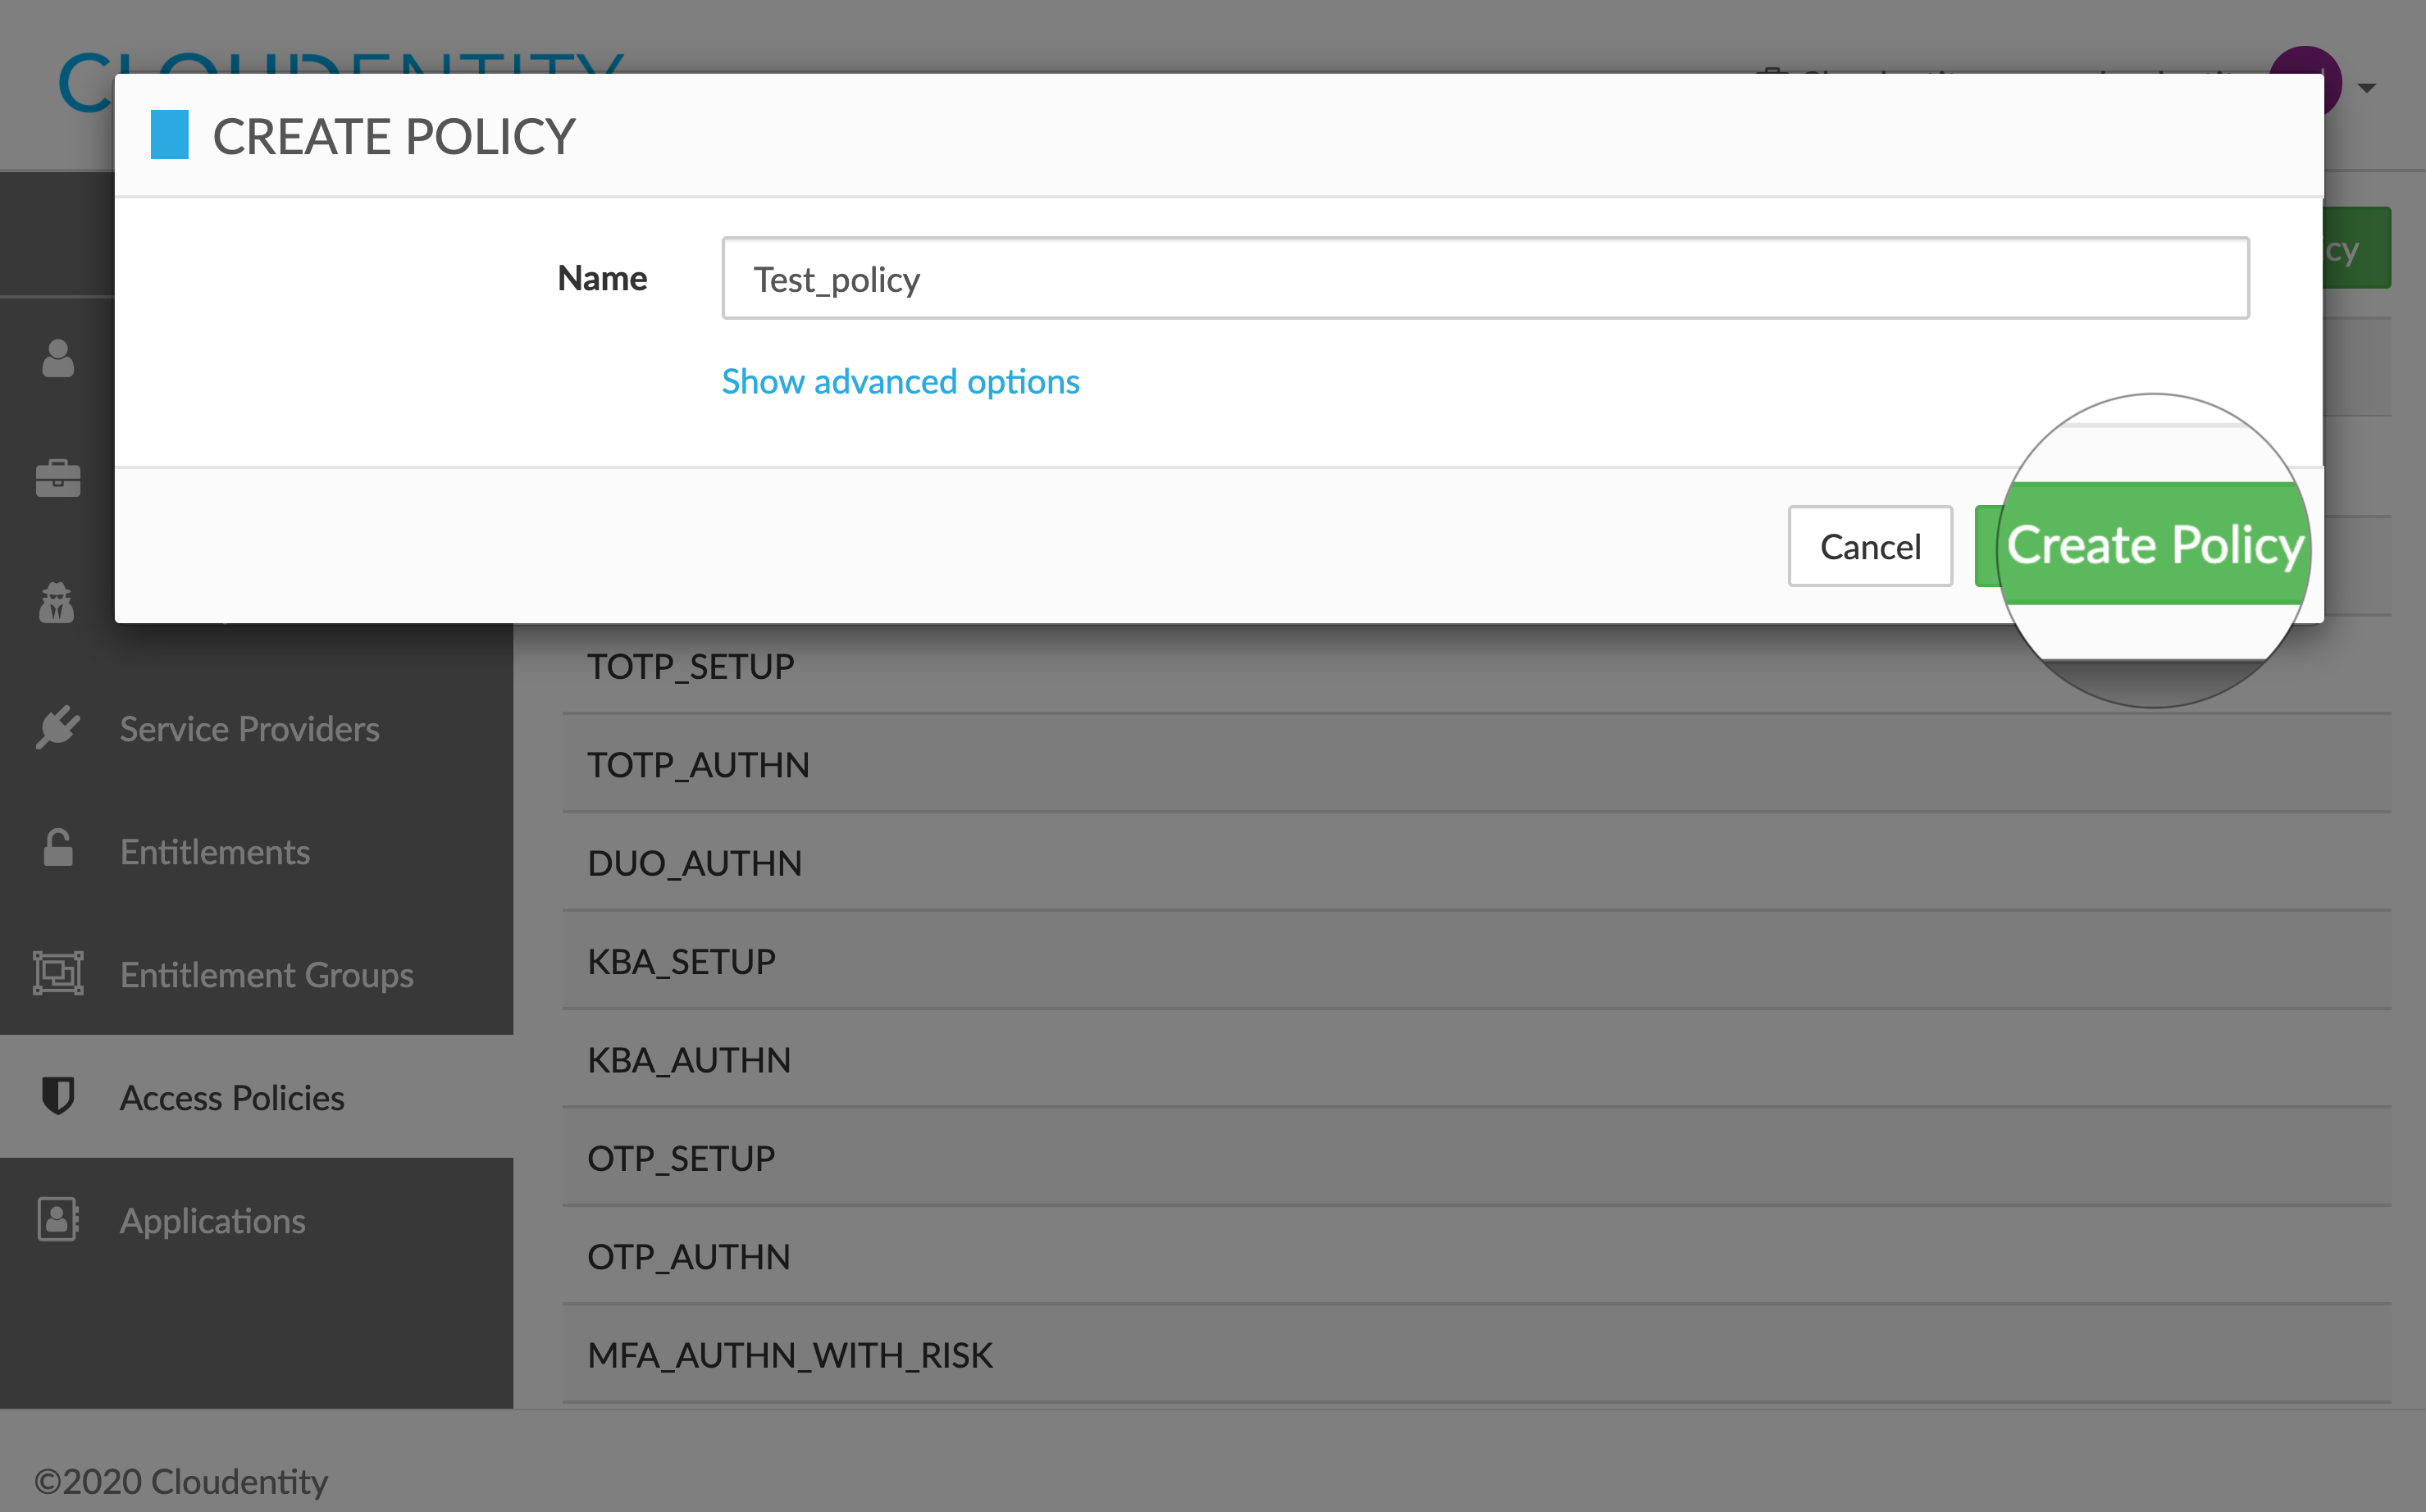
In the CREATE POLICY pop-up box, enter the name of your new policy.
Note
You can select Show advanced options to provide a description for your policy and to specify its type.
-
Select Create Policy to save the details provided.
Result
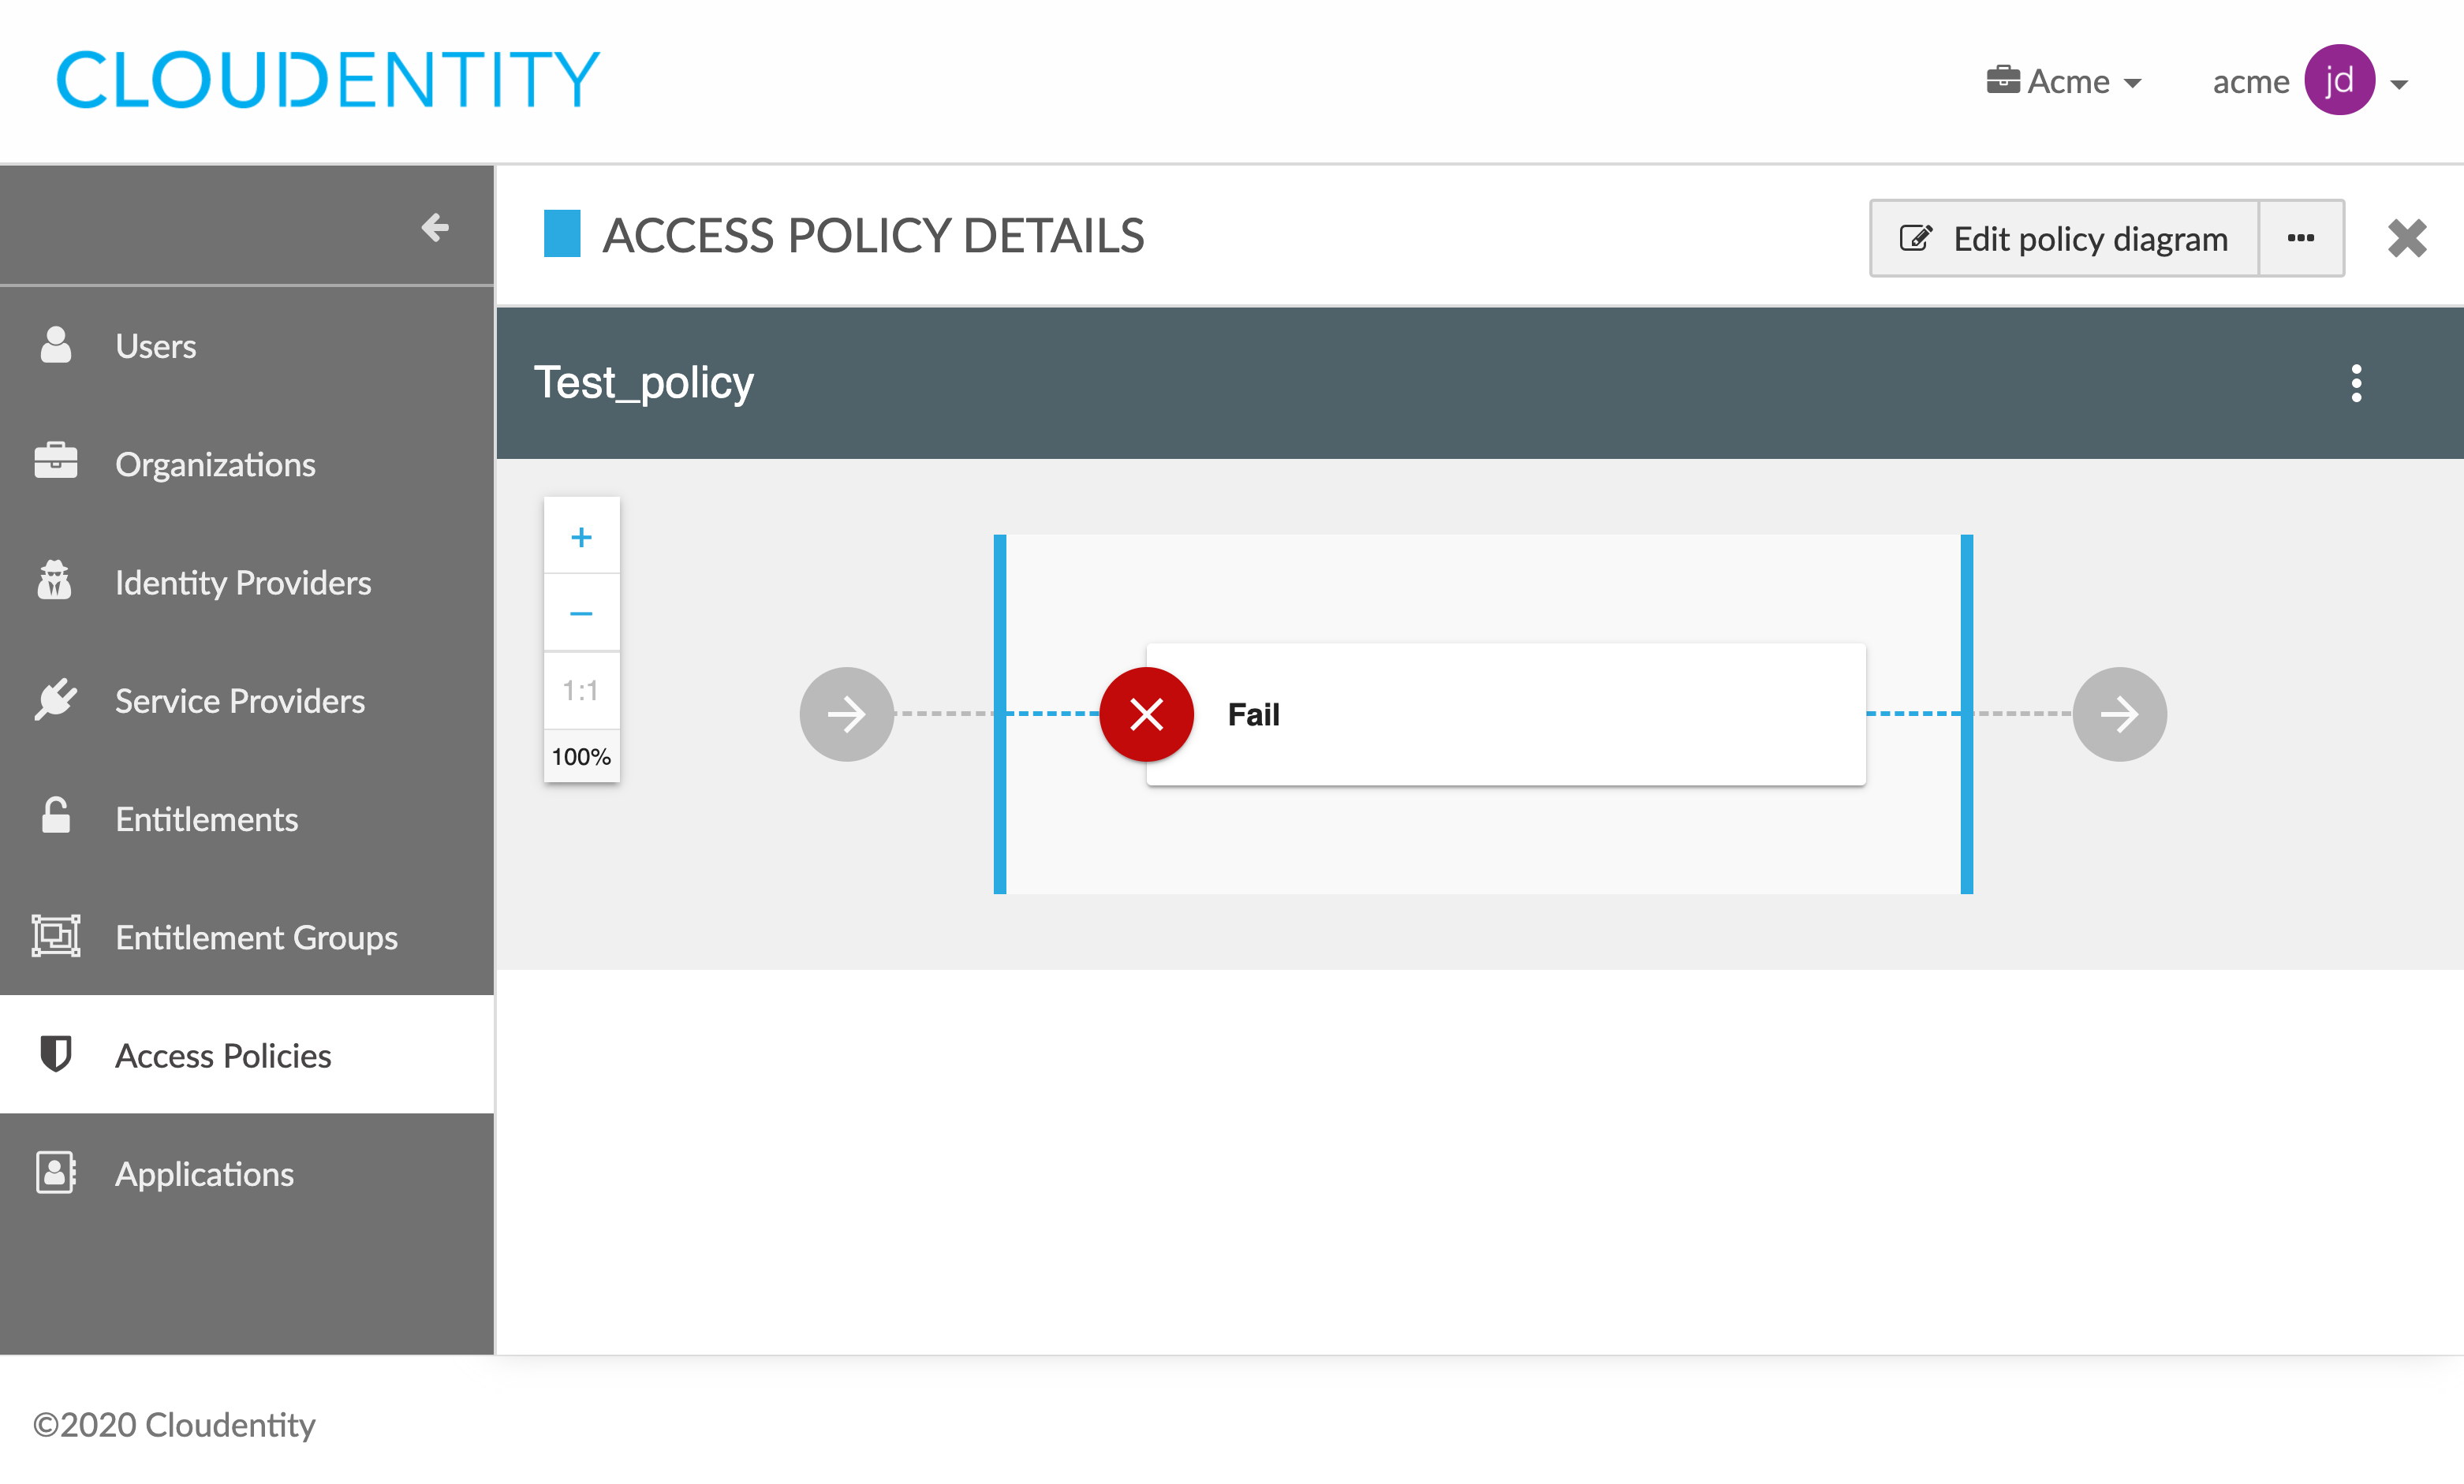
You new policy has been created and the ACCESS POLICY DETAILS view opens.
Edit policy details
-
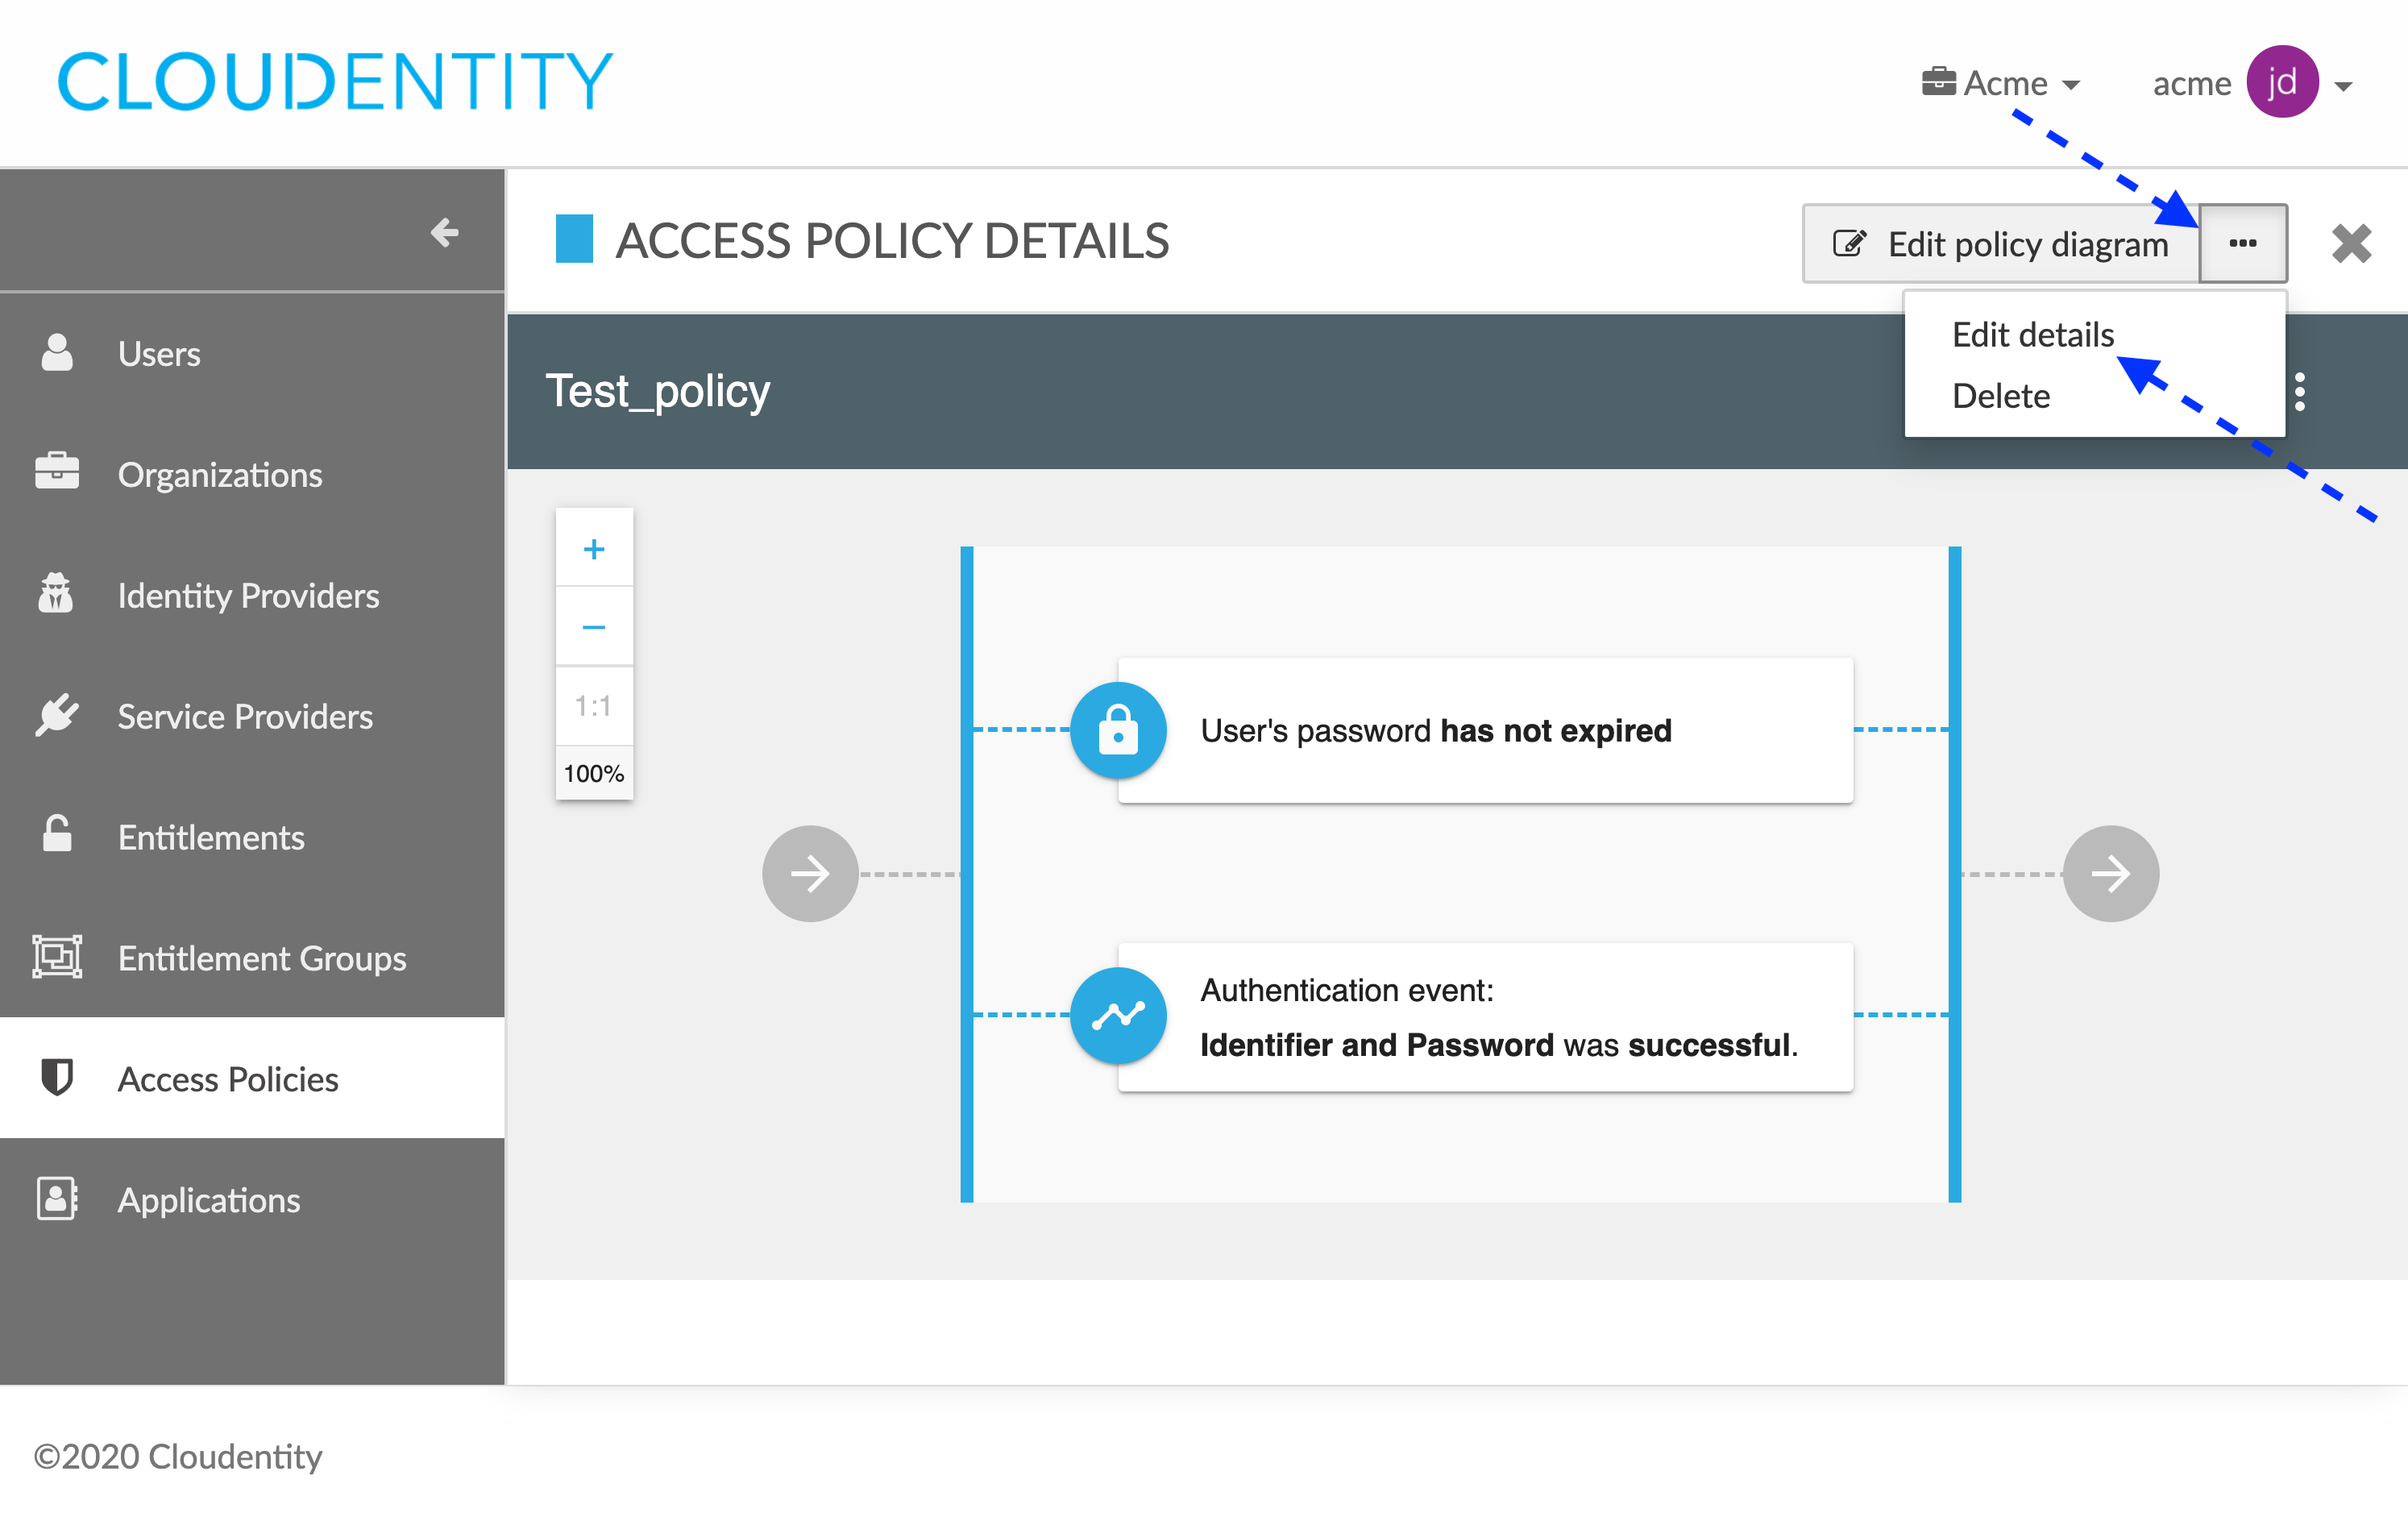
In the ACCESS POLICIES view, select one of the policies from the policies list.
-
In the ACCESS POLICY DETAILS fly-out box, select the ellipsis button (…), which unfolds the actions drop-down menu, and select Edit details.
-
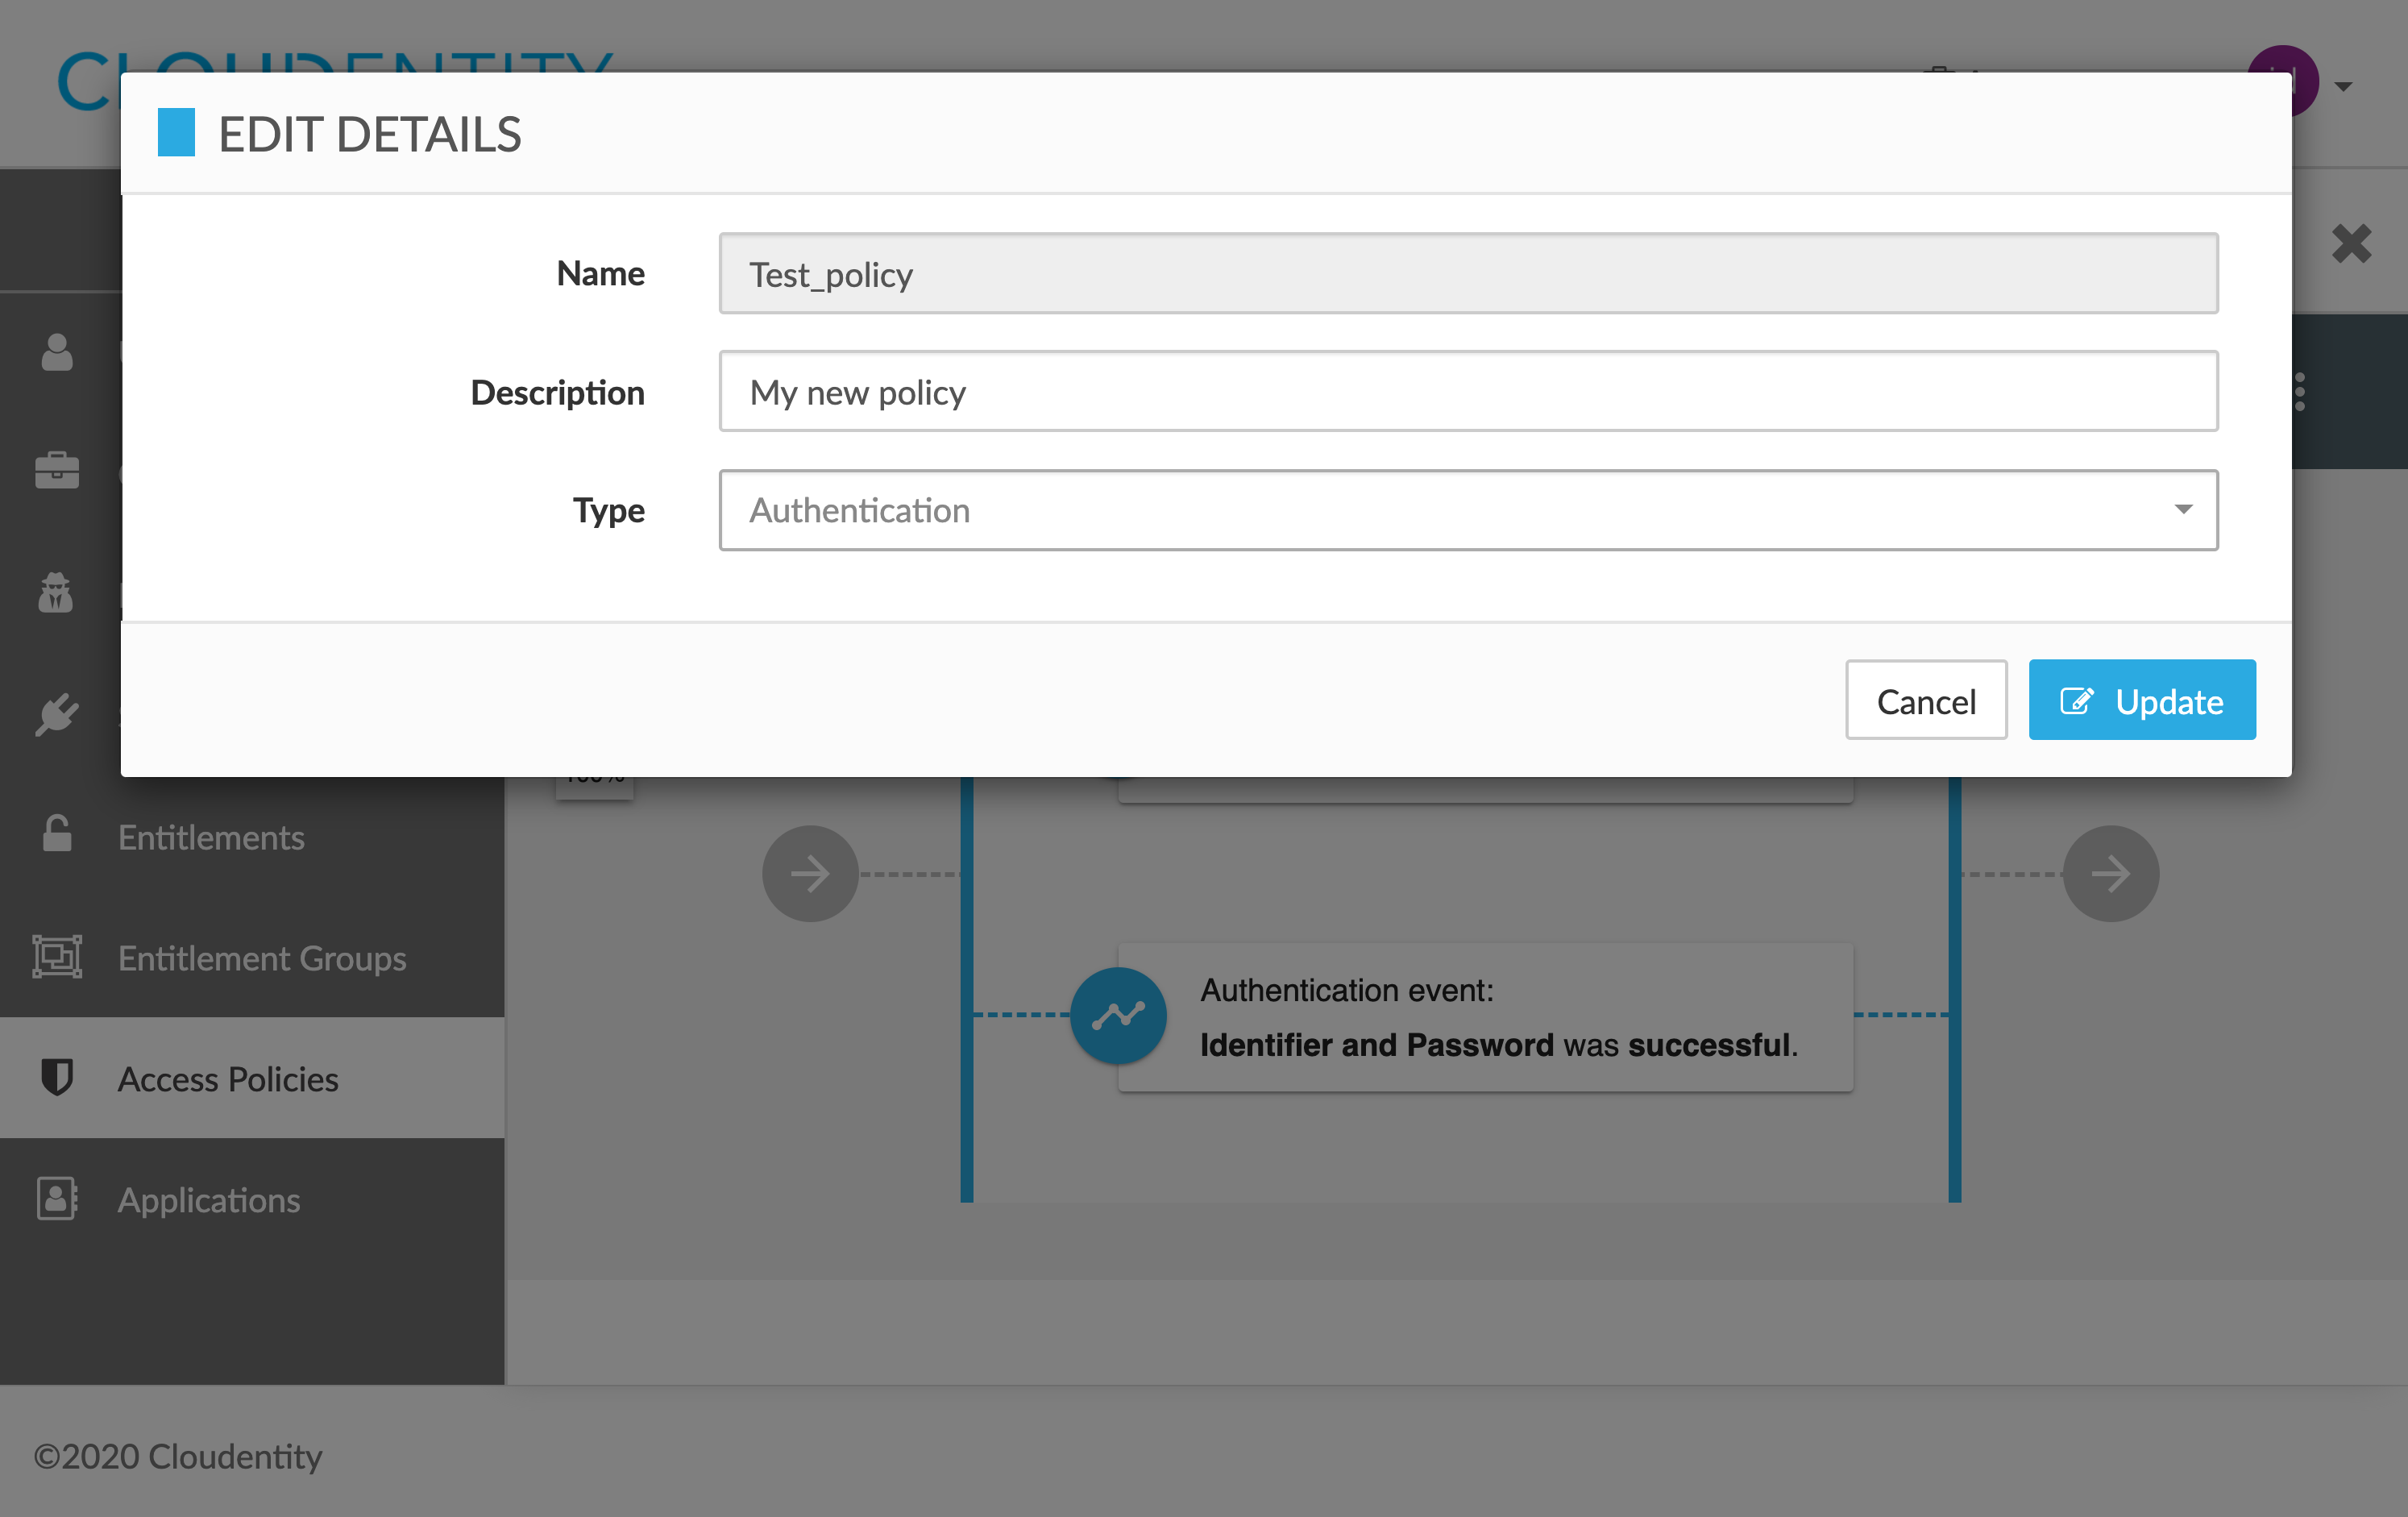
In the EDIT DETAILS pop-up box, modify the metadata on your policy:
- Name
- Description
- Type
-
Select Update to save the changes.
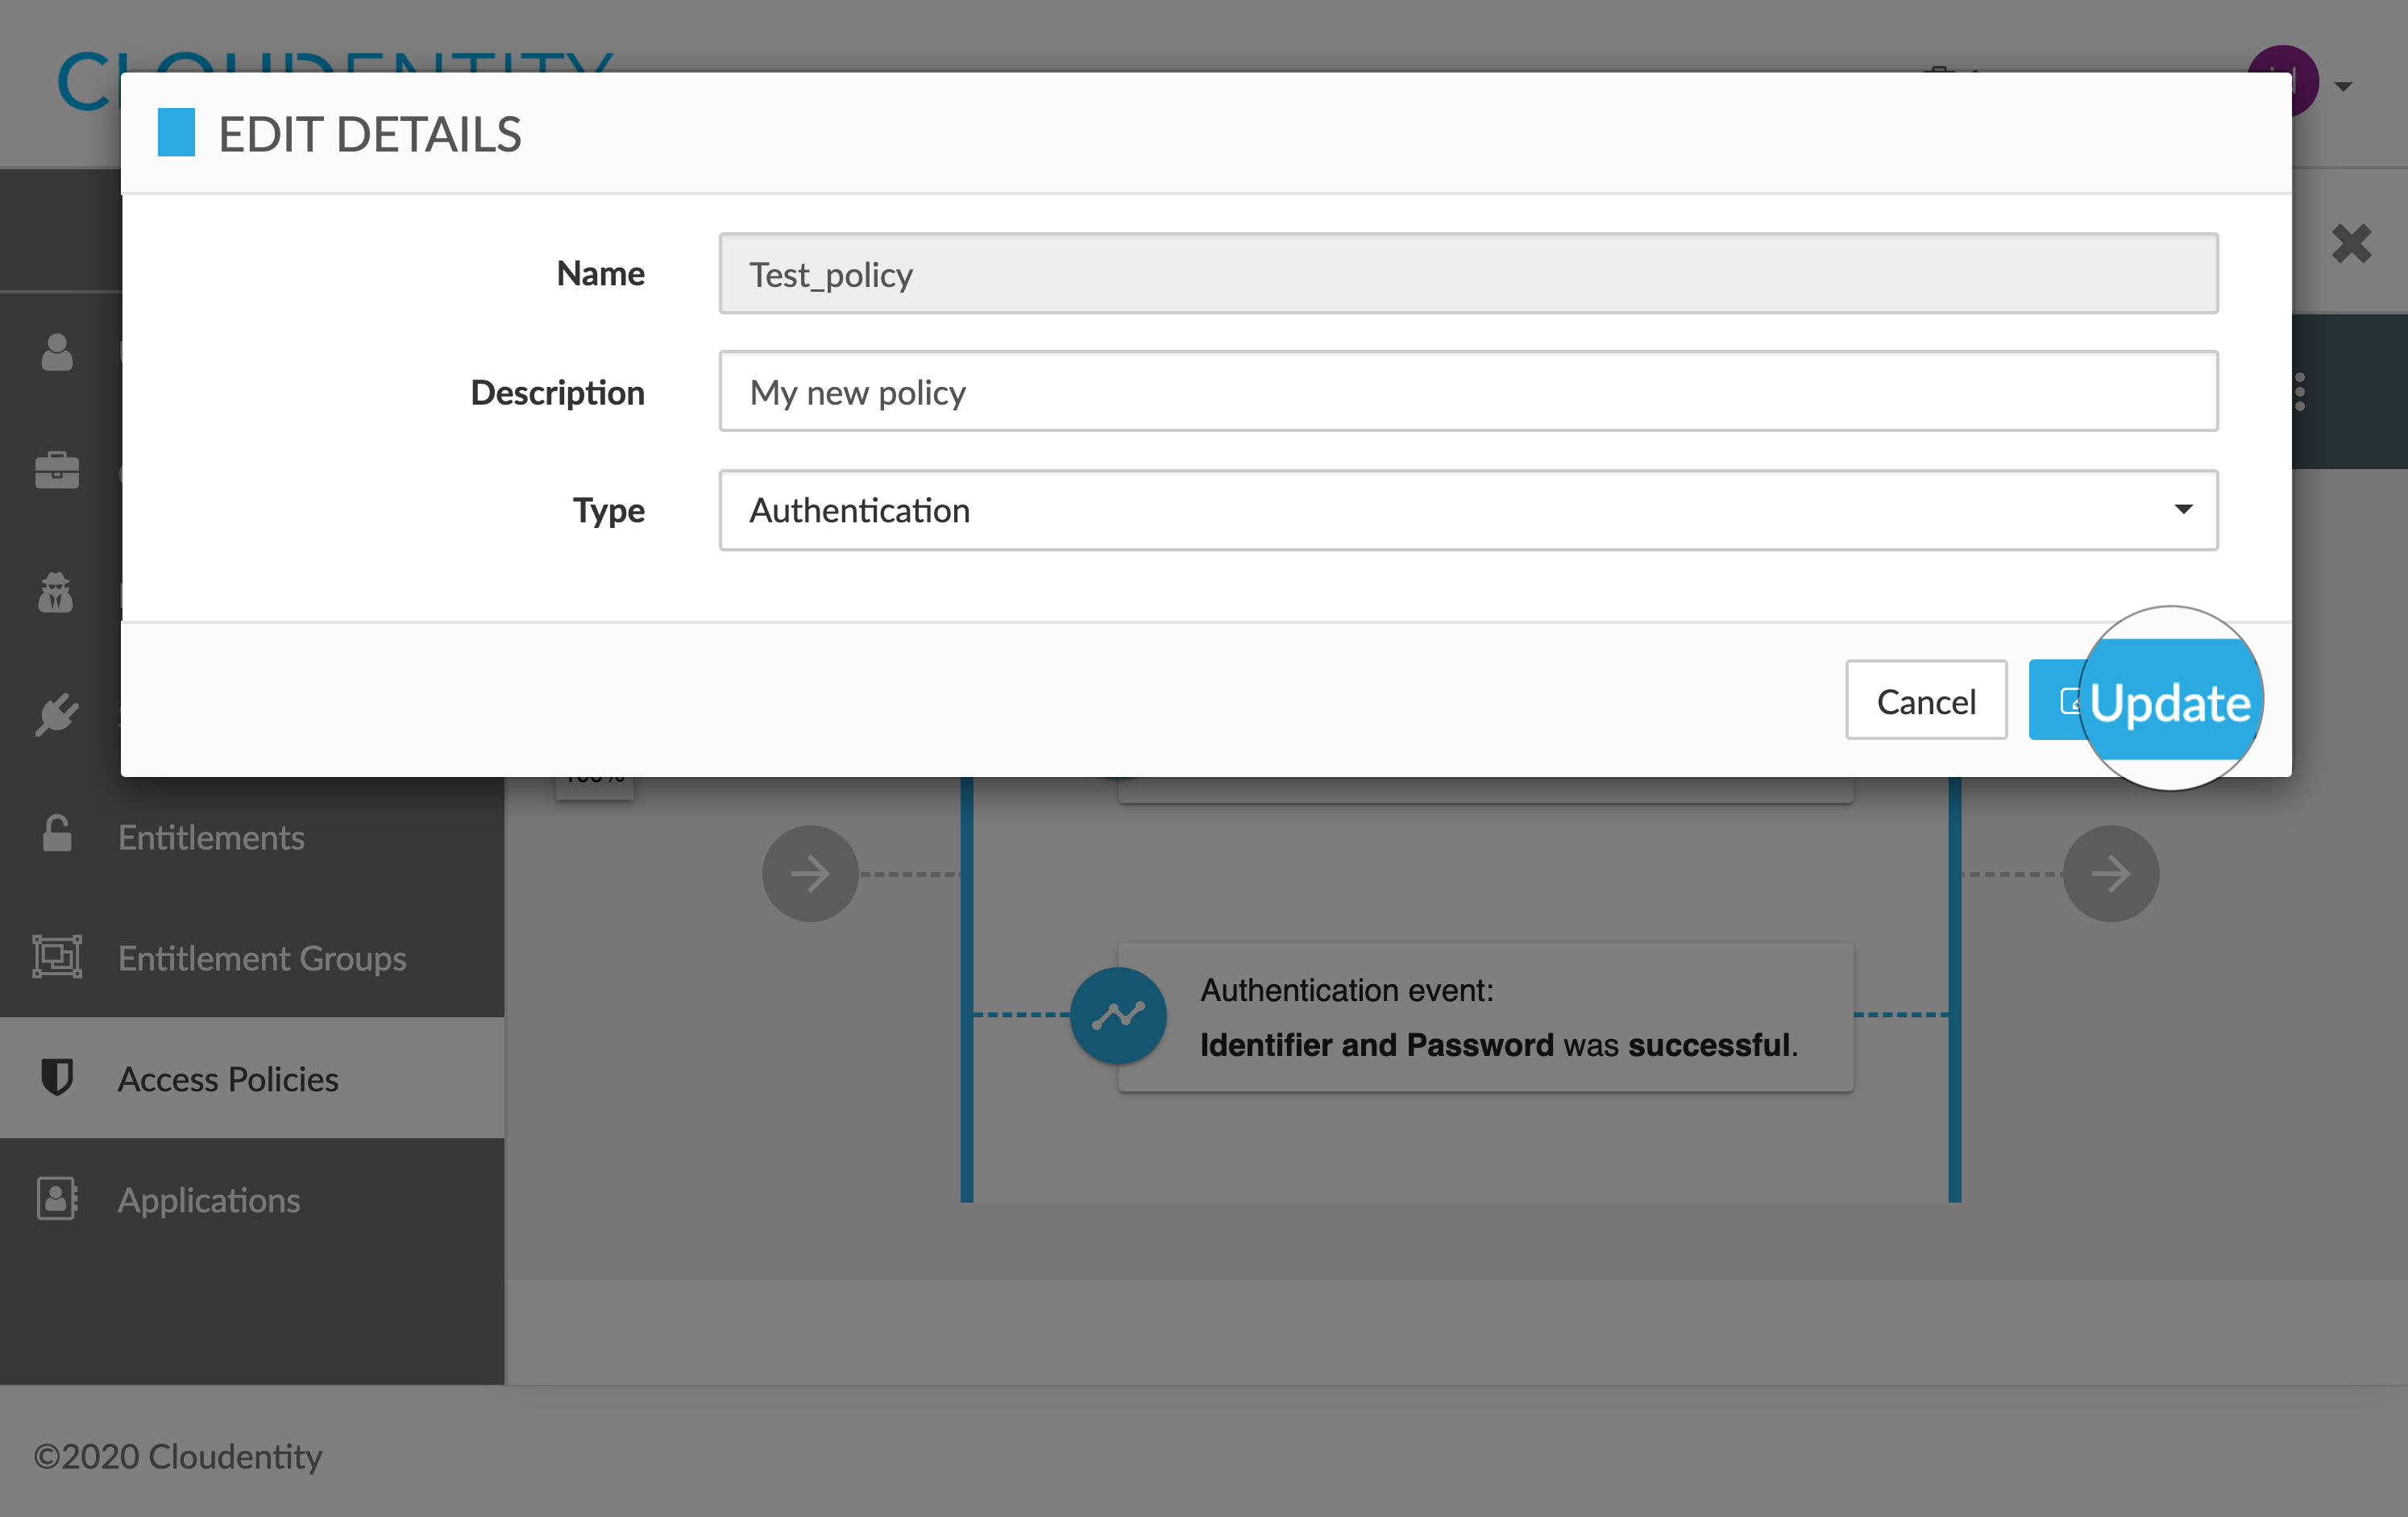
Result
Details on your policy have been changed.
Delete a policy
-
In the ACCESS POLICIES view, select a policy that you want to remove from the policies list.
-
In the ACCESS POLICY DETAILS fly-out box, select the ellipsis button (…), which unfolds the actions drop-down menu, and select Delete.

-
In the DELETE: CONFIRM ACTION pop-up box, select Confirm to remove your policy.
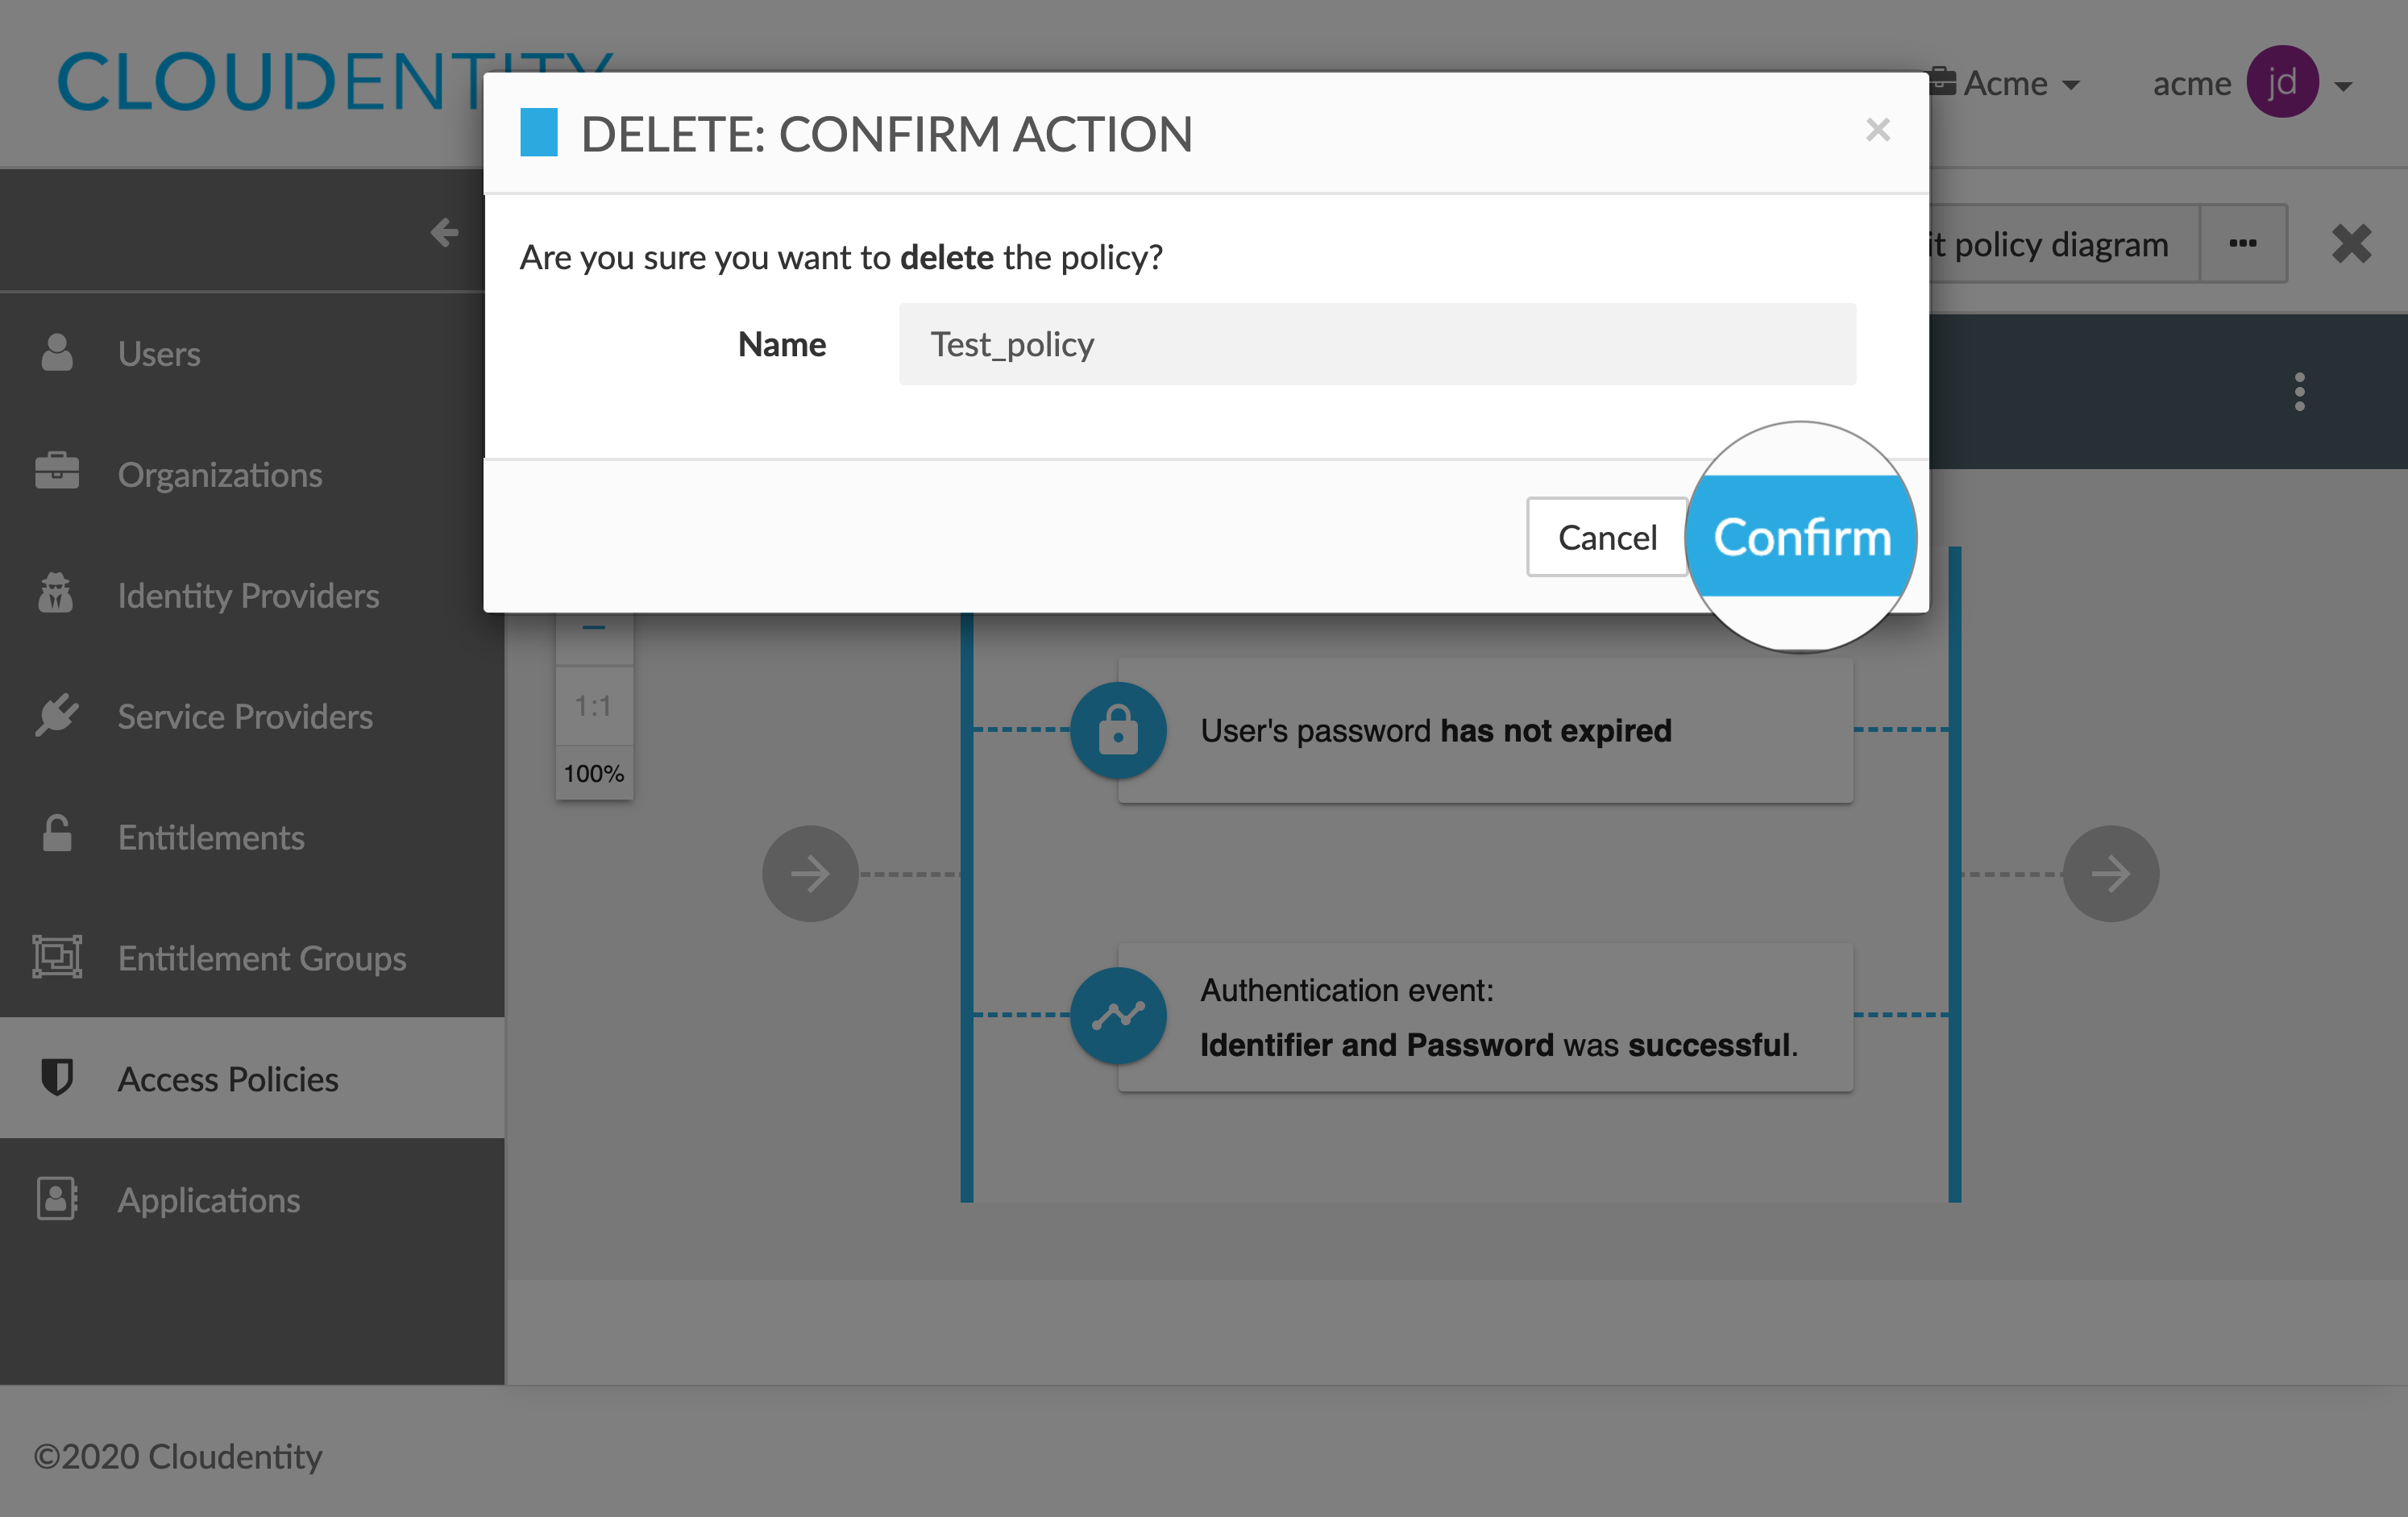
Result
Your policy has been removed successfully.